The “Ads” AI Tool is designed to assist users in creating advertisements with enhanced creativity and efficiency. By leveraging advanced AI capabilities, this tool helps streamline the ad creation process, ensuring high-impact content that captures audience attention.
Key Features

The Clickbait Titles generates catchy and creative titles designed to grab attention instantly. It enhances the appeal of your products by creating titles that entice viewers to engage with your content.
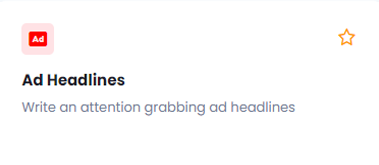
The Ad Headlines feature crafts compelling and attention-grabbing headlines for your advertisements. These headlines are specifically designed to increase engagement and drive more clicks, maximizing the effectiveness of your ad campaigns.
Benefits
Enhanced Creativity: The AI tool infuses creativity into ad content, making it more engaging and appealing to your target audience.
Speed and Efficiency: By automating the generation of titles and headlines, you can produce high-quality ads quickly, saving valuable time in the content creation process.
High-Impact Content: The tool ensures that your ad titles and headlines are optimized to grab attention, increasing the likelihood of conversions and customer engagement.
Implementation
Let’s walk through an example of how to use the Ads AI Tool to create catchy titles. We’ll start with the Clickbait Titles feature, where you can input product details and let the AI generate attention-grabbing titles. Simply follow the steps, and you’ll get creative options in seconds. The same process applies to other features like Ad Headlines, ensuring you can quickly produce compelling content across your campaigns.
Let’s explore how the Clickbait Titles feature can help you craft engaging and impactful titles.
When you click on the tool, a new window will appear.
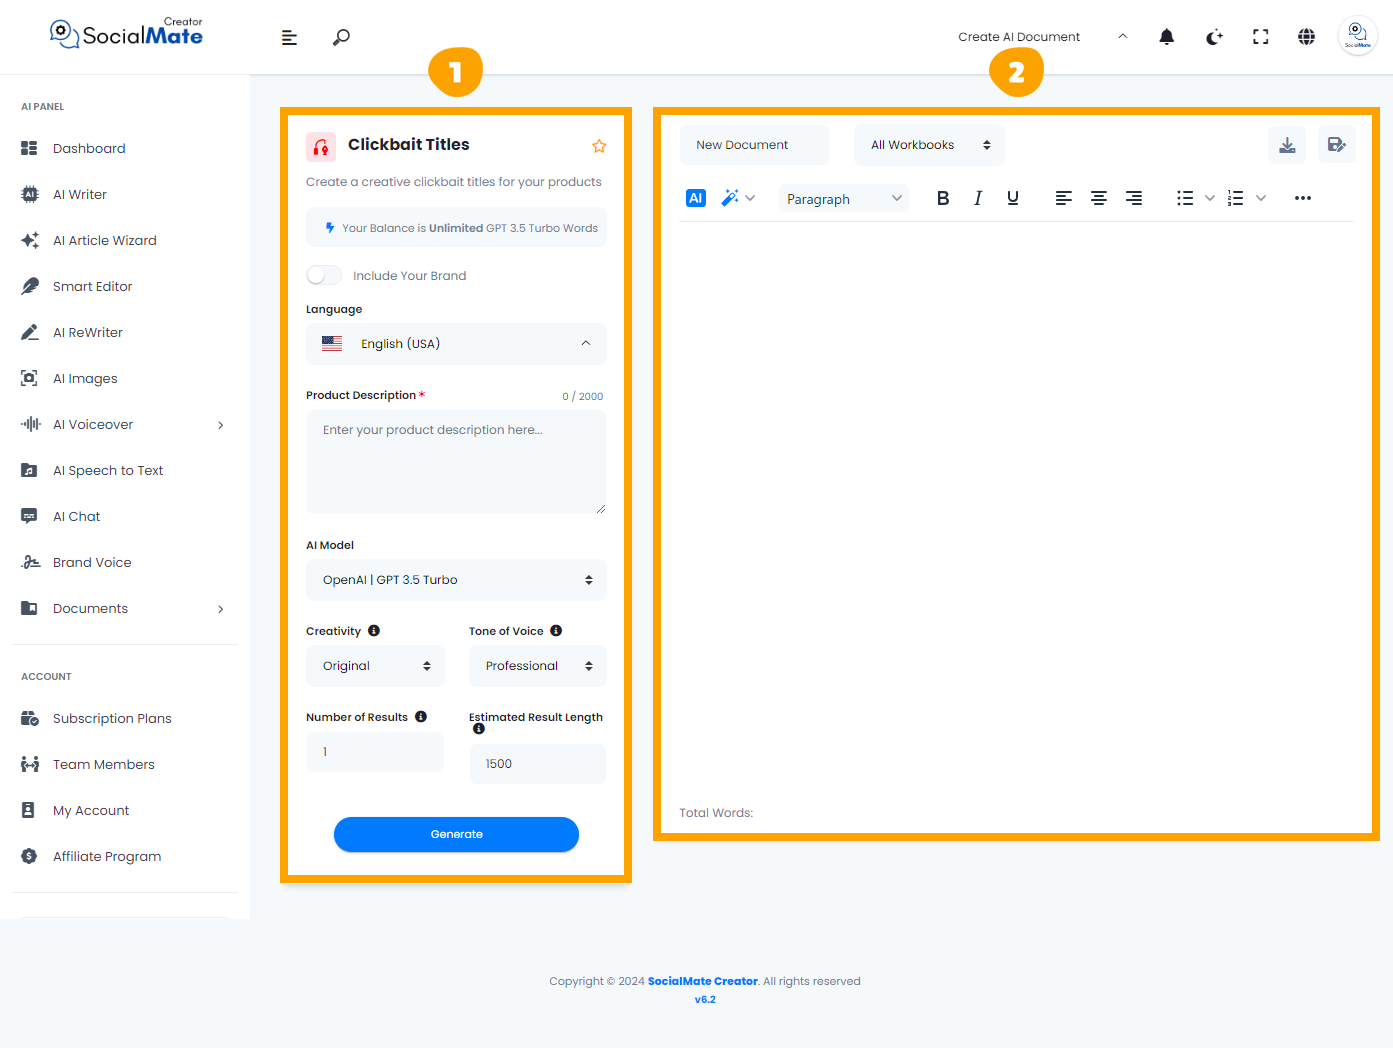
1- On the left side, you’ll see various input fields where you’ll enter the required information.
2- On the right side, you’ll find the output – the generated titles – with options to adjust, modify, add, or completely change them.
Let’s break down the input fields on the left side:
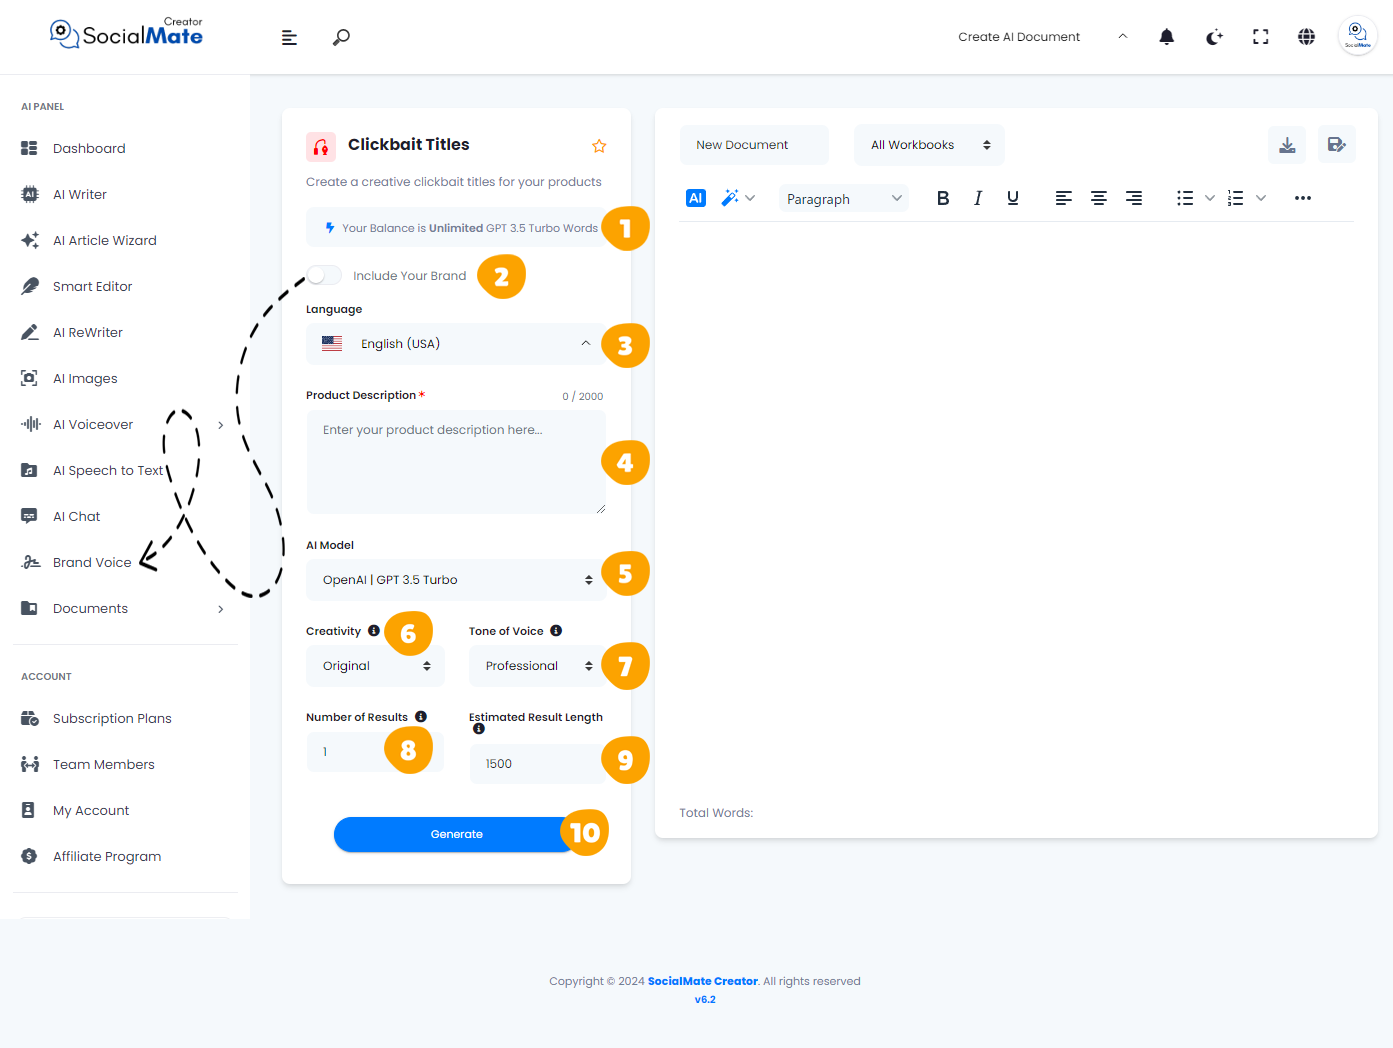
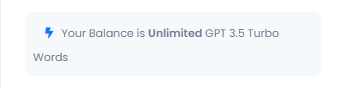
1. Your Balance:
This shows the available credits for generating AI content and which AI model version you’re using.
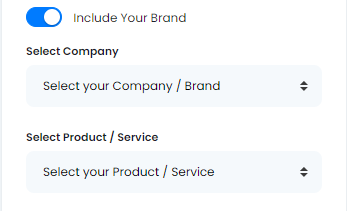
2. Your Brand:
Enabling this will use your previously saved brand data, so you won’t need to re-enter your details each time. More about this will be covered in the Brand Voice section [Here].

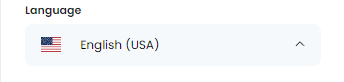
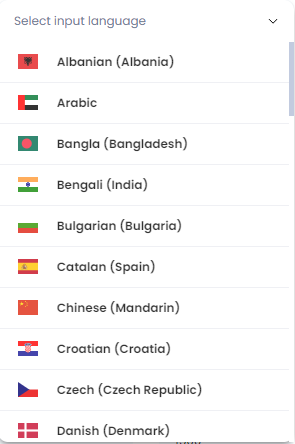
3. Language:
Choose any language to create titles that resonate with your audience in their native language.
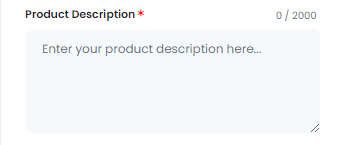
4. Product Description:
Enter the description of your product, with a limit of up to 2000 characters.
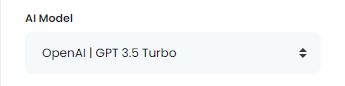
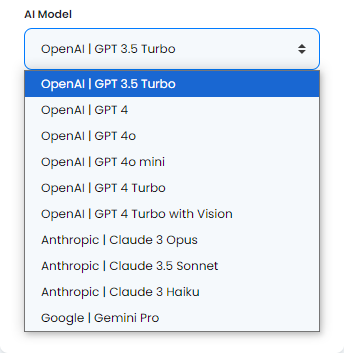
5. AI Model:
Select from various AI platforms, including OpenAI versions, Anthropic models, and Google Gemini. Pick the one that suits your needs.
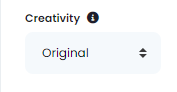
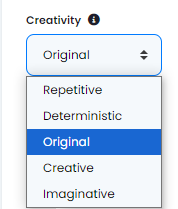
6. Creativity:
Choose between a more predictable or innovative approach by adjusting the creativity level.
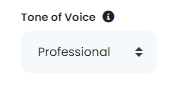
7. Tone of Voice:
Select the tone that fits your purpose, ranging from professional to playful and beyond.

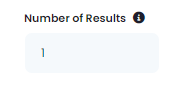
8. Number of Results:
You can generate up to 50 title suggestions to select from.
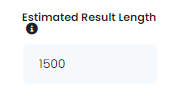
9. Estimated Result Length:
This shows the estimated word count for each result, based on the subscription plan you’ve chosen.
10- Generate Button:
Once you’ve entered all the required information, simply click the Generate Button to create your titles.

These fields are essential to understand for creating successful clickbait titles. They also apply across many AI tools, so mastering them will help you use any AI tool effectively.
Now, let’s understanding the Right-Side Fields:
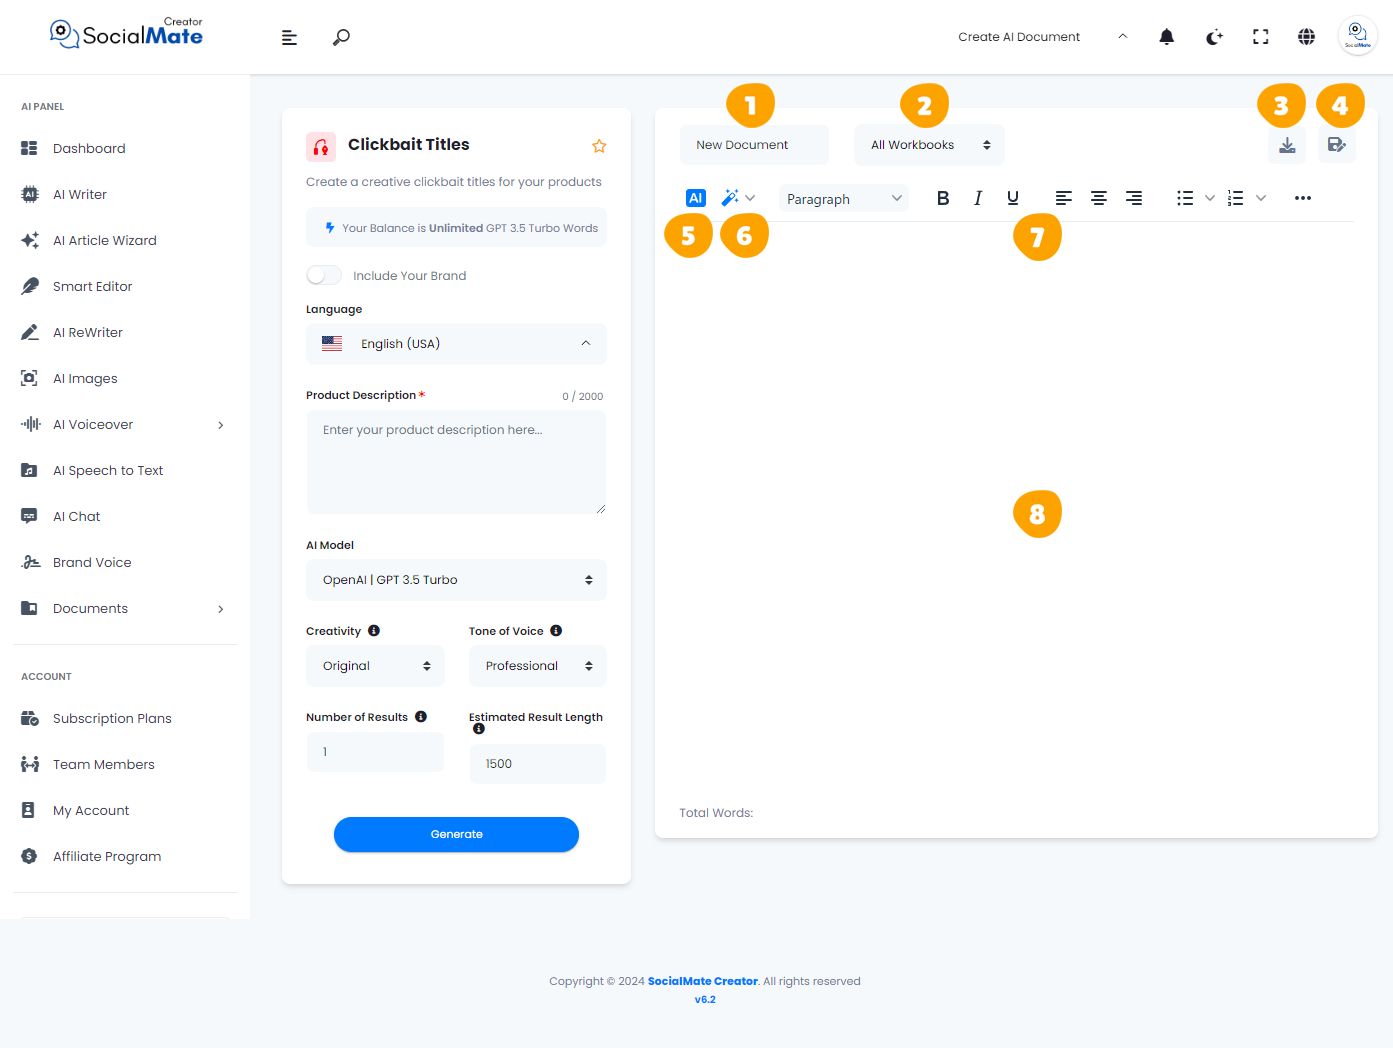
1. Rename Your Document:
This option allows you to rename the current document you’re working on for easy identification.
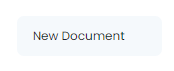
2. All Workbooks:
A section where you can access all your previously saved workbooks.
3. Download Button:
After finishing your document, you can download it in multiple formats. Choose to copy the text as-is, download it as HTML, save it as a text file, or download it as a Microsoft Word document.


4. Save Document:
This button is designed to save your document for future access, ensuring you can continue working on it whenever needed.

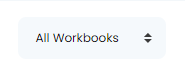
5. AI:
This feature allows you to leverage AI for rewriting your document. When you click it, you’ll be prompted to specify what you want to achieve, and the AI will adjust the text accordingly.

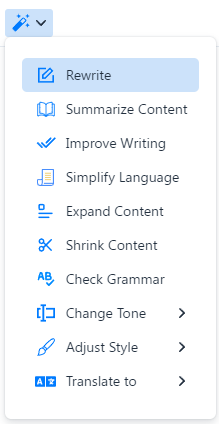
6. Magic Button:
A powerful tool that provides multiple options to refine your document. You can use it to rewrite, summarize, enhance, simplify, expand, shorten, check grammar, change the tone of voice, modify the style (e.g., business or medical), or translate the content into any language.

7. Toolbar:
The toolbar offers various formatting tools to enhance your content. You can bold or italicize text, select different paragraph styles, and insert media like images or videos. It allows for quick customization and styling to make your document more professional and engaging.

8. The Body:
This section contains the text of your document where all your editing and formatting will be applied.

In conclusion, we hope the information provided above has been clear and helpful. Once you understand these features, you’ll notice that many AI tools follow similar patterns. Occasionally, you may encounter additional fields, which we will cover in our explanations. For example, in other tools within the “ADS” category, the steps are the same, but in the:
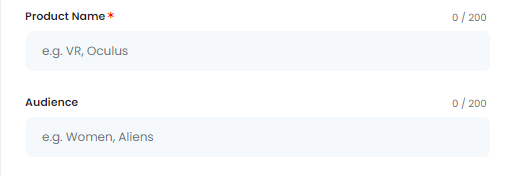
Ad Headlines feature, there are 2 extra fields called “Product Name” & “Audience.” The “Product Name” field allows you to specify the item you’re advertising, while the “Audience” field lets you define your target demographic, such as women, men, children, and more. By providing this information, you can create ad headlines that are more personalized and relevant, ensuring that your messaging resonates with the intended audience and enhances engagement.