AI ReWriter is a powerful tool within SocialMate’s AI Panel designed to enhance and transform your written content with just a click. Whether you need to refine a blog post, rephrase an article, or improve any form of text, AI ReWriter swiftly provides polished and optimized results. The tool leverages advanced AI algorithms to analyze your content and rewrite it in a way that improves clarity, flow, and readability, while maintaining the original meaning.

With AI ReWriter, you can save time and effort, leaving the complex task of rewording and enhancing content to AI. It ensures your writing is free from awkward phrasing or repetition, and helps in tailoring the tone to better suit your audience. Whether you’re a content creator, marketer, or business professional, this tool helps you produce high-quality, engaging content in seconds.
This tool is also available within the “AI Writer” section of the AI Panel, under the “Content Rewriter” feature. However, due to its importance, we made it a standalone feature to ensure it’s easily accessible and efficient for users who frequently need to refresh and improve content. With this tool, you can effortlessly rephrase and enhance your content, making it more engaging and captivating for your audience.
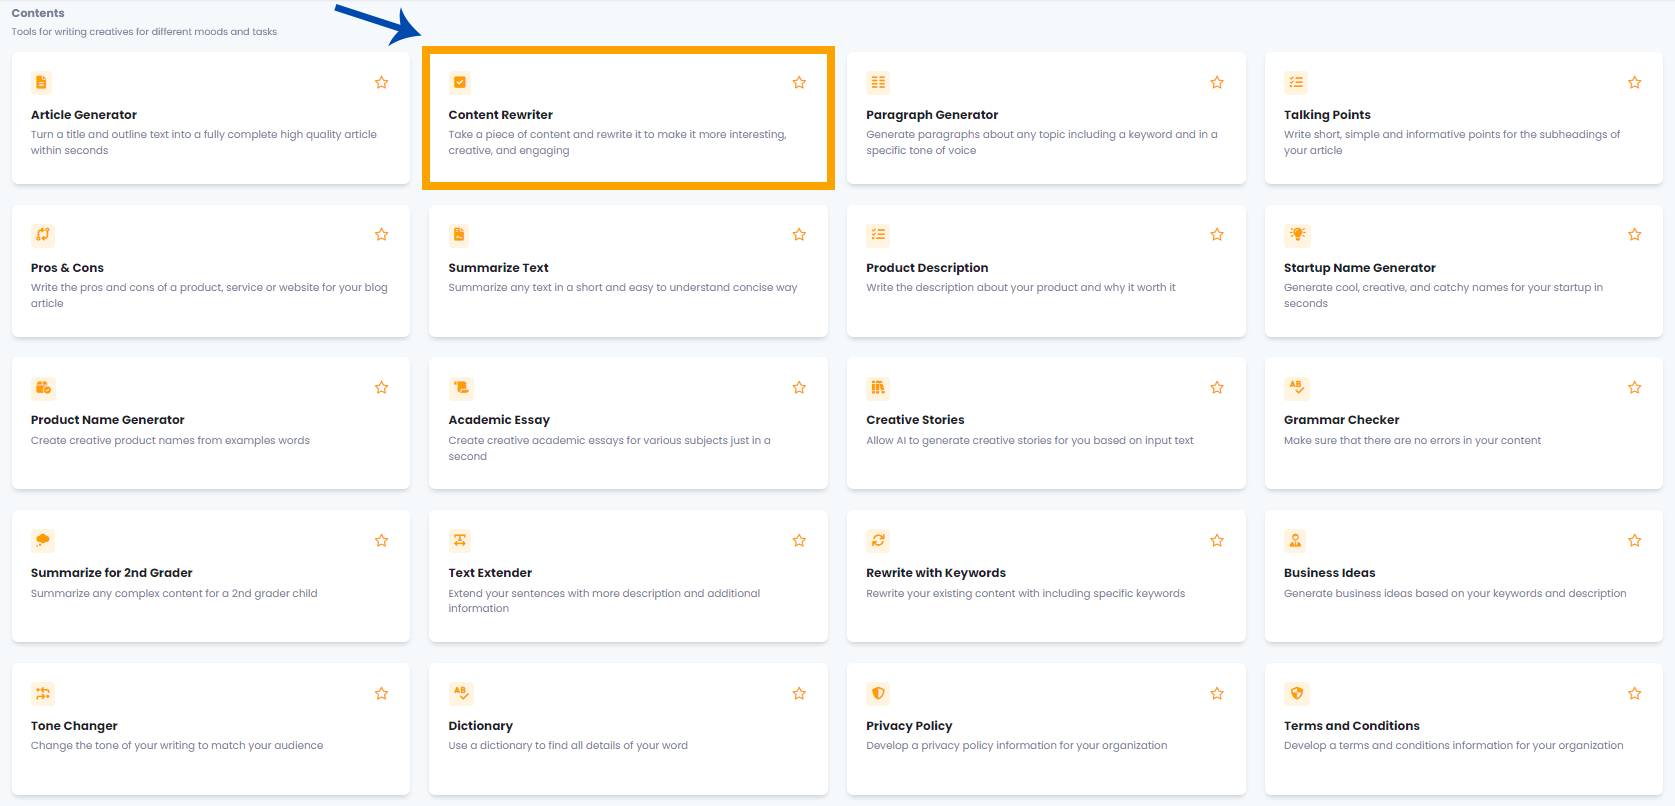
| Let’s go over the steps for using the AI ReWriter tool to rephrase and improve your content, helping you make it more engaging and appealing to your audience with this feature. |
You can locate the AI ReWriter tool in the AI Panel on the left side of the screen.
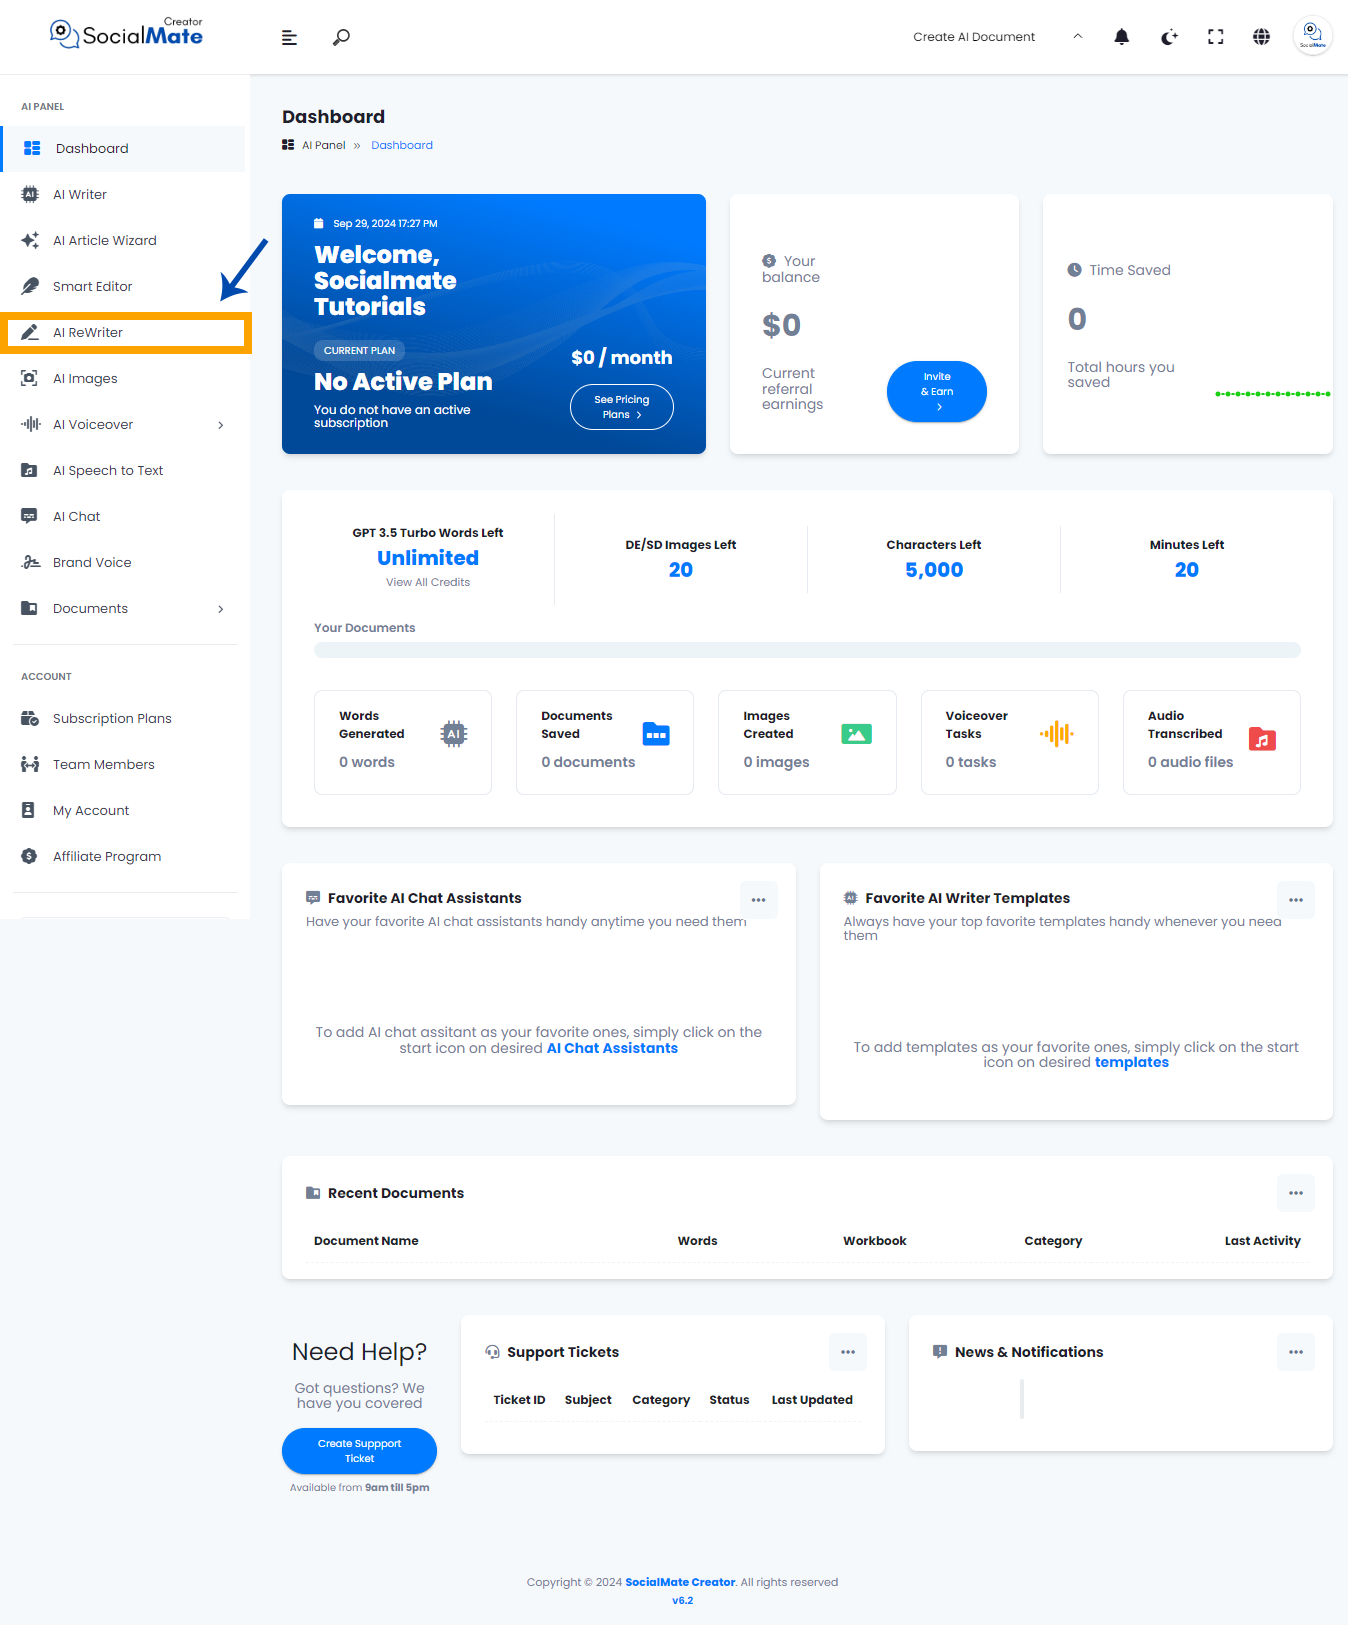
When you click on the tool, a new window will appear.
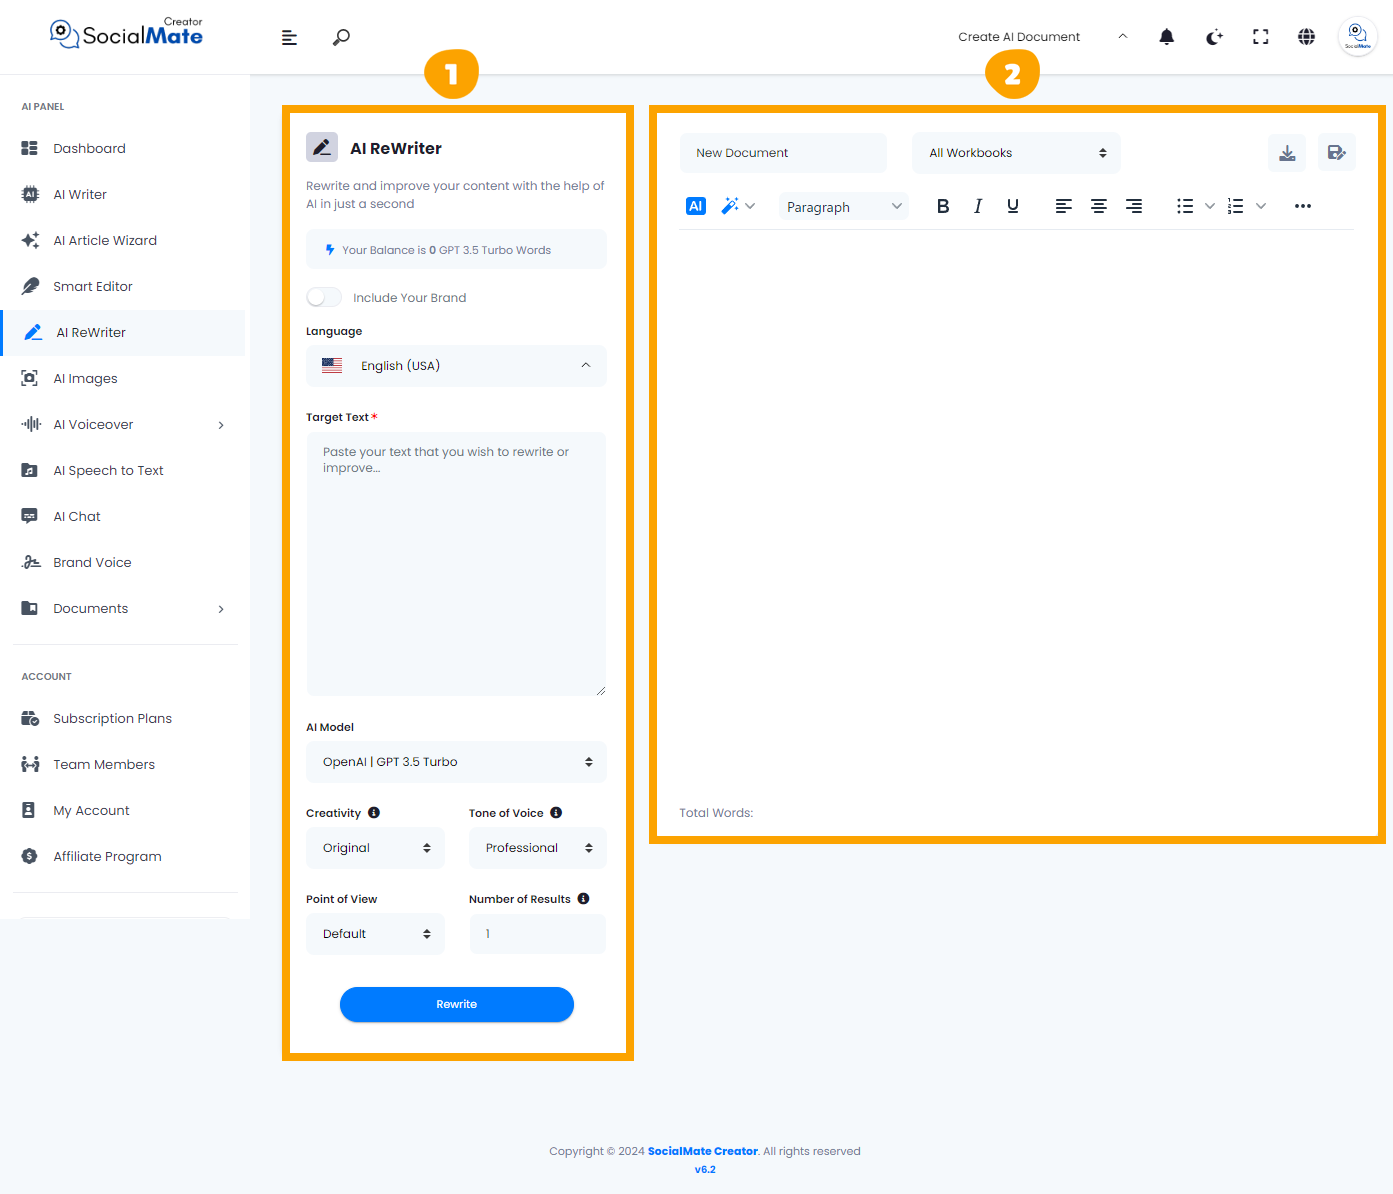
1- On the left side, you’ll see various input fields where you’ll enter the required information.
2- On the right side, you’ll find the output – the generated titles – with options to adjust, modify, add, or completely change them.
Let’s break down the input fields on the left side:
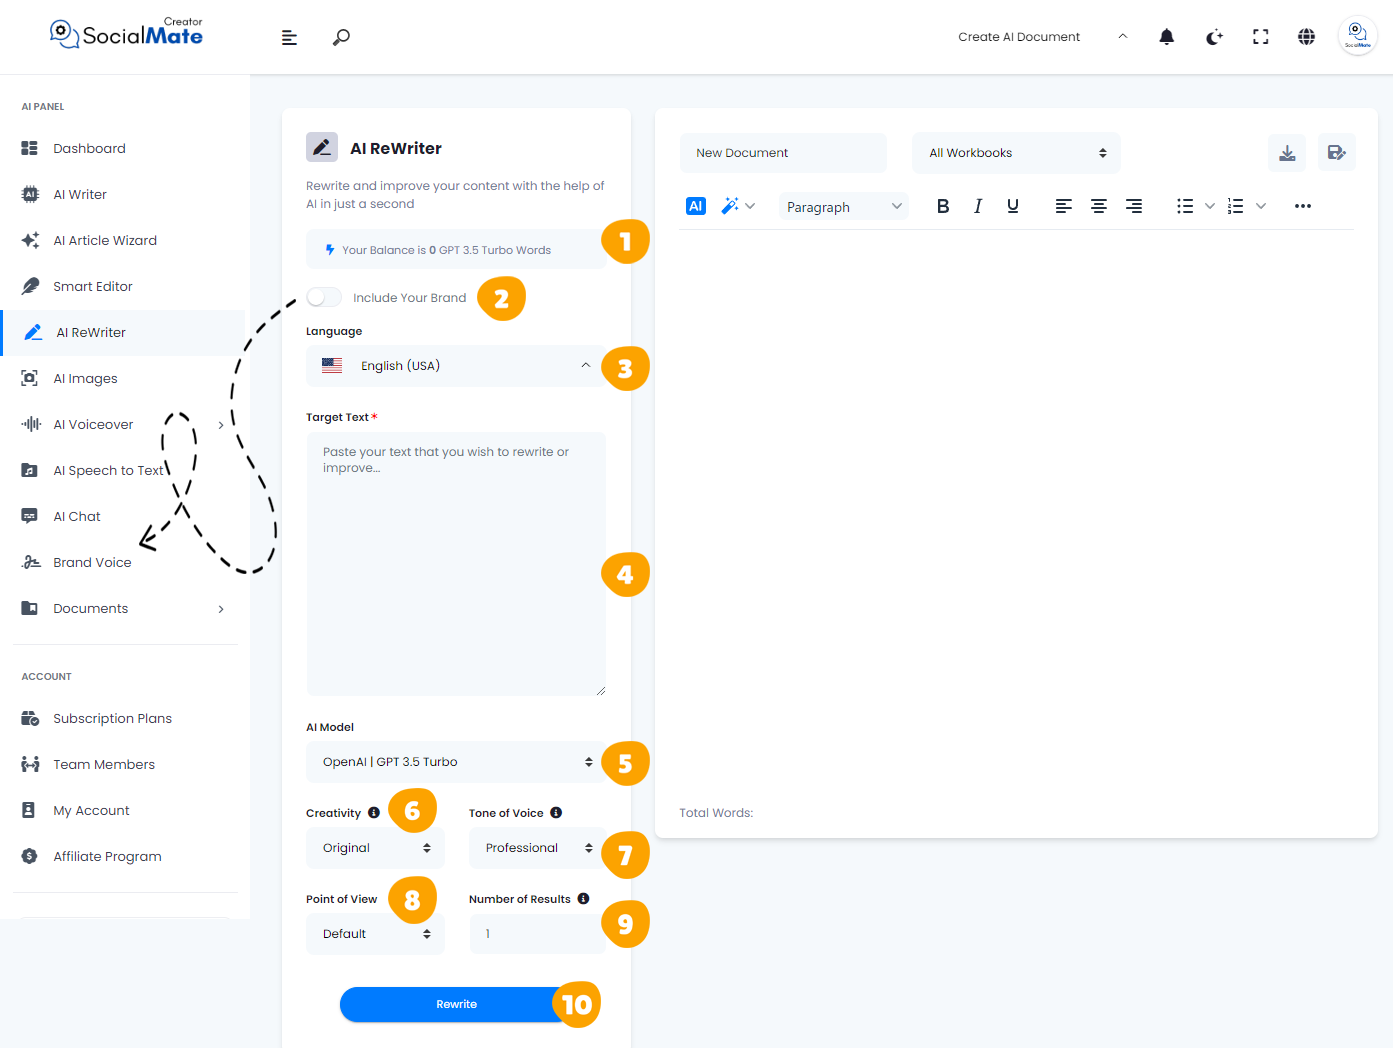
1. Your Balance:
This shows the available credits for generating AI content and which AI model version you’re using.

2. Your Brand:
Enabling this will use your previously saved brand data, so you won’t need to re-enter your details each time. More about this will be covered in the Brand Voice section [Here].


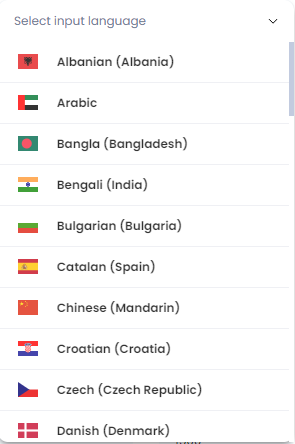
3. Language:
Choose any language to create titles that resonate with your audience in their native language.

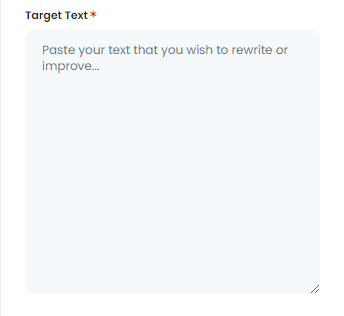
4. Target Text:
The Target Text field is where you paste the content you want to rewrite or improve using the AI ReWriter. Simply input your text, whether it’s a sentence, paragraph, or entire article, and the tool will analyze it to provide an enhanced version. This section serves as the starting point for transforming your content, ensuring it becomes more polished, engaging, and tailored to your needs.
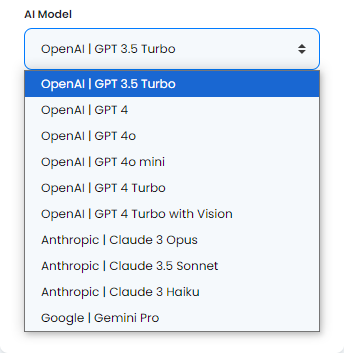
5. AI Model:
Select from various AI platforms, including OpenAI versions, Anthropic models, and Google Gemini. Pick the one that suits your needs.

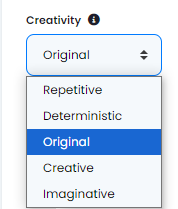
6. Creativity:
Choose between a more predictable or innovative approach by adjusting the creativity level.

7. Tone of Voice:
Select the tone that fits your purpose, ranging from professional to playful and beyond.


8. Number of Results:
You can generate up to 50 title suggestions to select from.

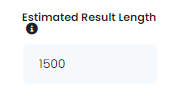
9. Estimated Result Length:
This shows the estimated word count for each result, based on the subscription plan you’ve chosen.
10- Generate Button:
Once you’ve entered all the required information, simply click the Generate Button to create your titles.

Understanding these fields is crucial for creating a successful rewritten content, as it allows you to maintain the original intent while enhancing clarity, tone, and style. It helps in ensuring that the rewritten text remains engaging and informative, while also optimizing it for SEO and audience relevance.
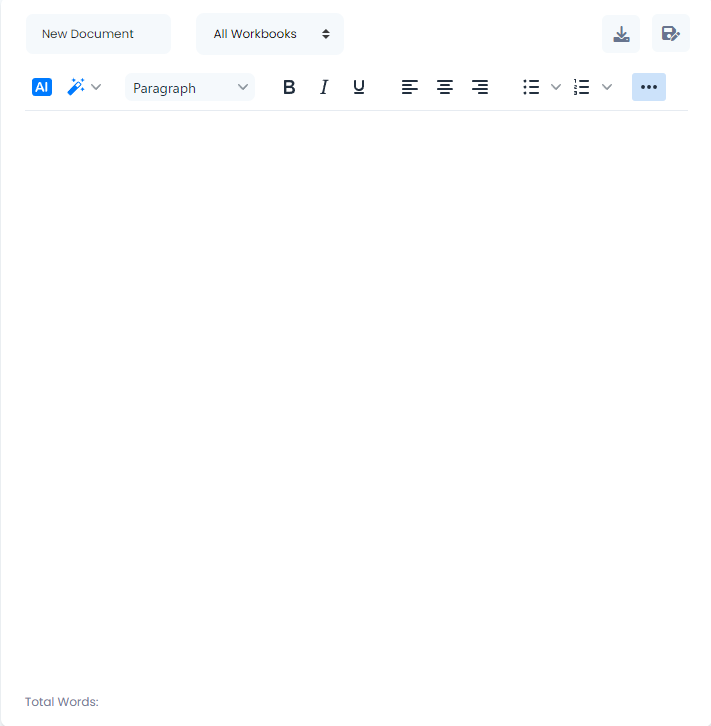
Now, let’s understanding the Right-Side Fields:
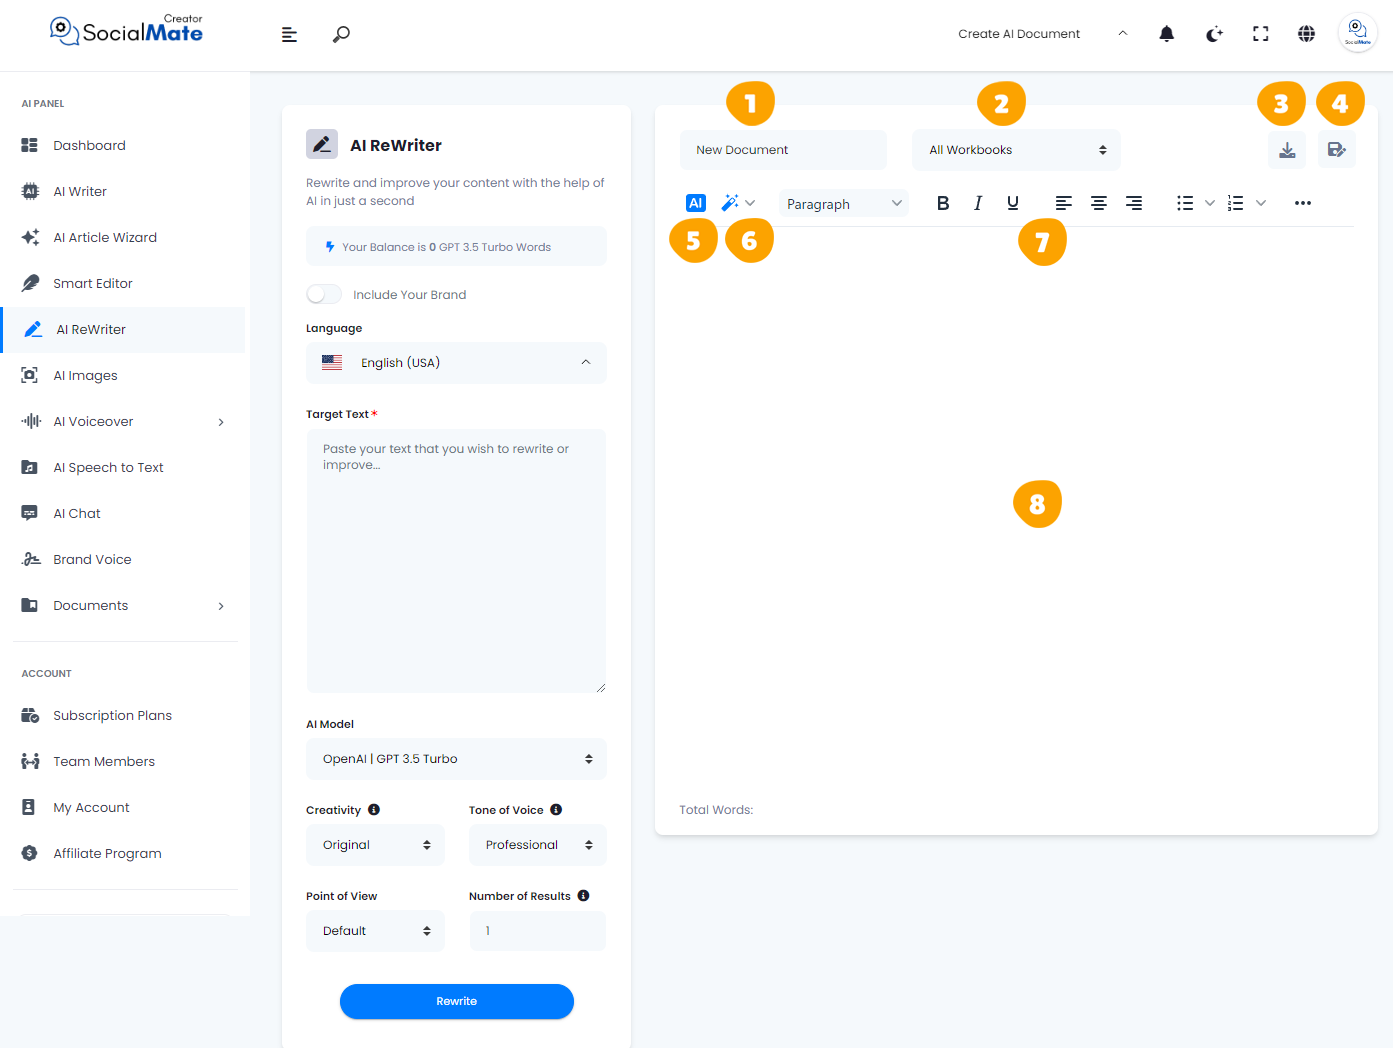
1. Rename Your Document:
This option allows you to rename the current document you’re working on for easy identification.

2. All Workbooks:
A section where you can access all your previously saved workbooks.

3. Download Button:
After finishing your document, you can download it in multiple formats. Choose to copy the text as-is, copy it as HTML, save it as a text file, or download it as a Microsoft Word document.


4. Save Document:
This button is designed to save your document for future access, ensuring you can continue working on it whenever needed.

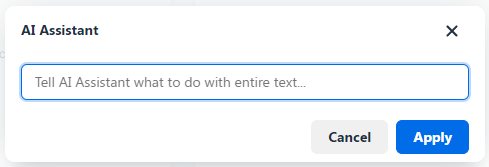
5. AI:
This feature allows you to leverage AI for rewriting your document. When you click it, you’ll be prompted to specify what you want to achieve, and the AI will adjust the text accordingly.

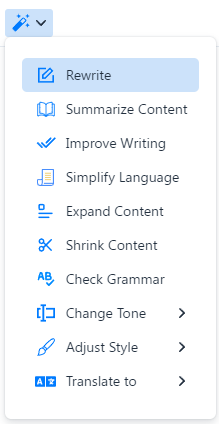
6. Magic Button:
A powerful tool that provides multiple options to refine your document. You can use it to rewrite, summarize, enhance, simplify, expand, shorten, check grammar, change the tone of voice, modify the style (e.g., business or medical), or translate the content into any language.

7. Toolbar:
The toolbar offers various formatting tools to enhance your content. You can bold or italicize text, select different paragraph styles, and insert media like images or videos. It allows for quick customization and styling to make your document more professional and engaging.

8. The Body:
This section contains the text of your document where all your editing and formatting will be applied.
To wrap things up, we trust the details shared have been useful and easy to follow. AI ReWriter streamlines the process of content enhancement, allowing the AI to take care of rephrasing and refining your text. It ensures your writing is smooth, free from repetitive language, and adjusts the tone to fit your audience perfectly. Whether you’re a marketer, writer, or business professional, this tool allows you to quickly generate polished, engaging content with minimal effort.


