Connecting your OpenAI API to SocialMate allows you to combine OpenAI’s powerful language models with SocialMate’s suite of AI-driven tools for content creation. By integrating these two platforms, you can enhance your workflow with features like dynamic text generation, advanced voiceover synthesis, and stunning image creation.
The integration process is straightforward—use your OpenAI API key within SocialMate’s interface to enable seamless data exchange and maximize productivity. This connection allows businesses, developers, and creators to unlock new possibilities, ensuring faster content development, enhanced personalization, and superior quality. No Coding Required.

Connecting your OpenAI API with SocialMate is quick and easy, enabling you to leverage advanced AI tools for seamless content creation. Follow these simple steps to get started and unlock the full potential of both platforms:
Connect OpenAI With SocialMate
1. Open OpenAI Platform
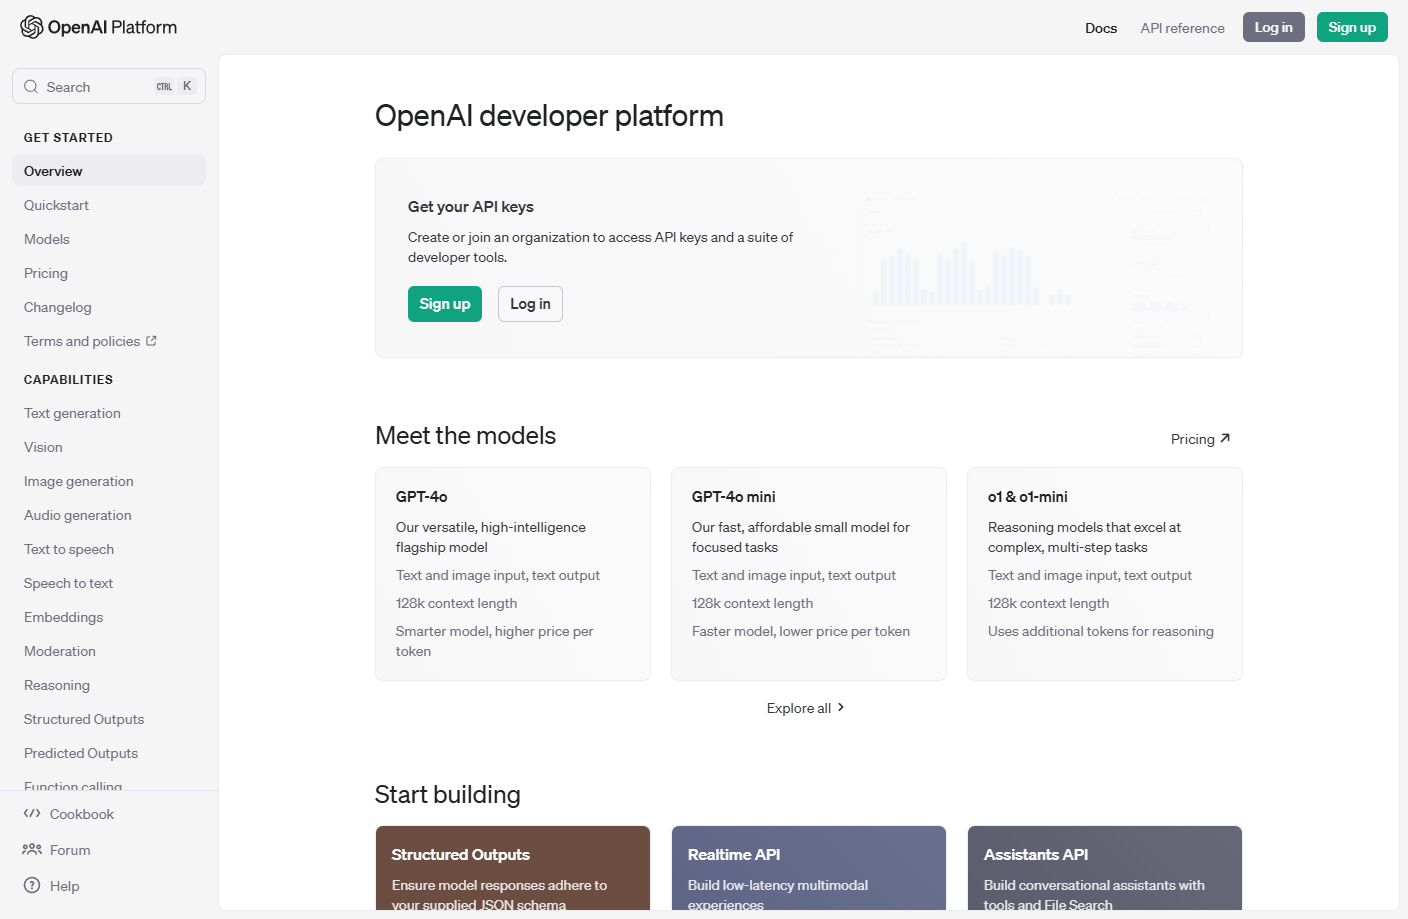
Go to https://platform.openai.com to sign up or log in to your OpenAI account. Once logged in, navigate to the API settings to retrieve your unique API key. This key will be used to link your OpenAI account with SocialMate, enabling seamless integration of AI tools for content creation.
2. Sign Up or Log in to Open AI
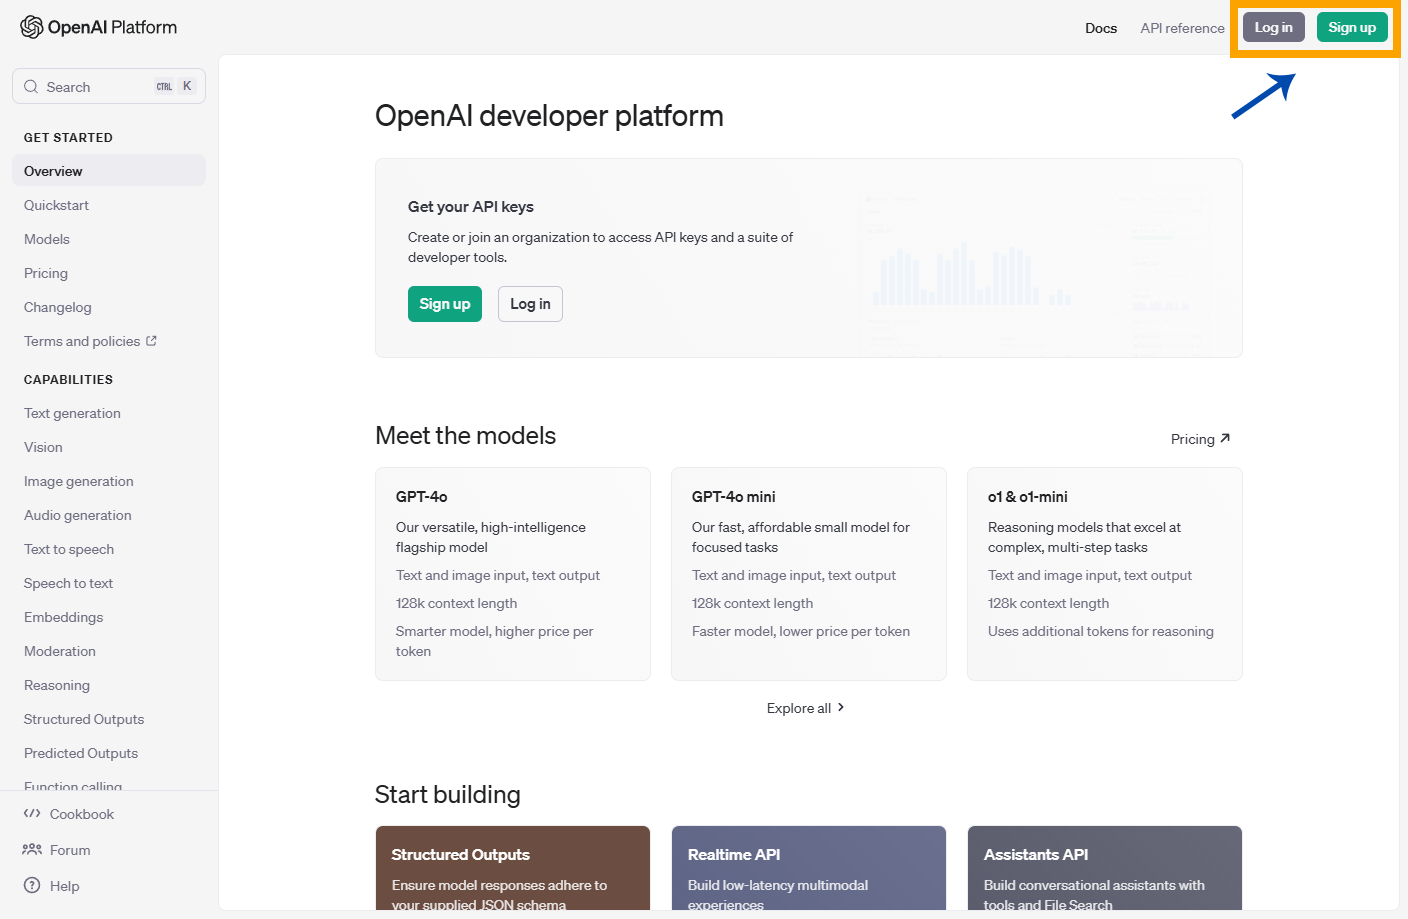
If you’re new to the OpenAI platform, simply click on “Sign Up” and follow the straightforward steps to create your account. The process is quick and user-friendly. If you already have an account, just click “Log In” to access your dashboard.
3. Select Dashboard
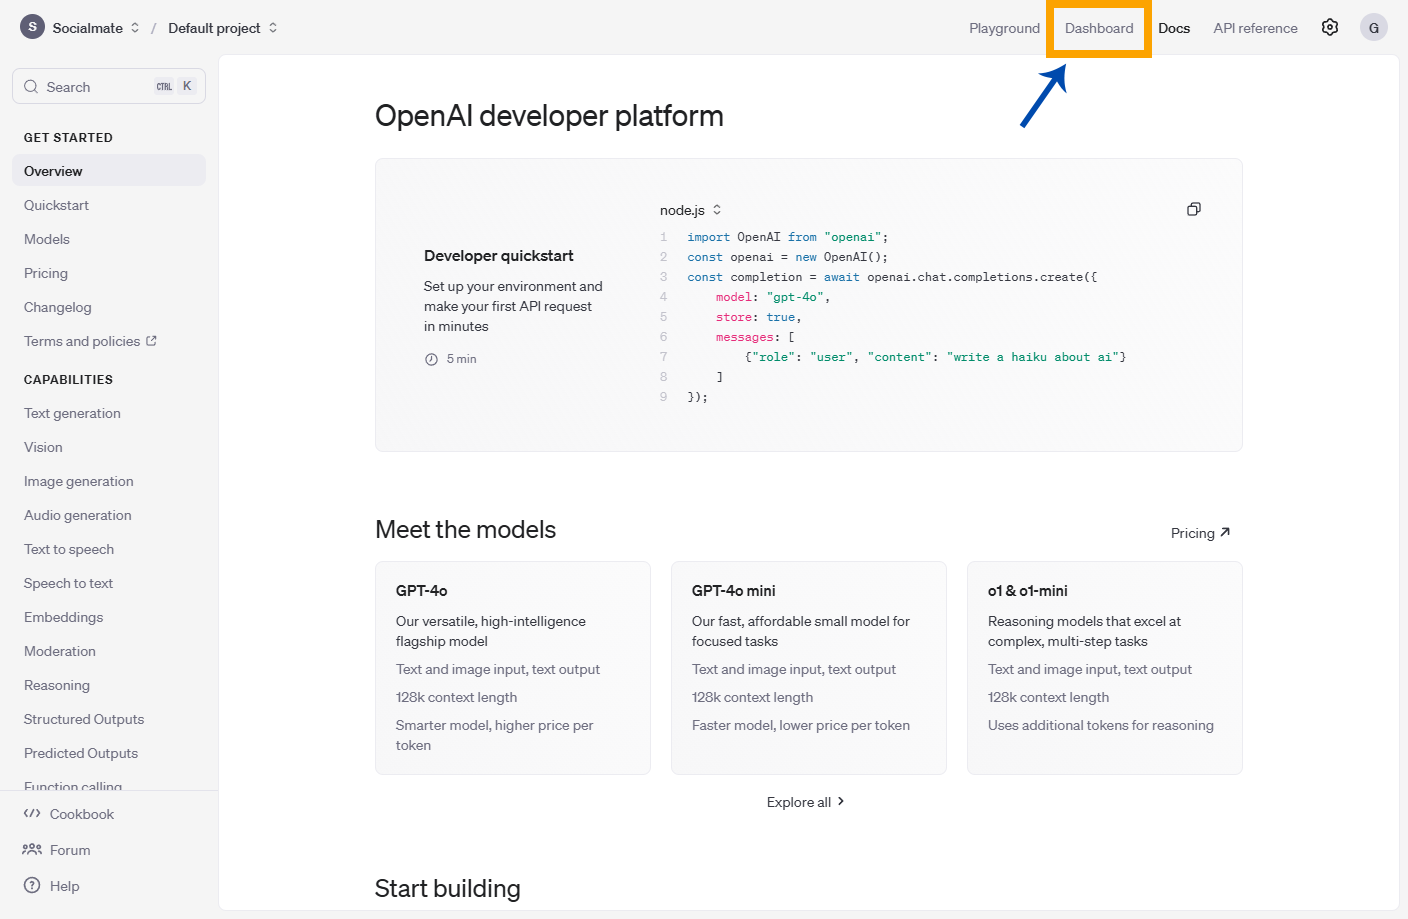
Once logged in, navigate to the Dashboard from the main menu to access your account settings and API details.
4. Select API Keys
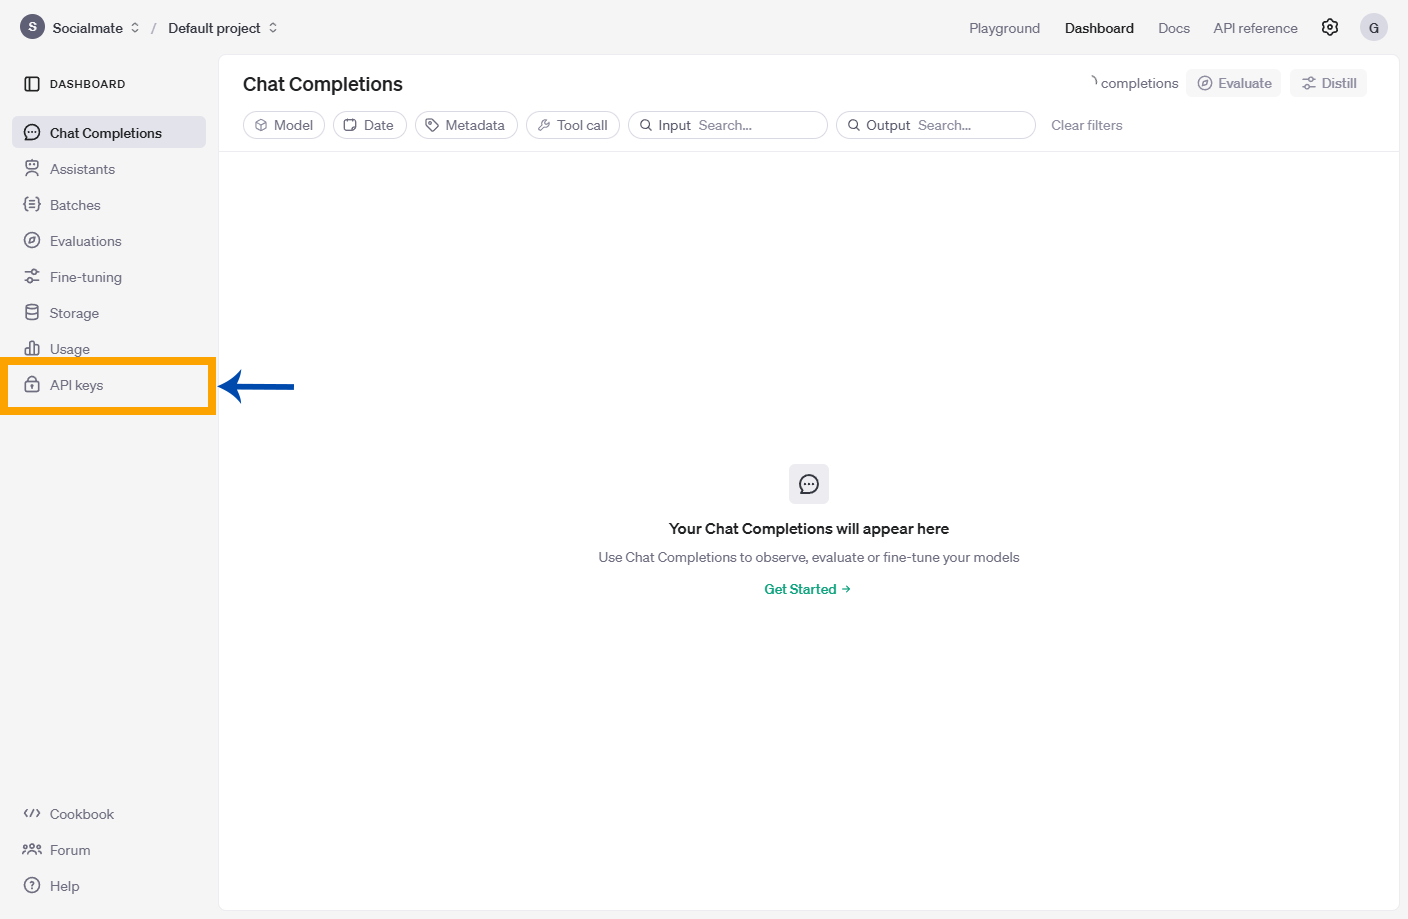
Now, select API Keys from the left sidebar to obtain your unique API key, which will be used for integration with SocialMate.
5. Press Create Your Secret Key Button
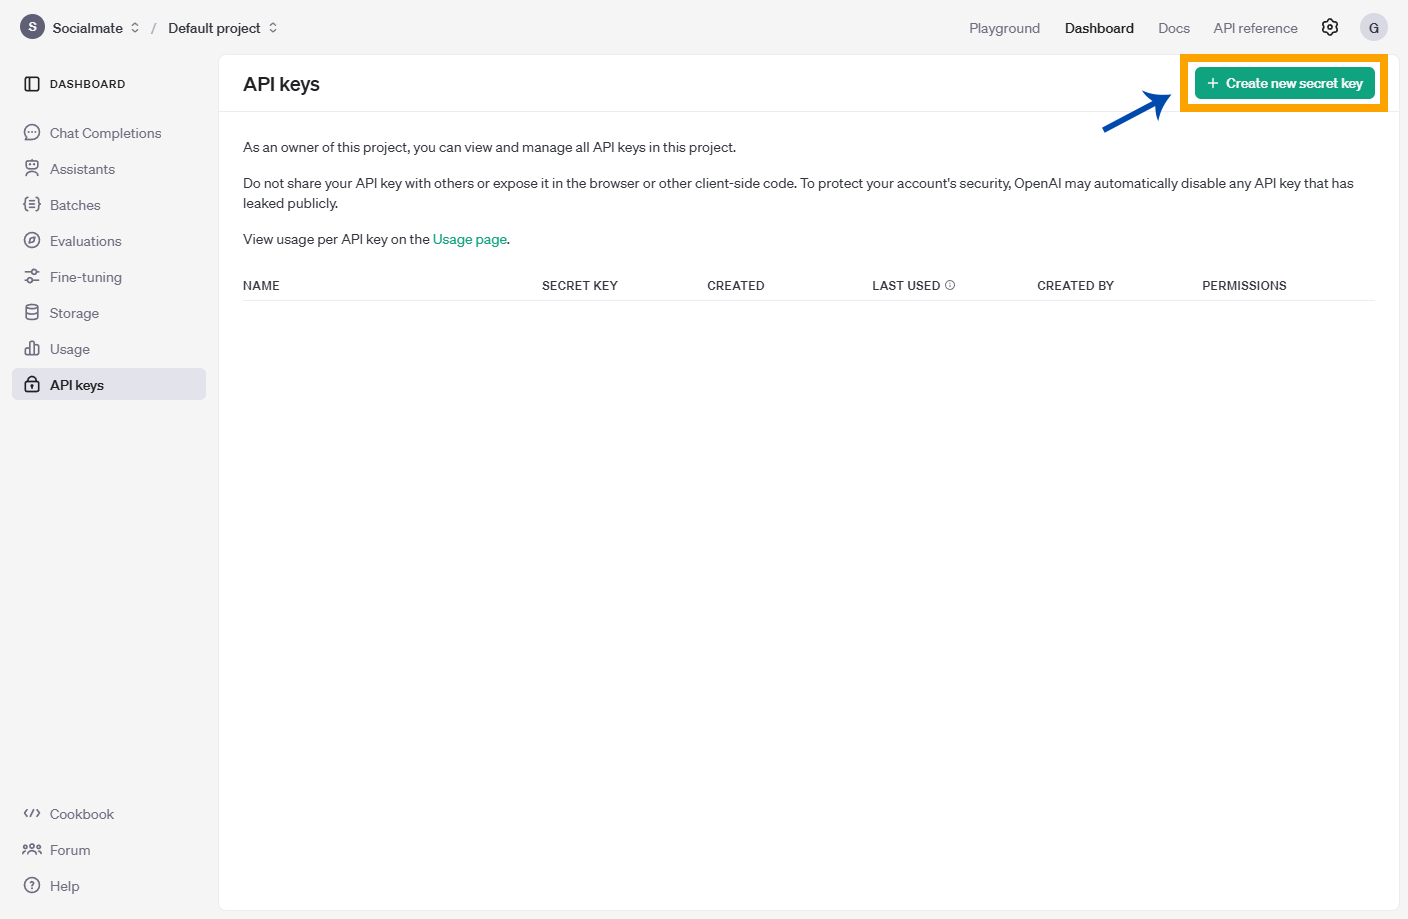
Once you’re in the API Keys section, click on the green button labeled Create Your Secret Key to generate your API key.
6. Create Secret Key
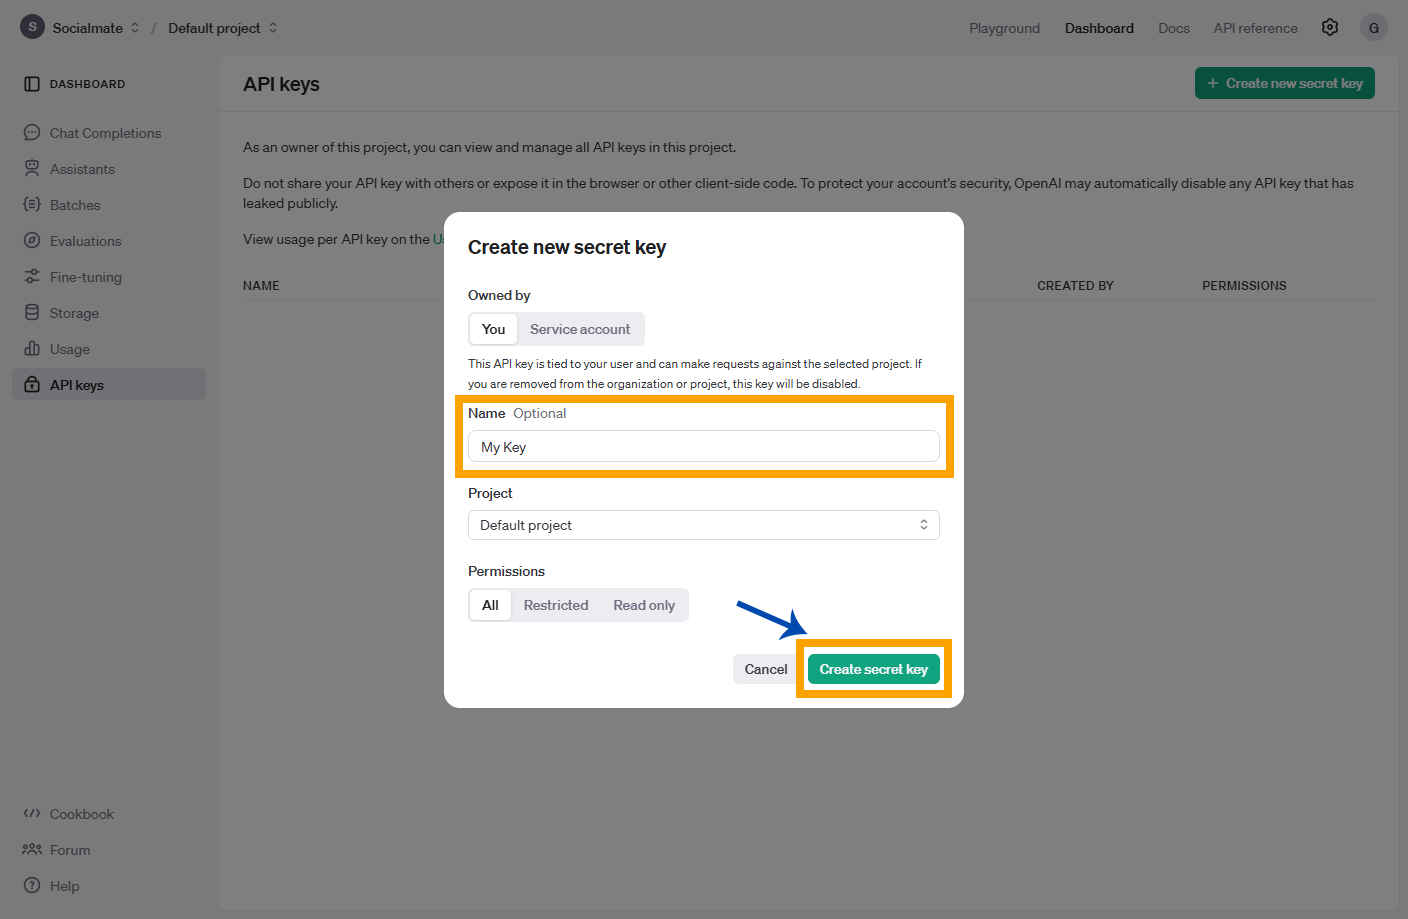
A pop-up menu will appear. You can optionally name your secret key by entering a name of your choice or leave it blank. Once done, click on Create Secret Key to proceed.
7. Copy Your Secret Key
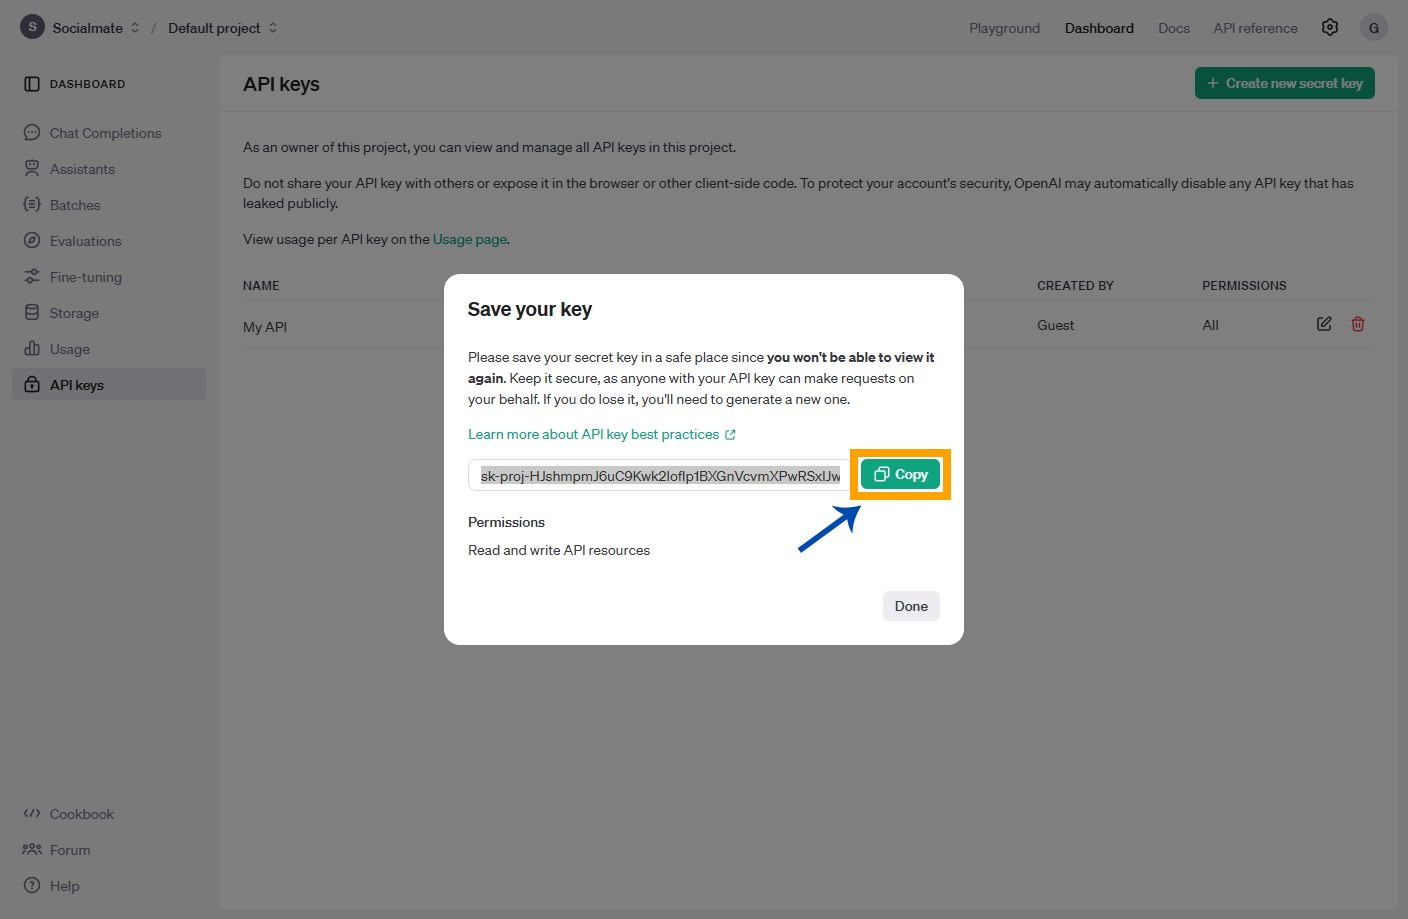
Your API key has now been created. Simply click the Copy button to copy your secret key to your clipboard.
8. Go Back to Your Socialmate Creator

Now, return to your SocialMate Dashboard and click on your Account Icon.
9. Select Profile Settings
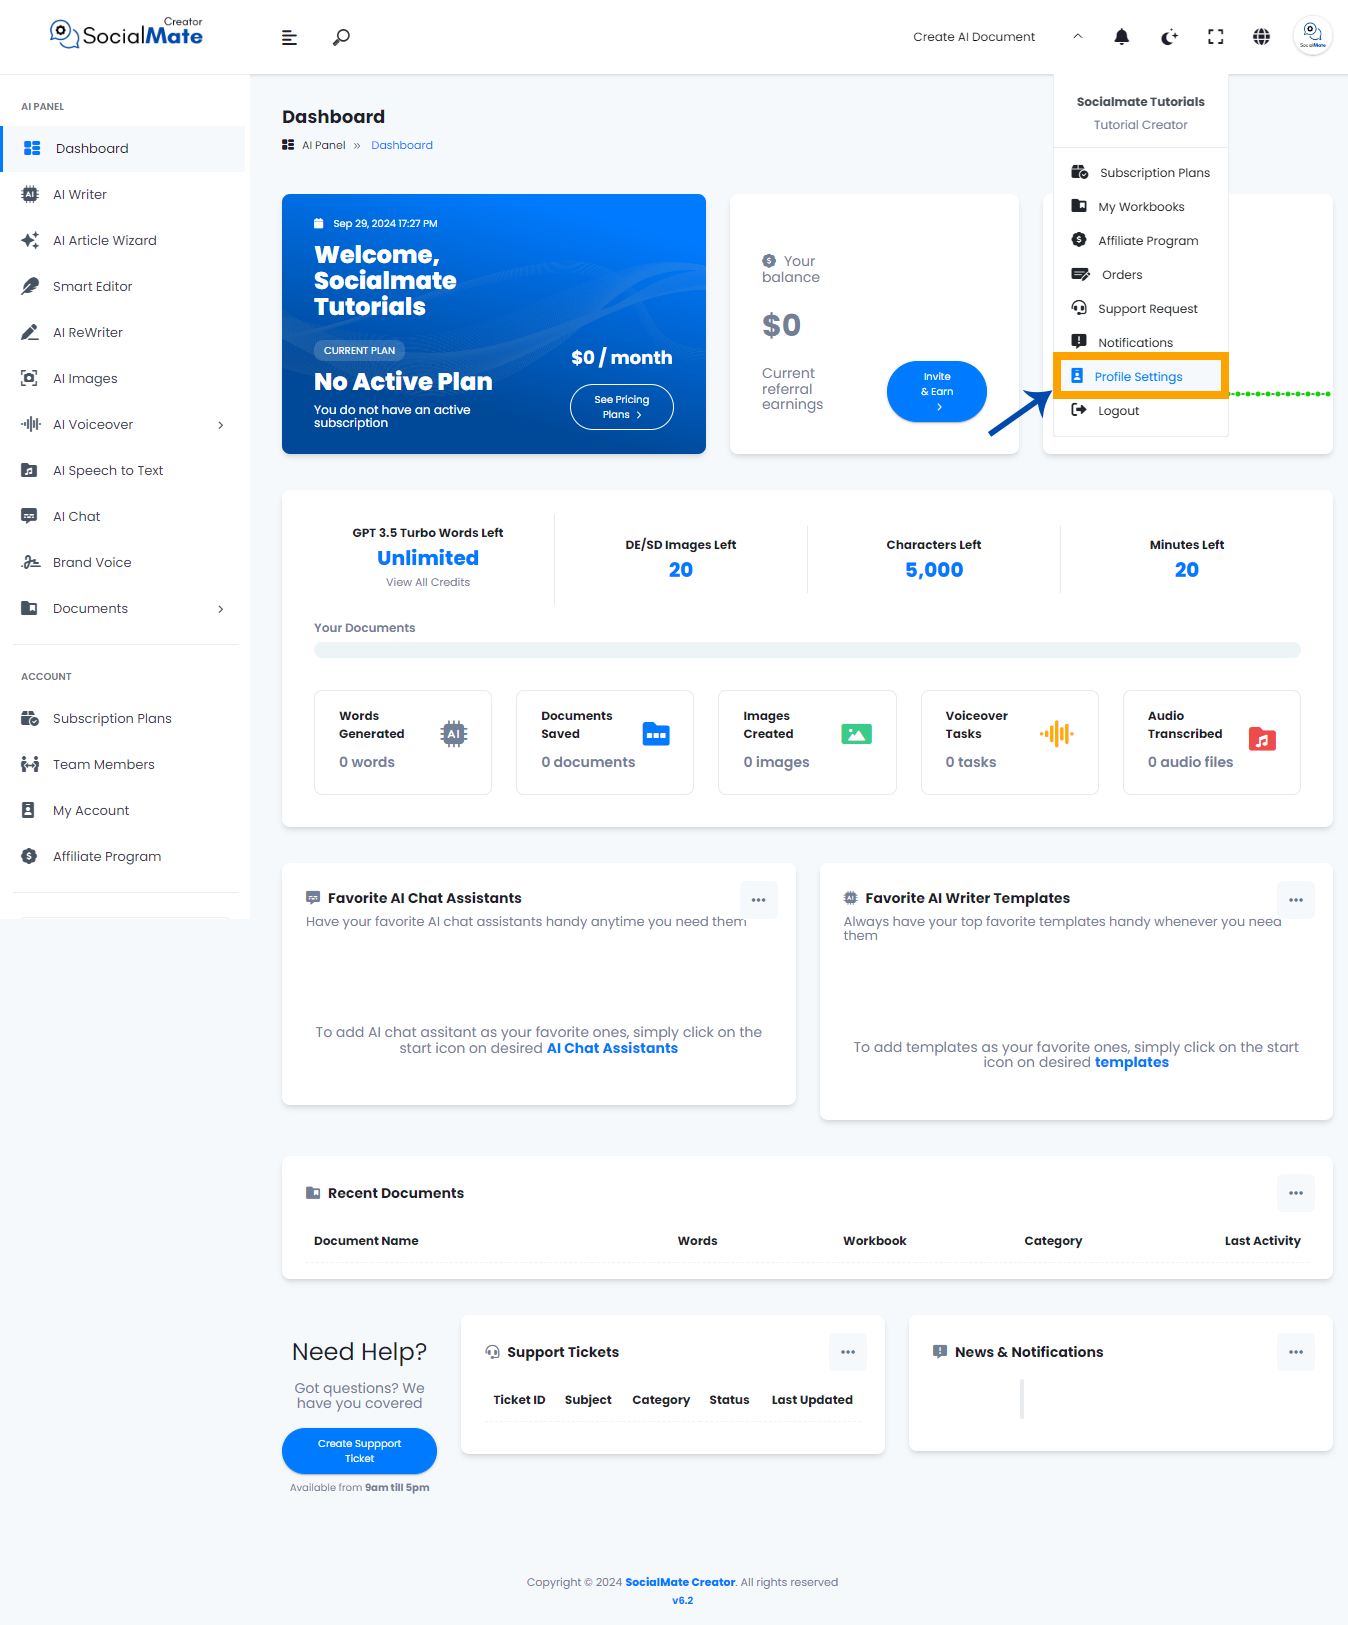
From the drop-down list, select Profile Settings.
10. Select Personal API Keys
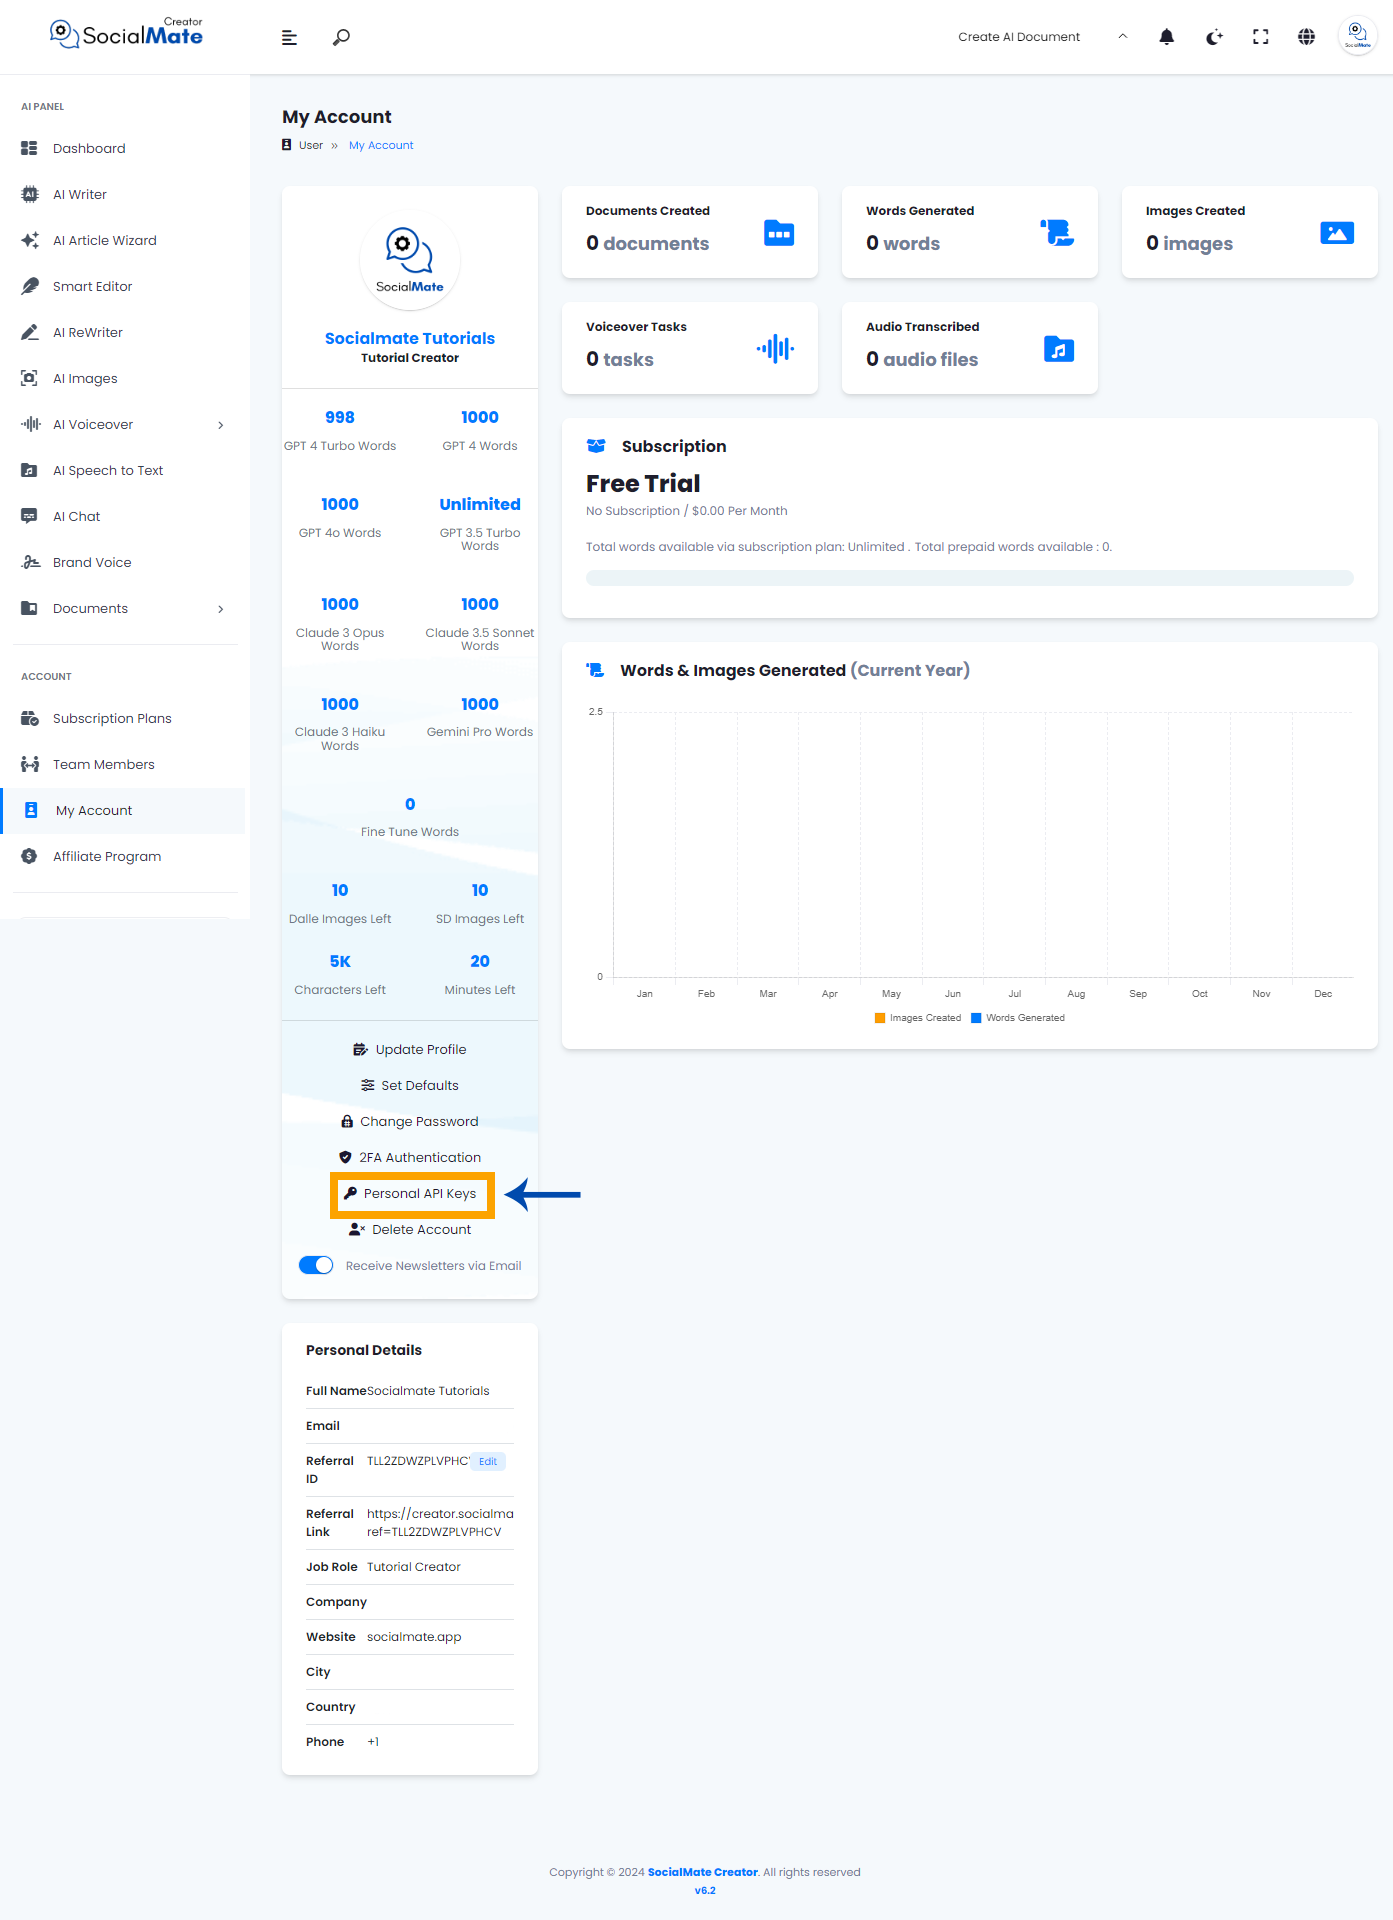
Now that you’re in your account, scroll down until you find Personal API Keys on the left and select it.
11. Paste Your Secret API Key

You will see an empty field above titled Enter Your OpenAI Secret Key. In this field, paste the secret key you copied from the OpenAI platform.
12. Start Using SocialMate Free AI Tools
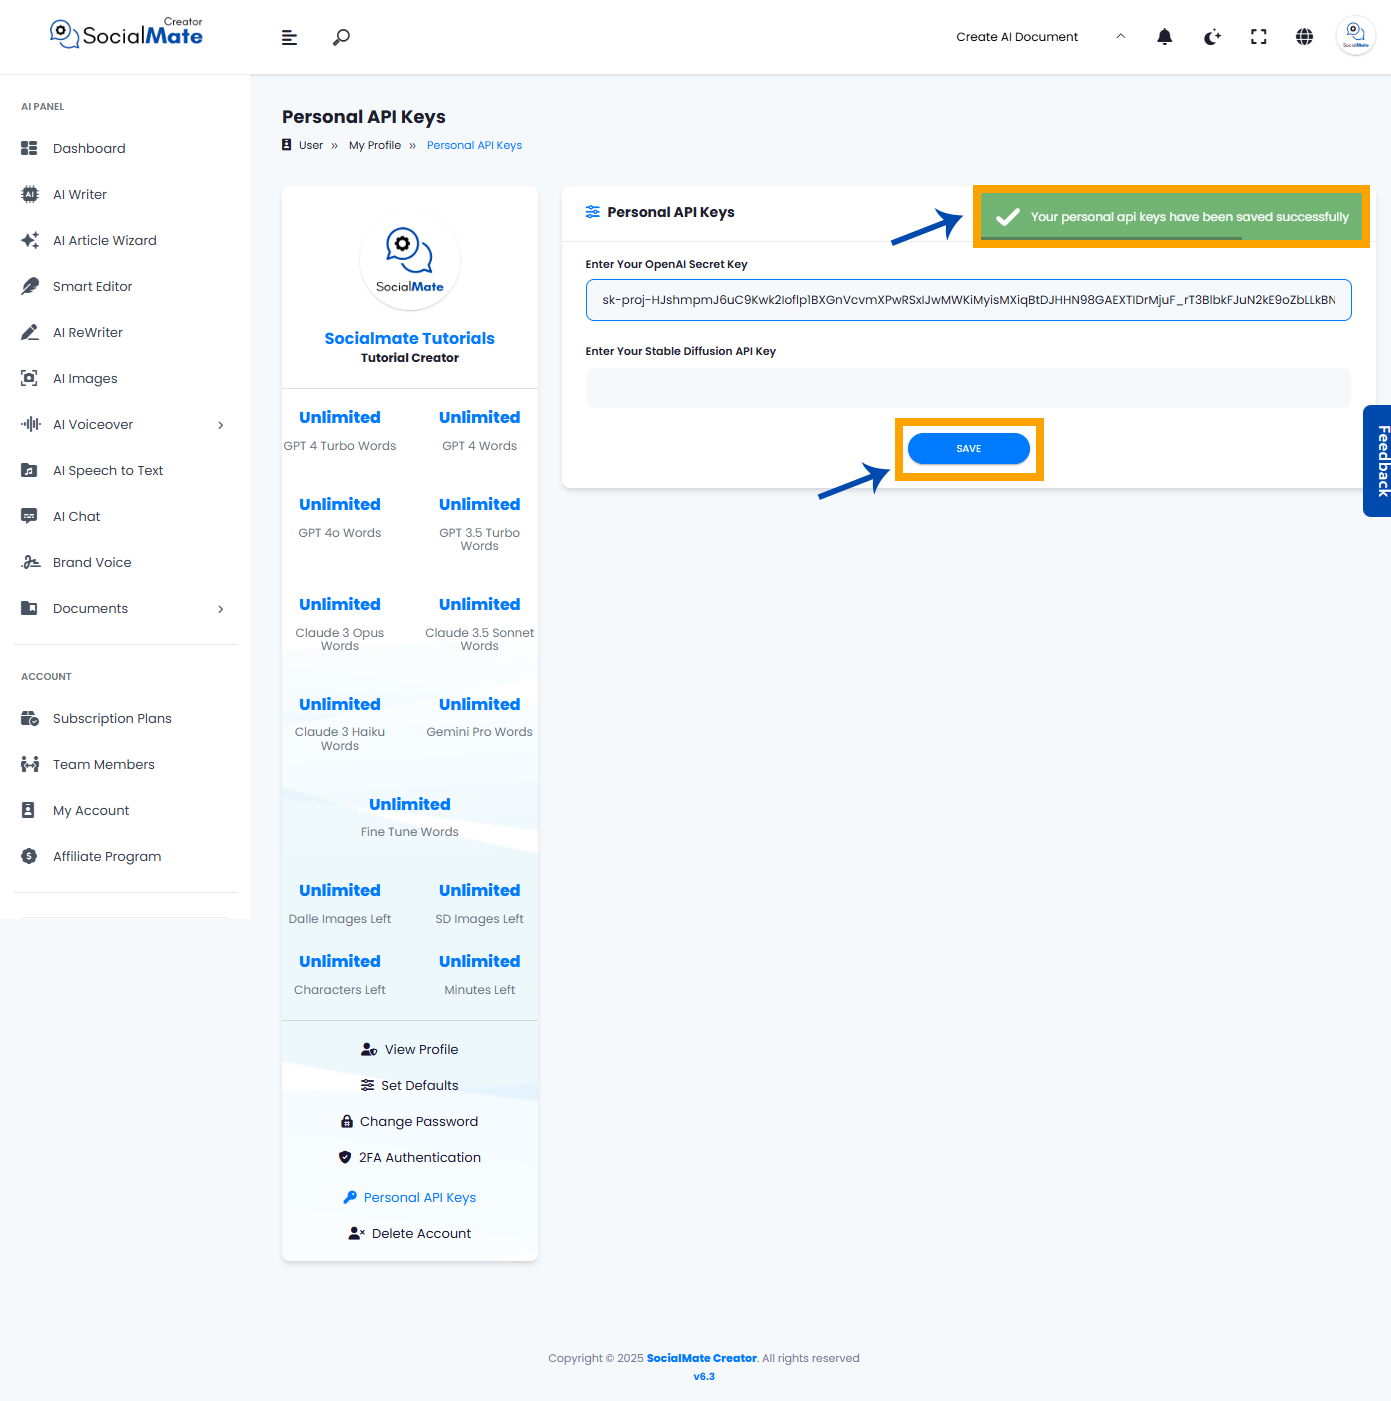
Congratulations! After pasting your secret API key, a green message will appear saying, “Your Personal API Key has been saved successfully.” Just click on Save. You have now successfully connected your OpenAI API with SocialMate. You can now start using the AI tools on SocialMate freely!
Buy Credit to Your OpenAI Account
As you know, SocialMate is completely free, offering all its AI tools at no cost. However, OpenAI is not entirely free. When you create an account on OpenAI, you receive a free credit of $5 to use. Once you exhaust this free budget, you will automatically move to the second tier, where you’ll need to purchase credits to continue using OpenAI. This is separate from SocialMate, which remains entirely free, as mentioned earlier, with no payments required.
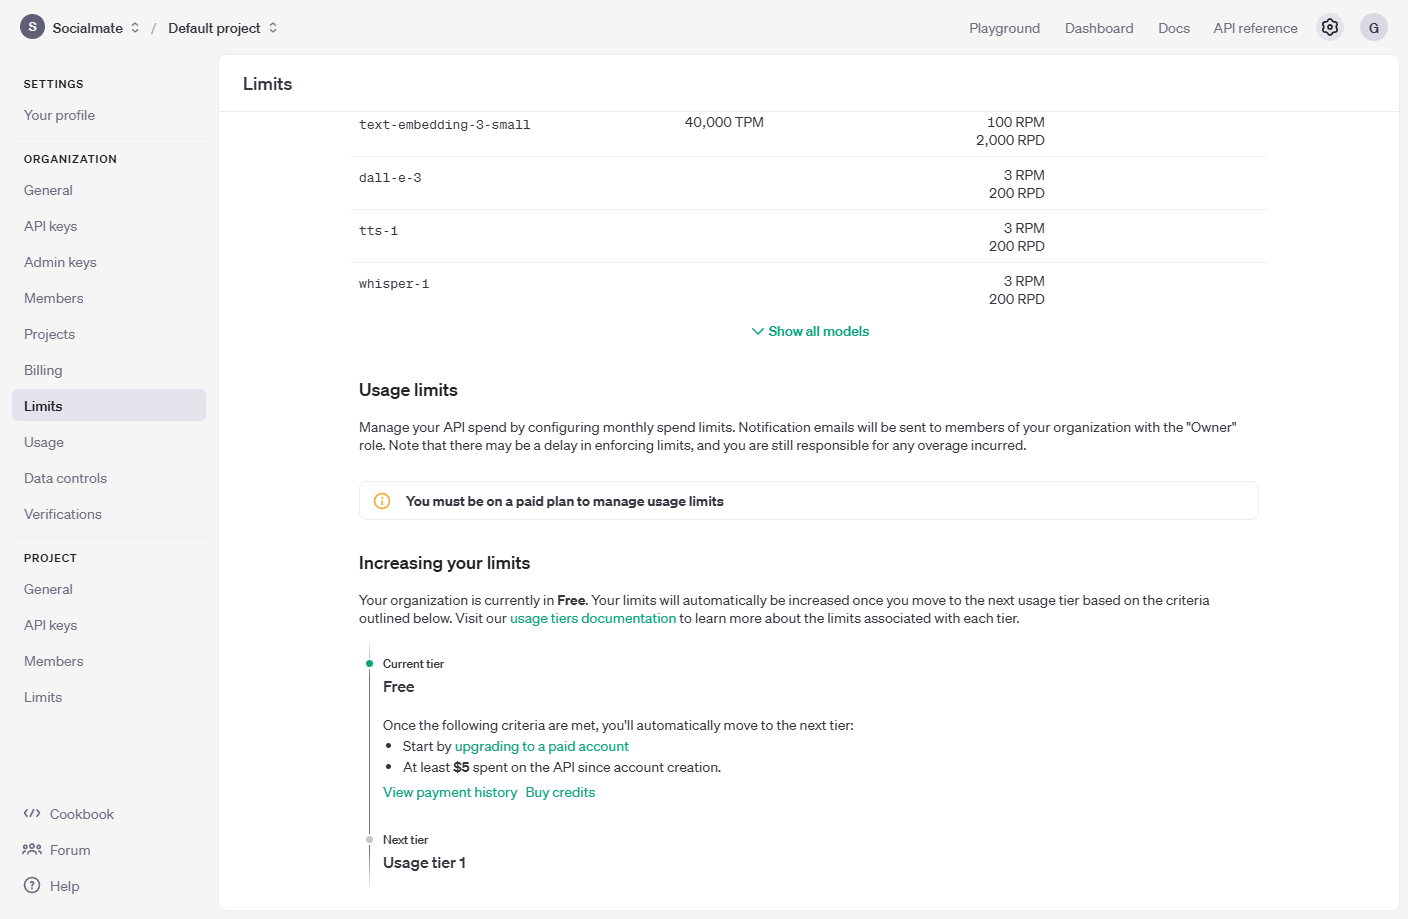
You can check the limits provided by OpenAI by visiting https://platform.openai.com/settings/organization/limits, you can also check the pricing by visiting https://openai.com/api/pricing/ but make sure to sign in first so you can access the pages and view the details.
Buying credits on OpenAI is quite easy. All you need to do is follow these simple steps:
1. Click on the Settings Icon
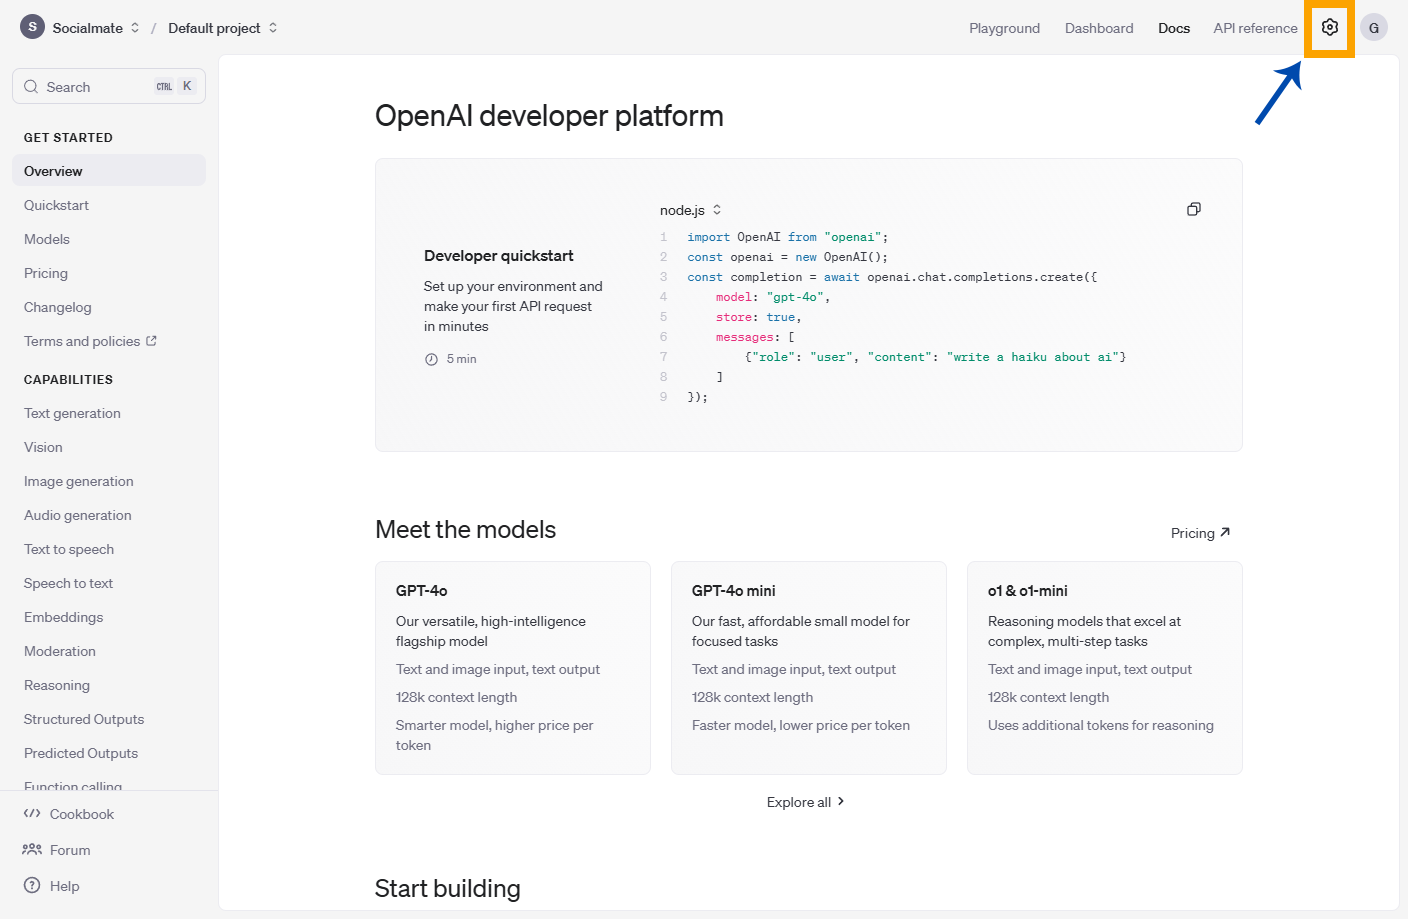
Go to your OpenAI Dashboard and click on the Settings icon.
2. Select Billing

Select Billing from the left sidebar.
3. Add Your Payment Details
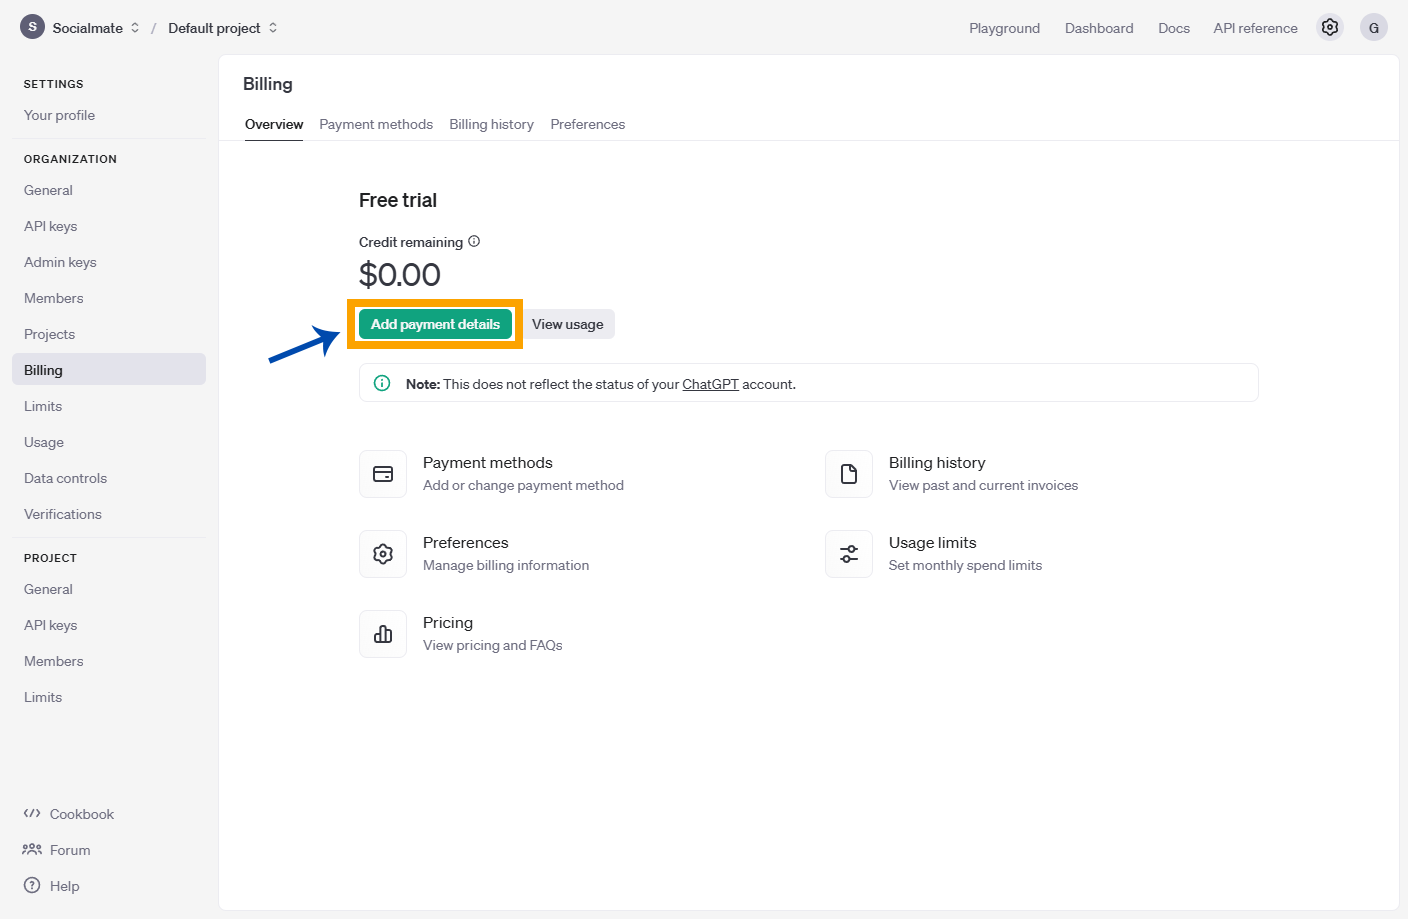
Now, add your payment details by clicking on the Add Payment Details button.
4. Fill Out Your Payment Details
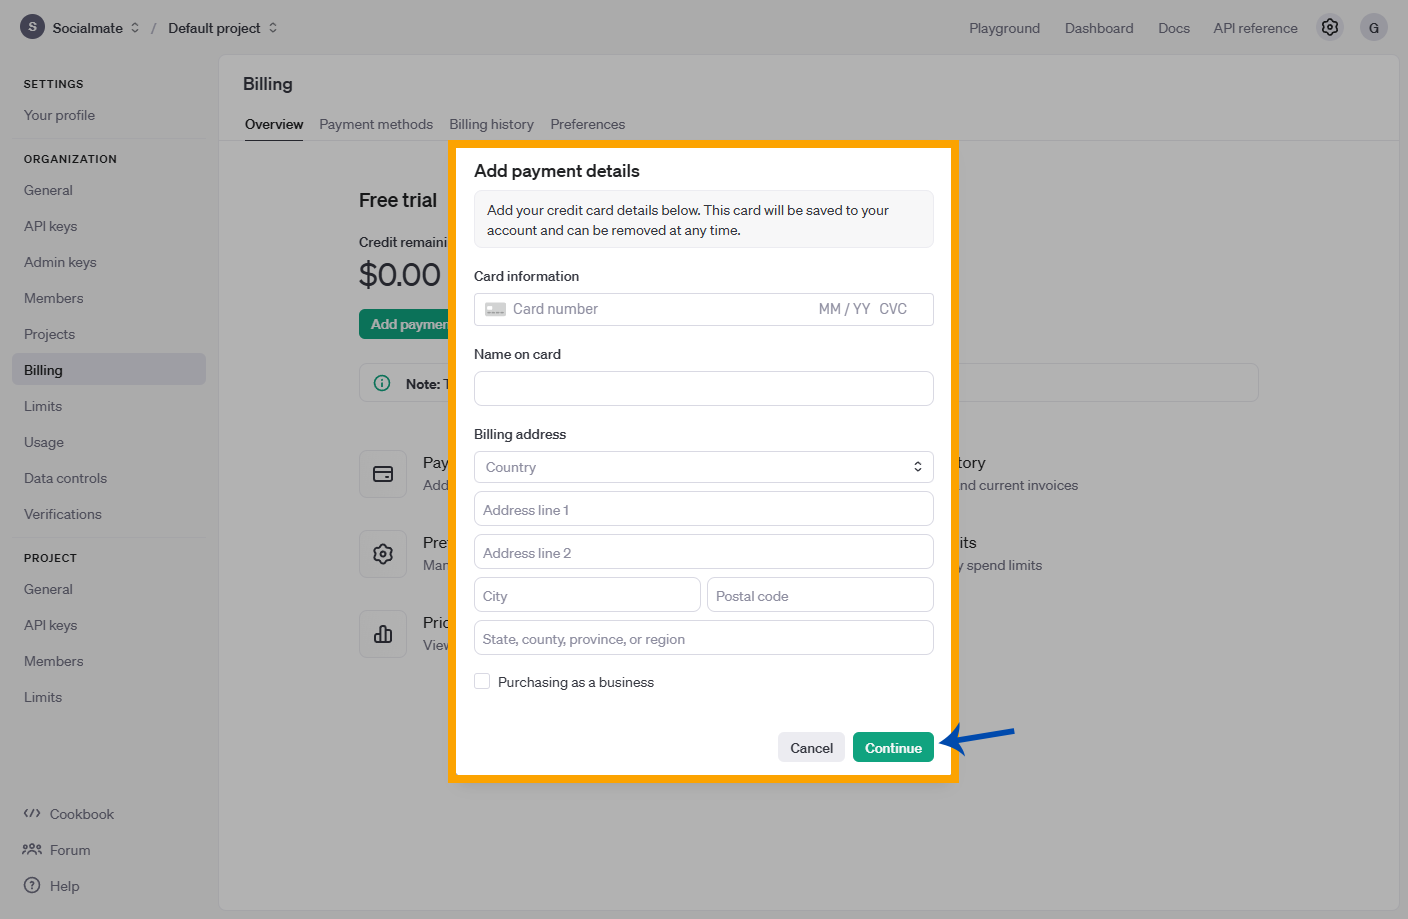
Now, fill out your personal credit card details to save them for future use, and then click Continue.
Once you’ve completed these steps, your payment details will be saved, and you’ll be ready to purchase credits whenever needed. You can now continue using OpenAI’s powerful tools seamlessly while enjoying the free features provided by SocialMate. Happy creating!


