AI Text to Speech technology allows written content to be converted into natural-sounding speech using artificial intelligence. This tool is incredibly versatile, enabling you to generate voiceovers, narrations, and spoken content from text in just a few clicks. It can mimic various accents, tones, and emotions, making it ideal for applications such as audiobooks, podcasts, and accessibility services for the visually impaired. By leveraging AI, this technology delivers lifelike voice quality, reducing the need for human voiceover artists and speeding up the production process for various multimedia projects.

Creating lifelike audio with our AI Text to Speech tool is simple and intuitive. All you need to do is input your text, and the AI will convert it into natural-sounding speech within moments. You can also choose from various options such as voice tone, language, and type to perfectly match the style of your content. Once you’ve set your preferences, just click “Synthesize,” and your custom voiceover will be ready in seconds. No recording experience is required—our AI makes it easy to transform your written words into professional-quality speech effortlessly.
| Let’s walk through the steps to quickly generate lifelike speech using the AI Text to Speech tool, with the power of AI at your command. |
You can locate the AI Voiceover “Text to Speech” tool in the AI Panel on the left side of the screen.
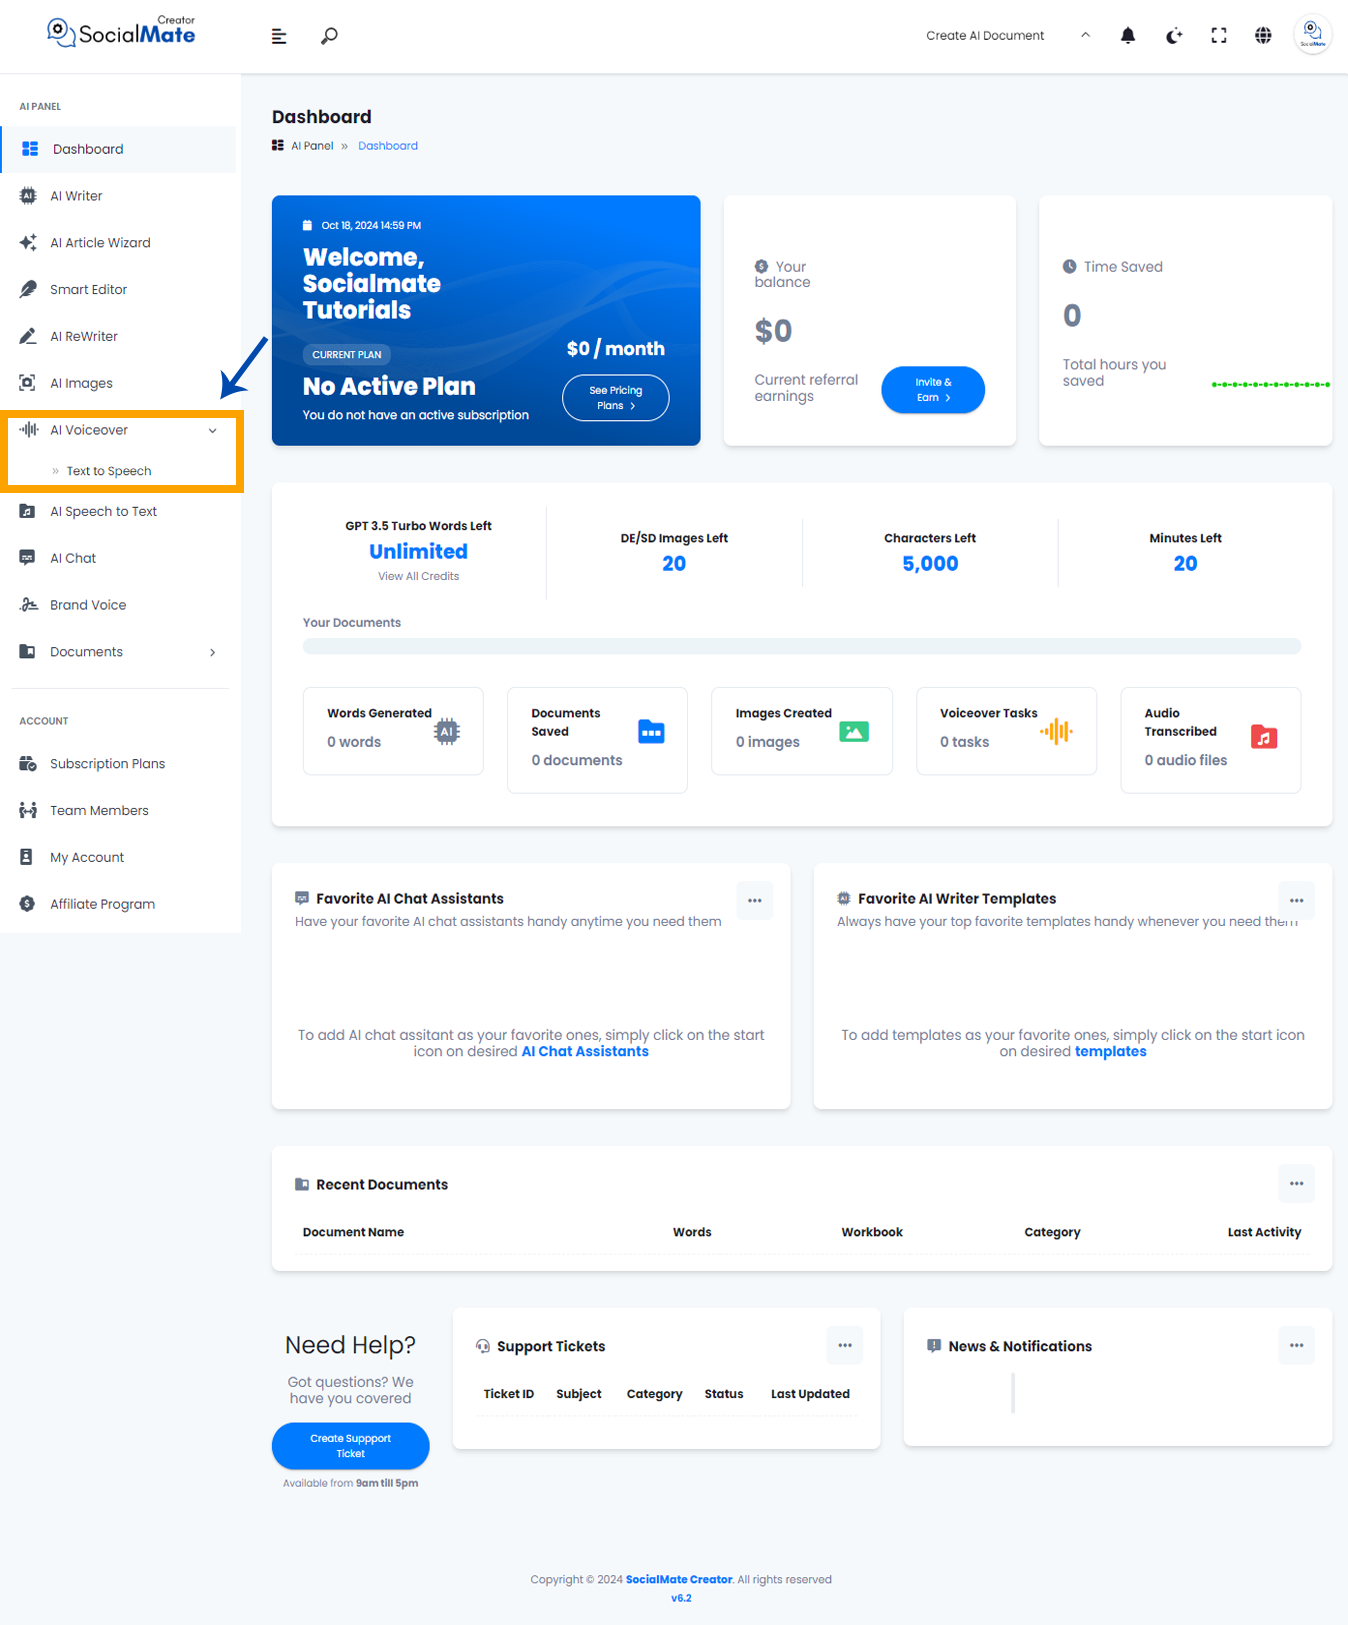
When you click on the tool, a new window will appear.
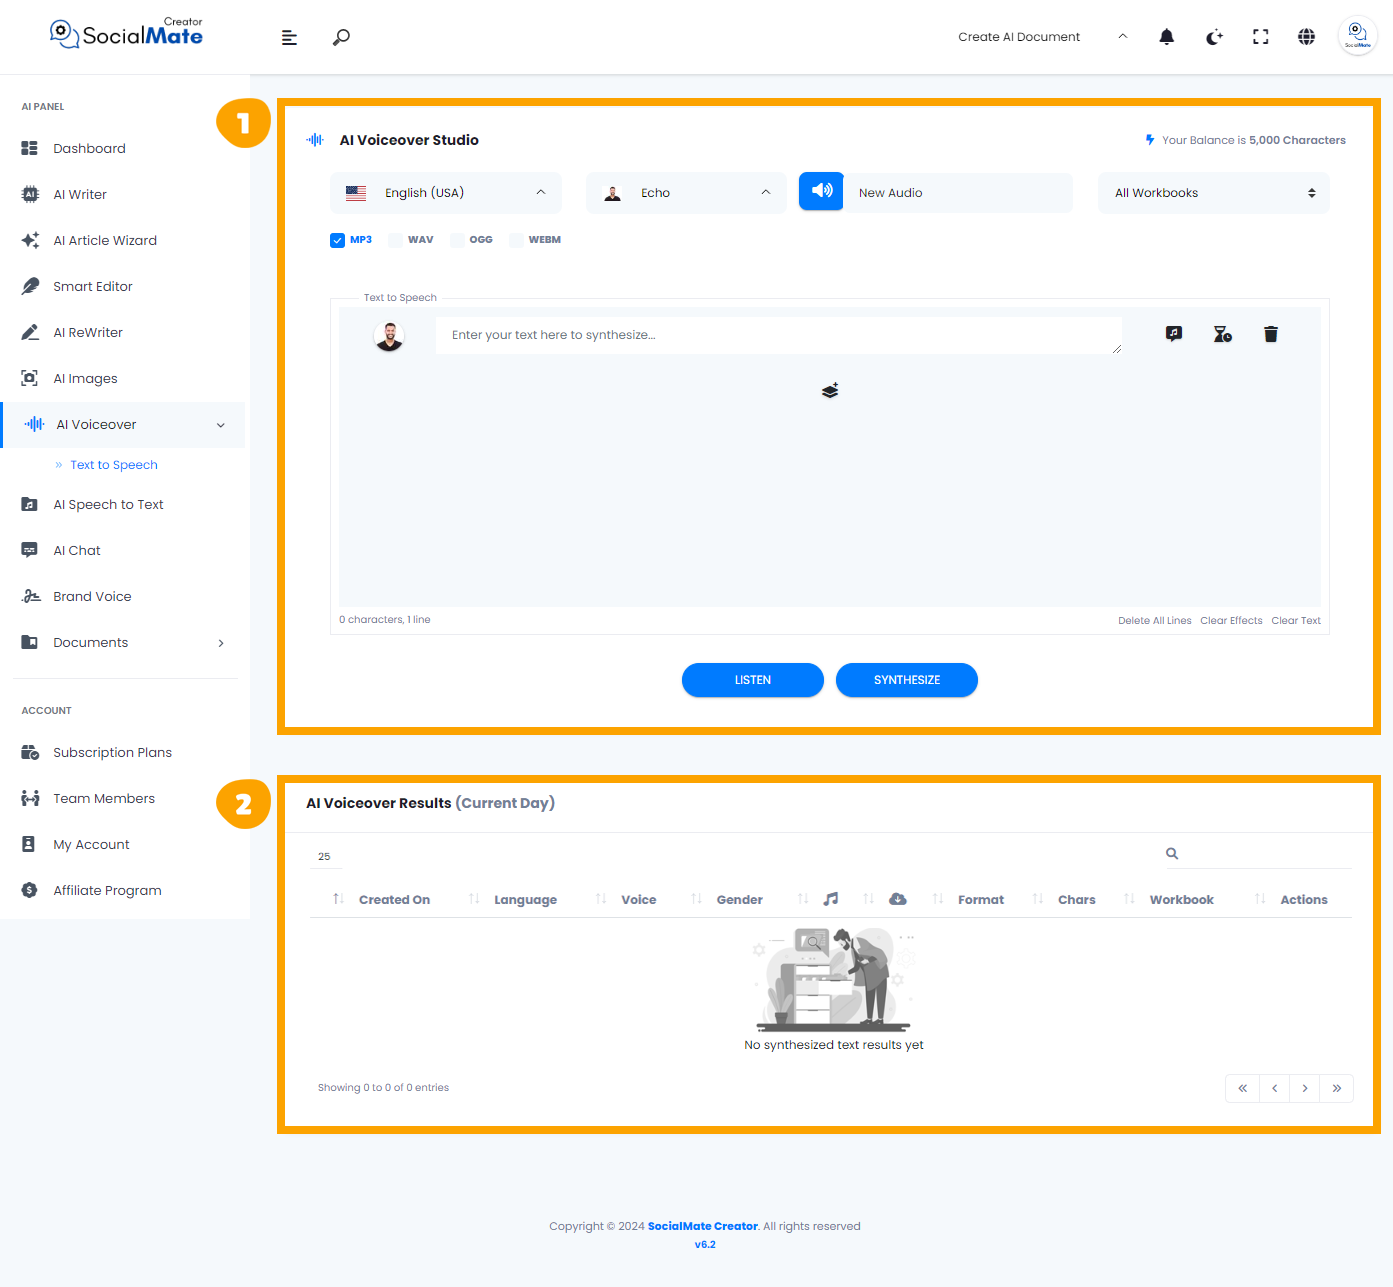
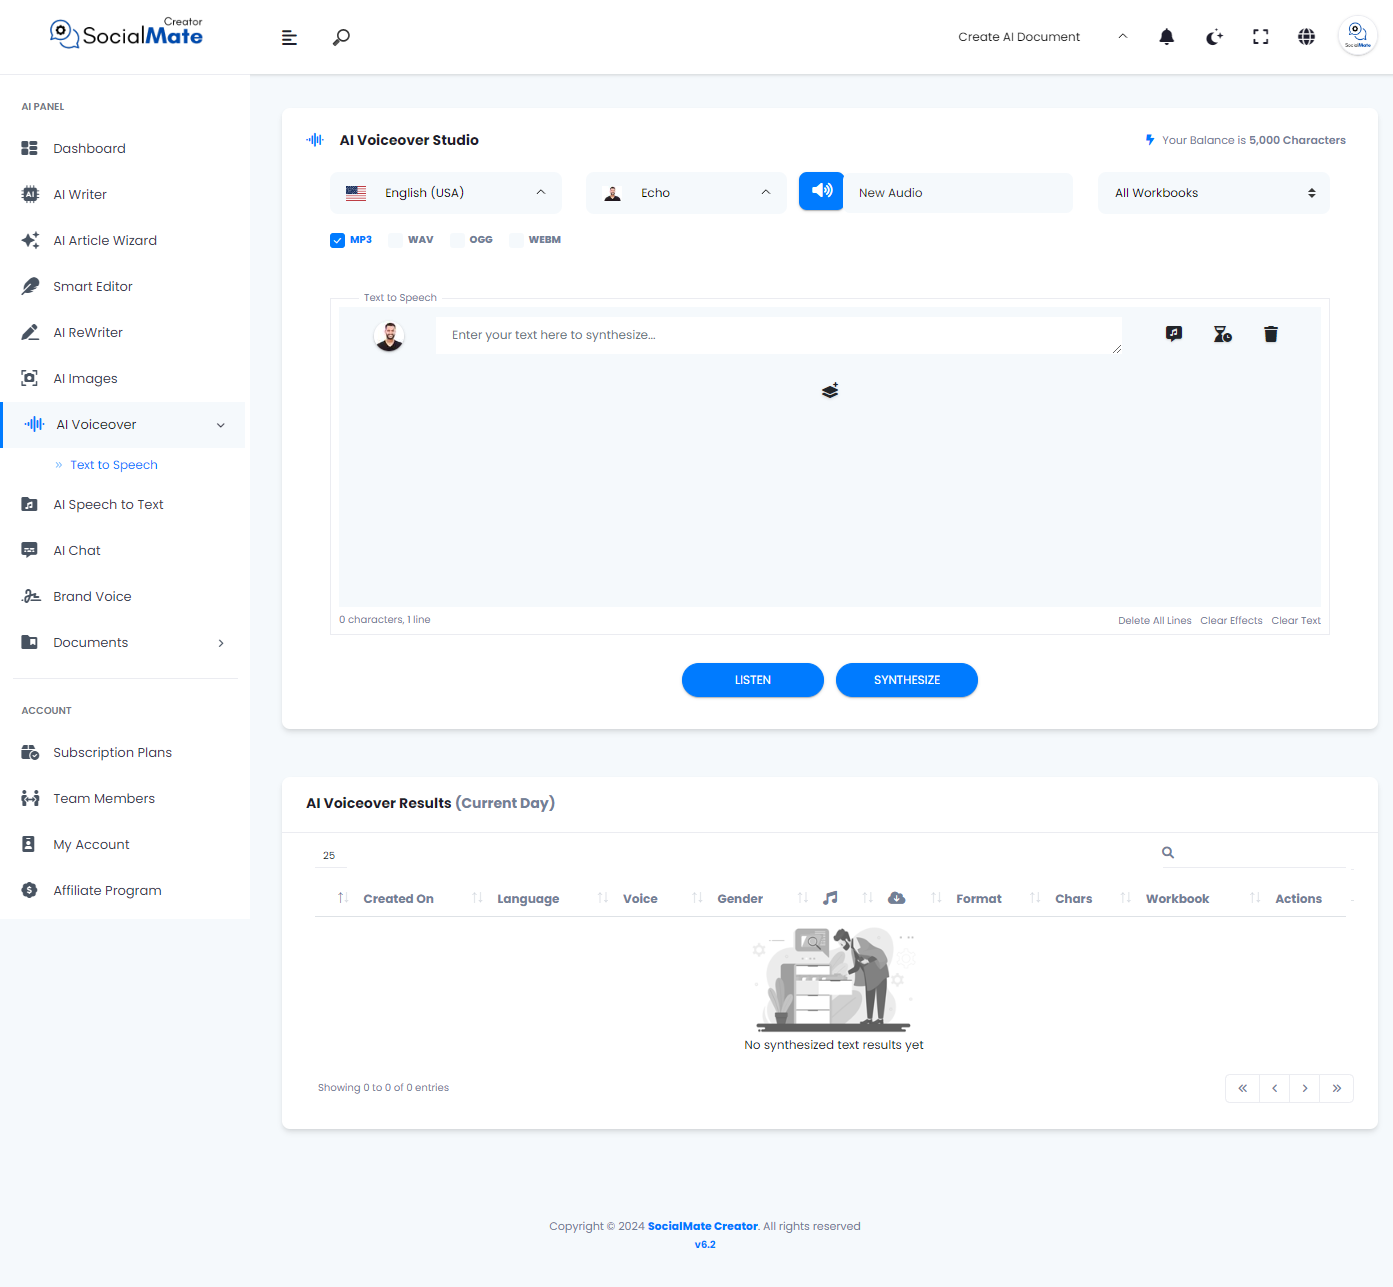
1- In the window above, you’ll see an input field where you can type your text and choose the settings to craft your ideal voiceover.
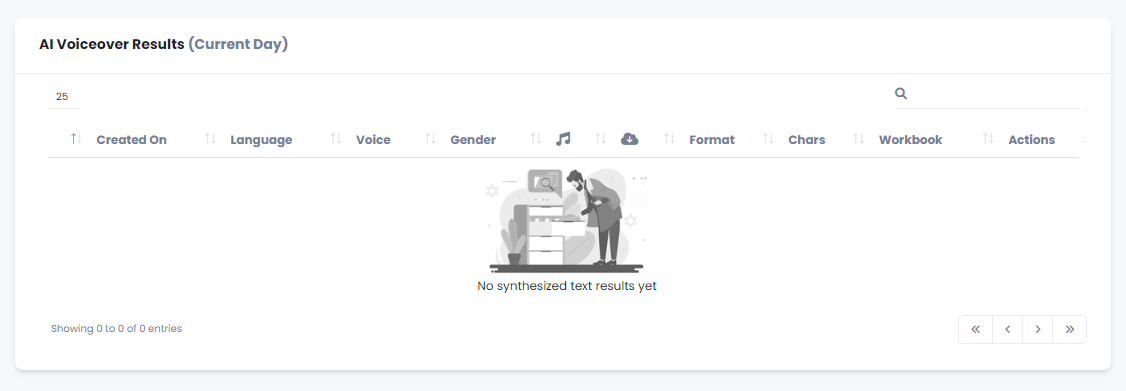
2- In the window below, you’ll find the results along with all the information related to your generated AI voice.
Let’s break down the input fields on the upper window:
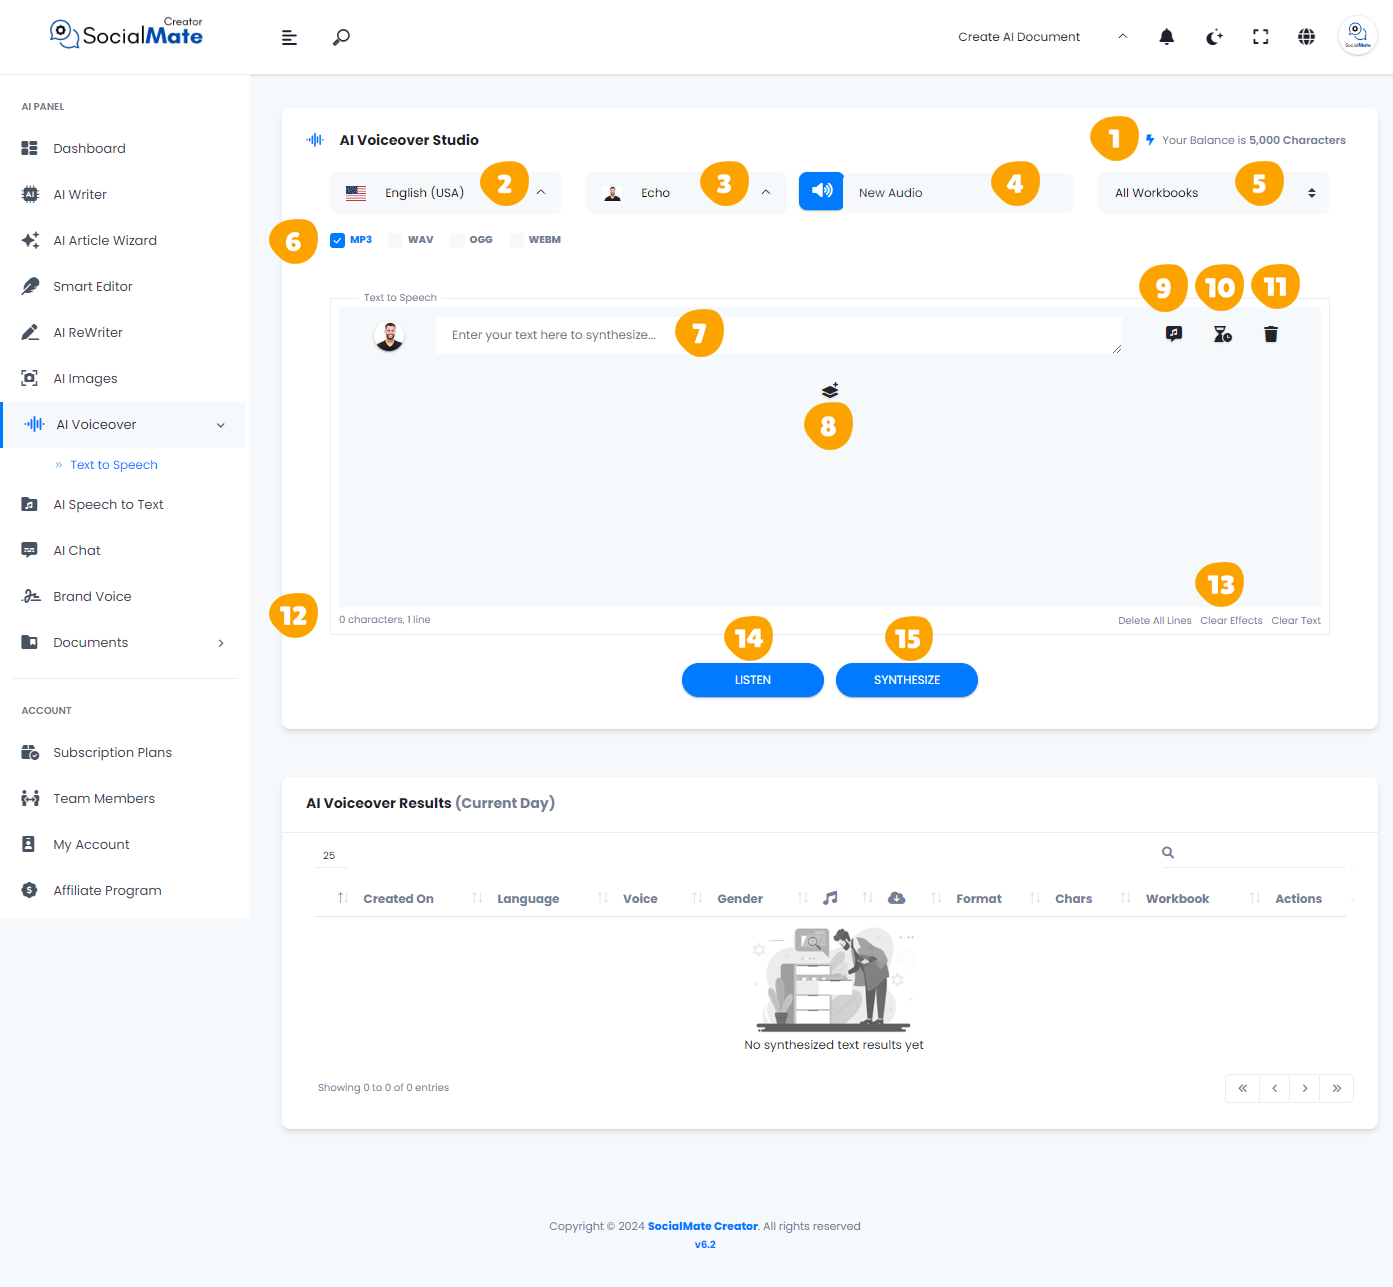
1. Your Balance:
This displays the available credits for generating AI Voiceover “Text to Speech”, depending on your subscription plan.

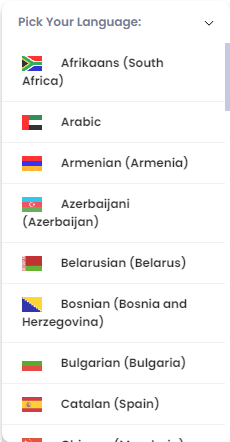
2. Language:
The “Language” feature shows all available languages for your AI voiceover, allowing you to easily select options that cater to diverse audiences.

3. Voice:
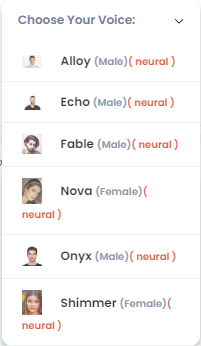
The “Voice” option lets you choose your preferred voice from a dropdown list, offering both male and female options. This allows you to select a voice that best suits the tone and style of your project.

4. Rename & Listen to Voice:
The “Rename & Listen to Voice” feature allows you to rename your audio file and ensures it fits your project by providing a playback option. By clicking the “Sound” icon, you can listen to the selected voice before finalizing your choice.

5. All Workbooks:
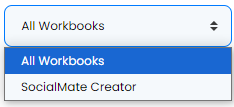
All Workbooks functions like a folder, allowing you to organize and store all your projects in one place. It serves as a document hub to neatly arrange your work, with more detailed explanations provided in the “Documents” section of the AI Panel.

6. Voice Extension:
The Voice Extension option lets you choose the file format for your voiceover, such as MP3, WAV, OGG, or WEBM. The available formats depend on your subscription plan, allowing you to select the one that best suits your needs.

7. Text to Speech Box:
This box is where you input the text you want to convert into a voiceover. Simply type or paste your content, and the AI will generate the voiceover based on your entry.

8. New Text Block:
The New Text Block feature allows you to add additional text sections as needed. Each block can have its own unique voice, giving you flexibility to mix different voices within the same project.


9. Listen Text:
The Listen Text option allows you to hear the text you’ve entered using the selected voice. This helps you determine if the voice fits your project or if you’d prefer to choose a different one.


10. Pause After Text:
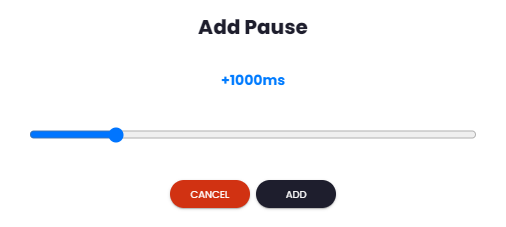
The Pause After Text feature allows you to insert a pause after specific sections or sentences of your text. This helps create a more natural flow in the voiceover, enhancing its pacing and clarity.

11. Delete Text Block:
The Delete Text Block option lets you remove a text block that you previously created. Simply click the icon to delete the entire row of text and its associated voice settings.

12. Numbers of Characters & Lines:
The Number of Characters & Lines feature displays the total characters and lines you’ve written. It helps you track the exact word count used in your voiceover, ensuring accuracy and meeting any length requirements.

13. Clear Options:
The “Clear Options” provide three ways to remove content or effects from your project:
- Delete All Lines: Erases all the text blocks you’ve added.
- Clear Effects: Removes any sound effects applied to your voiceover.
- Clear Text: Deletes the text you’ve entered, allowing you to start fresh.
These options help you easily reset different elements of your project as needed.

14. Listen:
By clicking the “Listen” button, you can hear your entire project as a whole. This provides a complete overview of how your voiceover sounds, helping you assess the overall flow and quality.

15. Synthesize:
This is the final step where you confirm that everything is in order and ready for export. To complete the process, simply click the “Synthesize” button to generate your finished project.

Understanding these fields is crucial for creating impressive voiceovers, as each setting significantly influences the final result.
Now, let’s understanding the Lower window:
AI Voiceover Results:
The “AI Voiceover Results” section displays all your completed projects in a convenient list. In this window, you can see details such as the creation date, the language used, the selected voice, the voice’s gender, and the formats, providing a comprehensive overview of your voiceover work.
Implementation
Now, why not follow the steps above and create an AI Voiceover “Text to Speech” using our tool?
Your Balance: The balance will be deducted based on the subscription plan; however, if you use your own API, you can create as many voiceovers as you like.
Language: We will keep the language set to English.
Voice: We will select two different voices: a male voice named “Alloy” and a female voice named “Nova.”
Rename & Listen to Voice: We’ll rename the voiceover to “AI Voiceover Example.”
All Workbooks: We will choose the document we created earlier in the Document section of the AI Panel.
Voice Extension: We will keep the voice extension as MP3.
Text to Speech: In the first row, we will write, in a male voice, “Why is AI voiceover so important these days?” and add a pause after this text.
In the second row, we will write, in a female voice, “AI voiceover is essential because it allows creators to produce high-quality audio content quickly and cost-effectively. It enhances accessibility, reaches diverse audiences, and can be customized to fit various tones and styles, making it invaluable for everything from marketing to education.”

Now, let’s click the ‘Synthesize‘ button to transform our text into a captivating AI voiceover.
In conclusion, the AI voiceover tool offers a powerful and flexible way to create high-quality audio content tailored to your specific needs. From selecting the language and voice to customizing pauses and extensions, each feature plays a vital role in shaping the final output. By understanding and utilizing these functionalities—such as adding multiple text blocks, listening to previews, and managing your projects effectively—you can produce professional-grade voiceovers with ease. Whether for marketing, education, or entertainment, the AI voiceover technology empowers creators to bring their ideas to life, enhancing accessibility and engagement for diverse audiences. With just a click of the ‘Synthesize’ button, you can transform your text into a captivating voiceover, ready to make an impact.


