Brand voice is the distinct tone and personality a company uses to communicate consistently with its audience. With AI-generated content tailored specifically to your brand, you can create messaging that aligns perfectly with your values and identity without having to repeat company introductions. This AI-driven approach ensures that every piece of content feels personalized and authentic, helping you maintain a consistent voice across all the AI writer tools you use. By adapting to your brand’s unique style, the AI streamlines content creation, making communication more efficient while keeping your brand’s core message clear and cohesive.

Using AI Writer tools, you’ll come across an option to “Include Your Brand” which is designed to simplify content creation further. This feature enables you to store key information about your brand, such as your website, products, or services, so it can automatically be incorporated into new content. Instead of repeatedly inputting details for each piece, the “Brand Voice” tool pulls from this stored data, ensuring consistent, accurate messaging every time. This saves time while ensuring that your brand’s unique characteristics are reflected in every AI-generated piece of content.

Setting up the Brand Voice is a quick and straightforward process. Simply fill out a few mandatory fields once, and the information will be saved permanently. After that, with just a single click on the “Include Your Brand” button, you can automatically pull in all your brand’s details whenever you use any of the AI Writer tools, eliminating the need to re-enter the information each time.
| Let’s walk through the steps on how to use the Brand Voice tool to enhance your content creation with this feature. |
1. Select Brand Voice
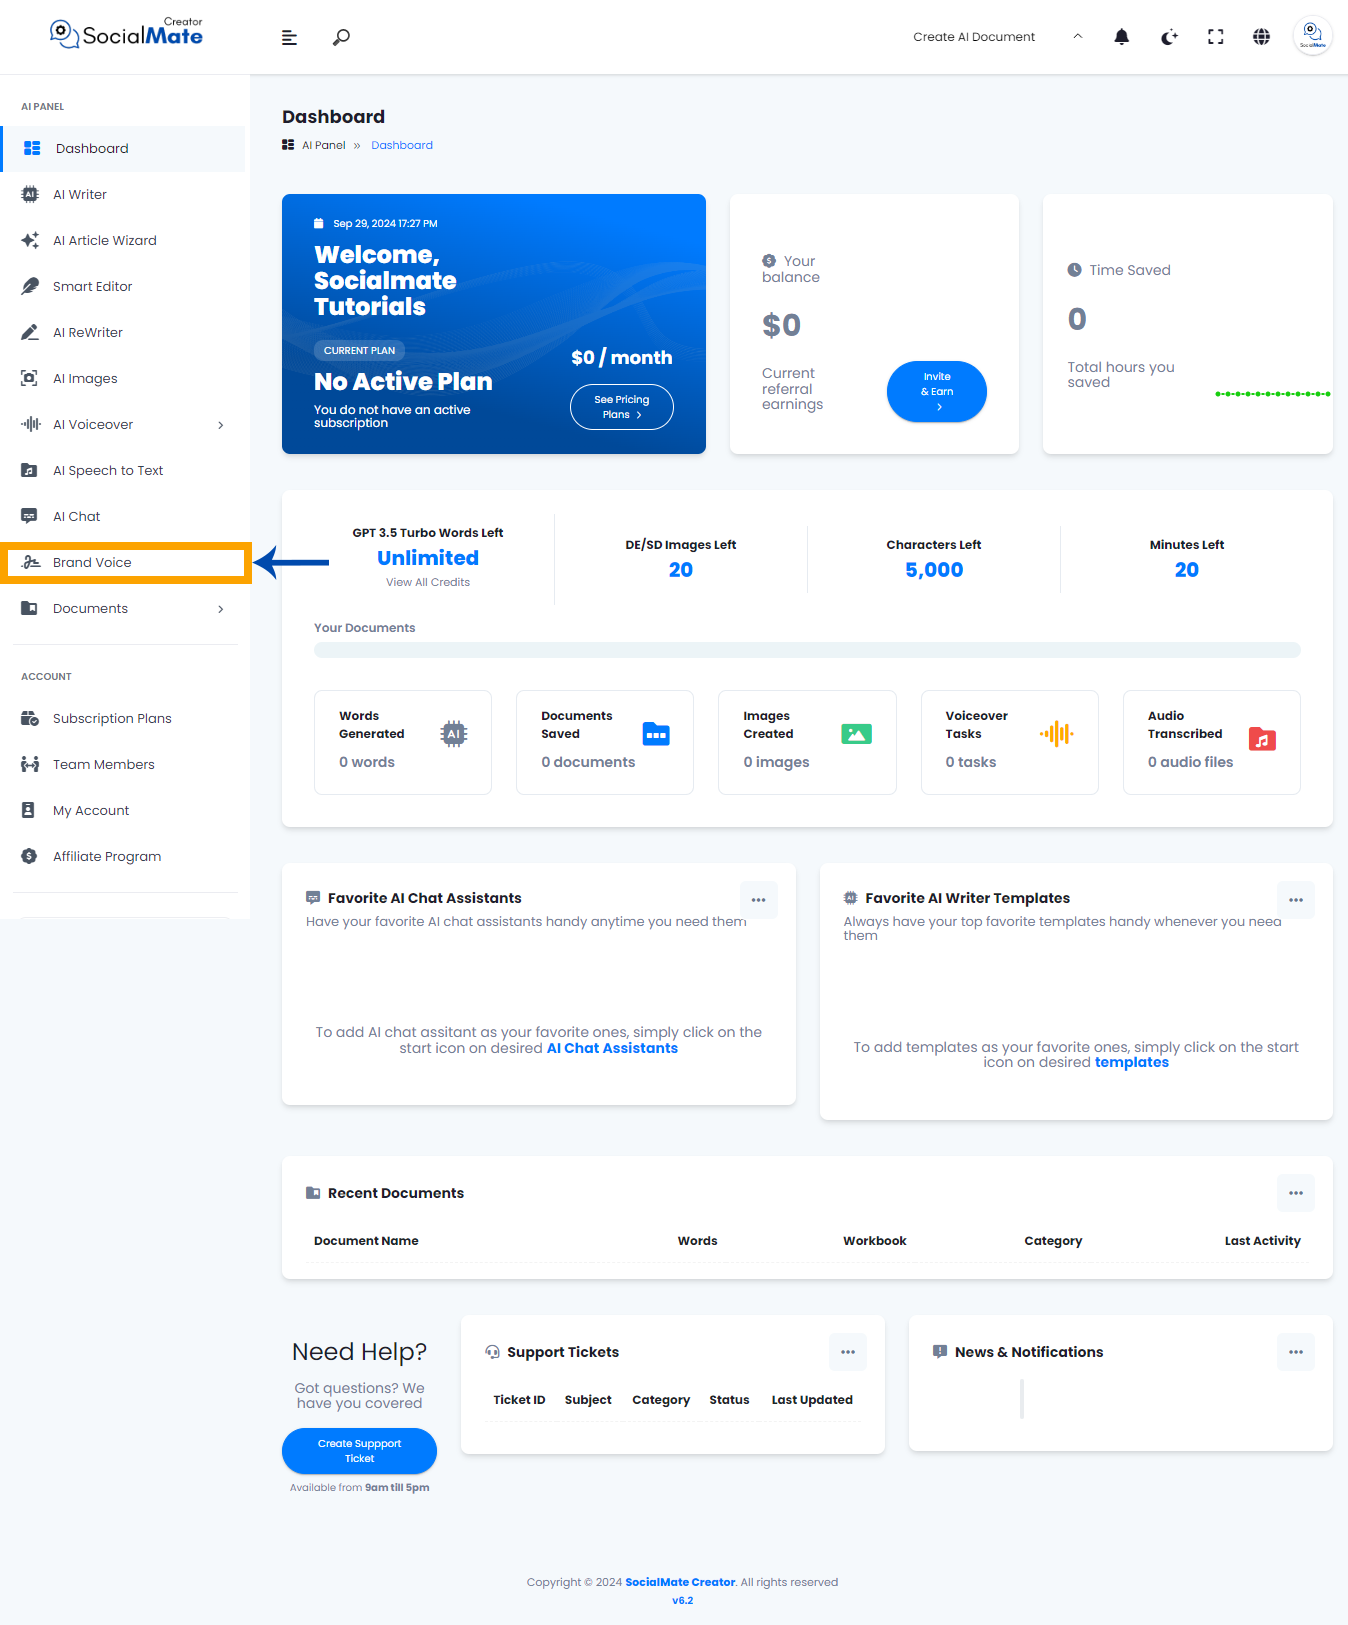
In your Socialmate Dashboard, navigate to the AI panel on the left side and select “Brand Voice.”
2. Click the “Add New Brand” Button
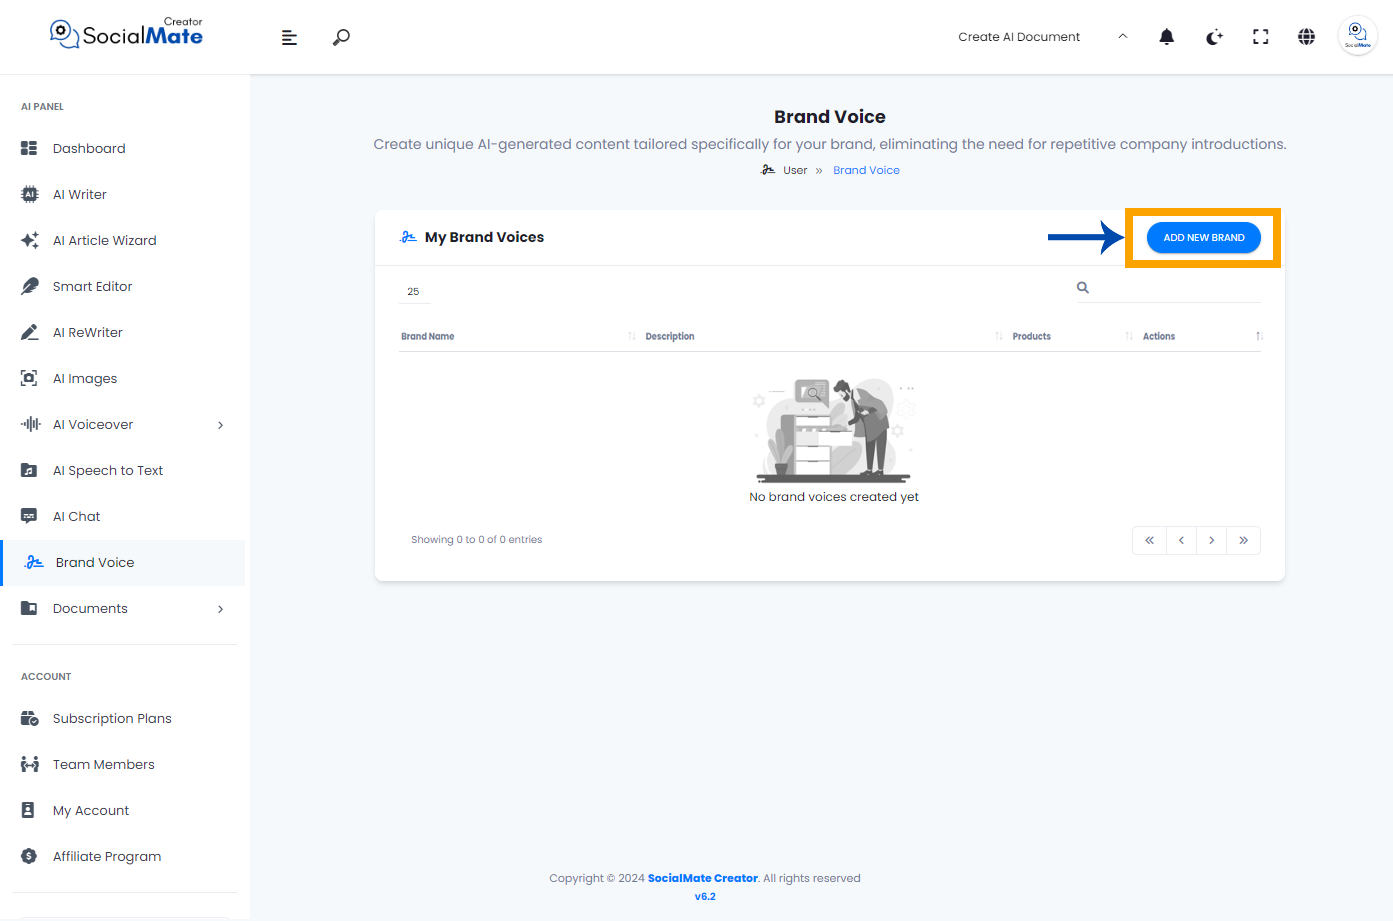
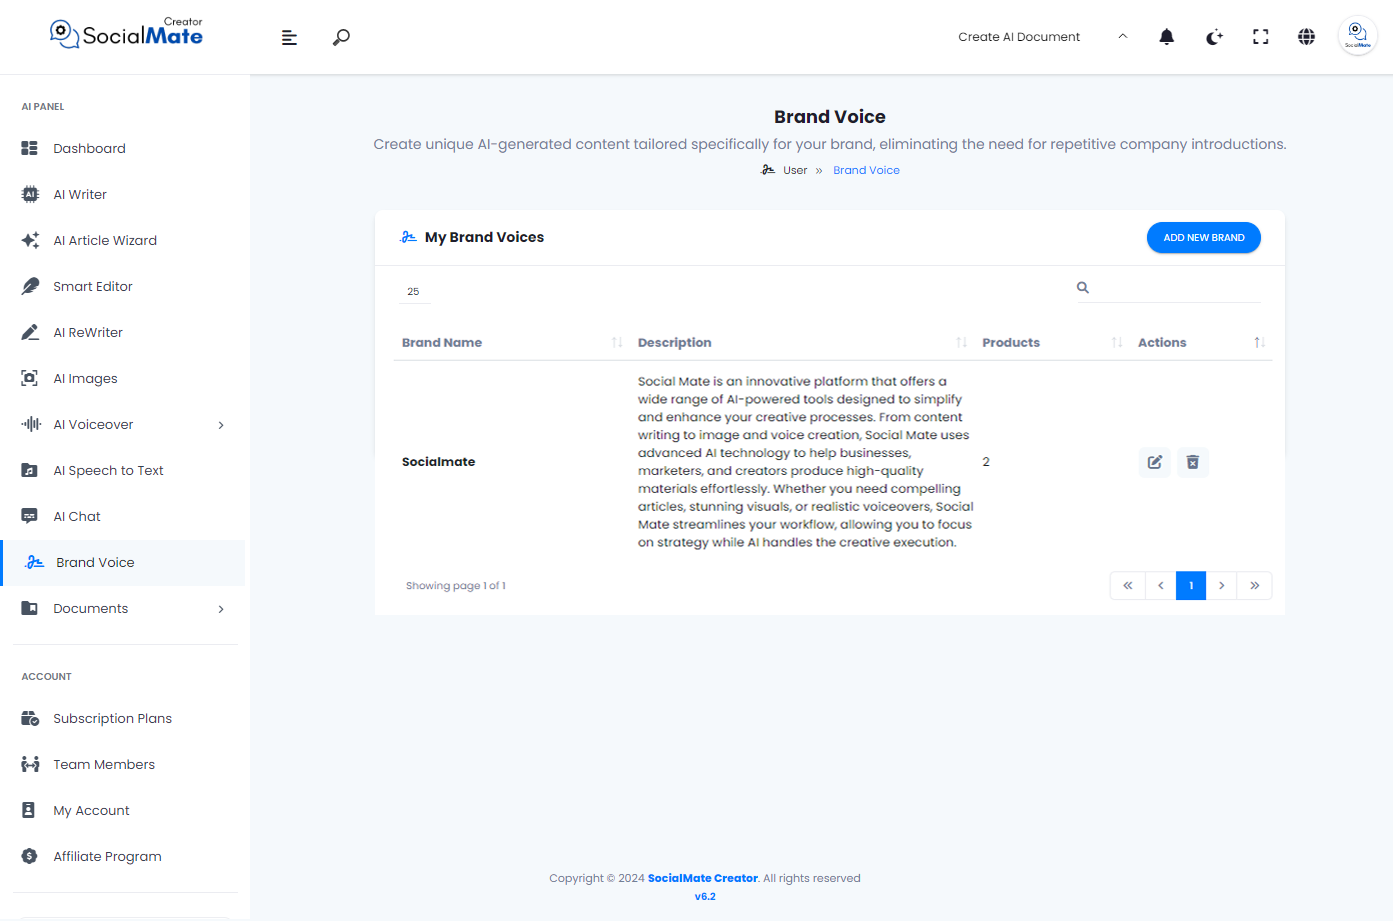
Once you select “Brand Voice,” a new window will appear showing a history of any brand voices you’ve previously created. Since we haven’t created one yet, the list will be empty, as shown in the image below. To begin creating your brand voice, click the “Add New Brand” button.
3. Familiarize Yourself With the Two Types of Data
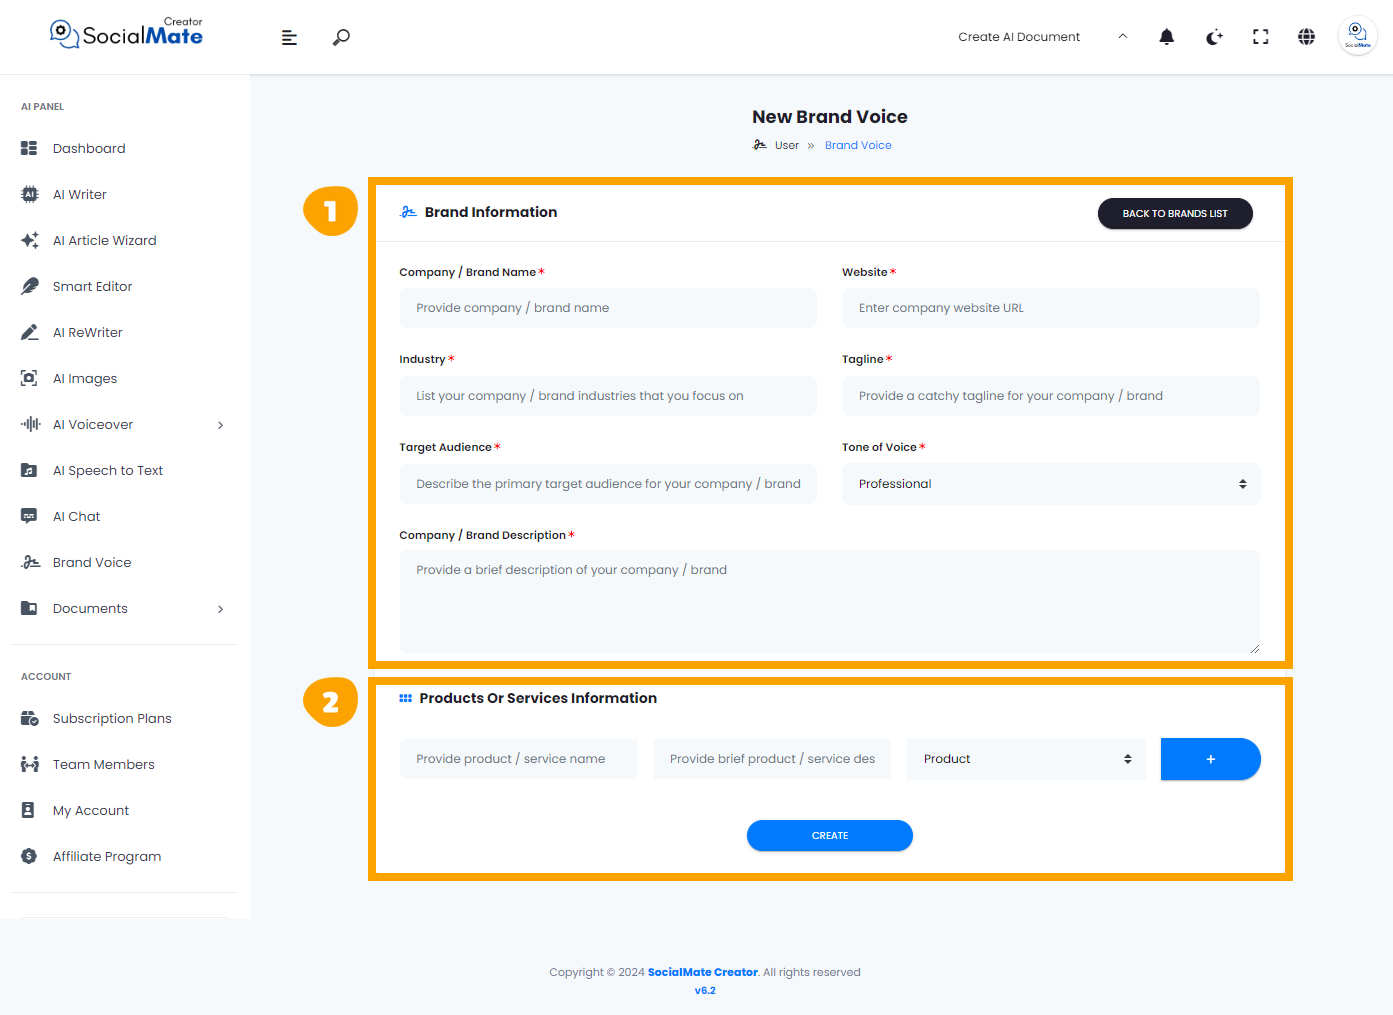
Now you will come across to different two types of data you need to fill out, which are:
1- Brand Information:
Brand information includes essential details that define your company’s identity. This encompasses your company or brand name, website URL, and the industries you focus on. A catchy tagline can succinctly capture your brand’s essence, while a clear description provides insight into what you offer. It’s also important to identify your primary target audience to tailor your messaging effectively. Maintaining a professional tone of voice throughout all communications reinforces your brand’s credibility and aligns with its overall image.
2- Product or Service Information:
Product or service information outlines the key offerings of your brand. This includes the name of each product or service, which should be memorable and reflective of its purpose. A brief description highlights the main features and benefits, providing potential customers with a clear understanding of what to expect. This information is crucial for attracting interest and conveying the value of your offerings, helping to differentiate your brand in the market.
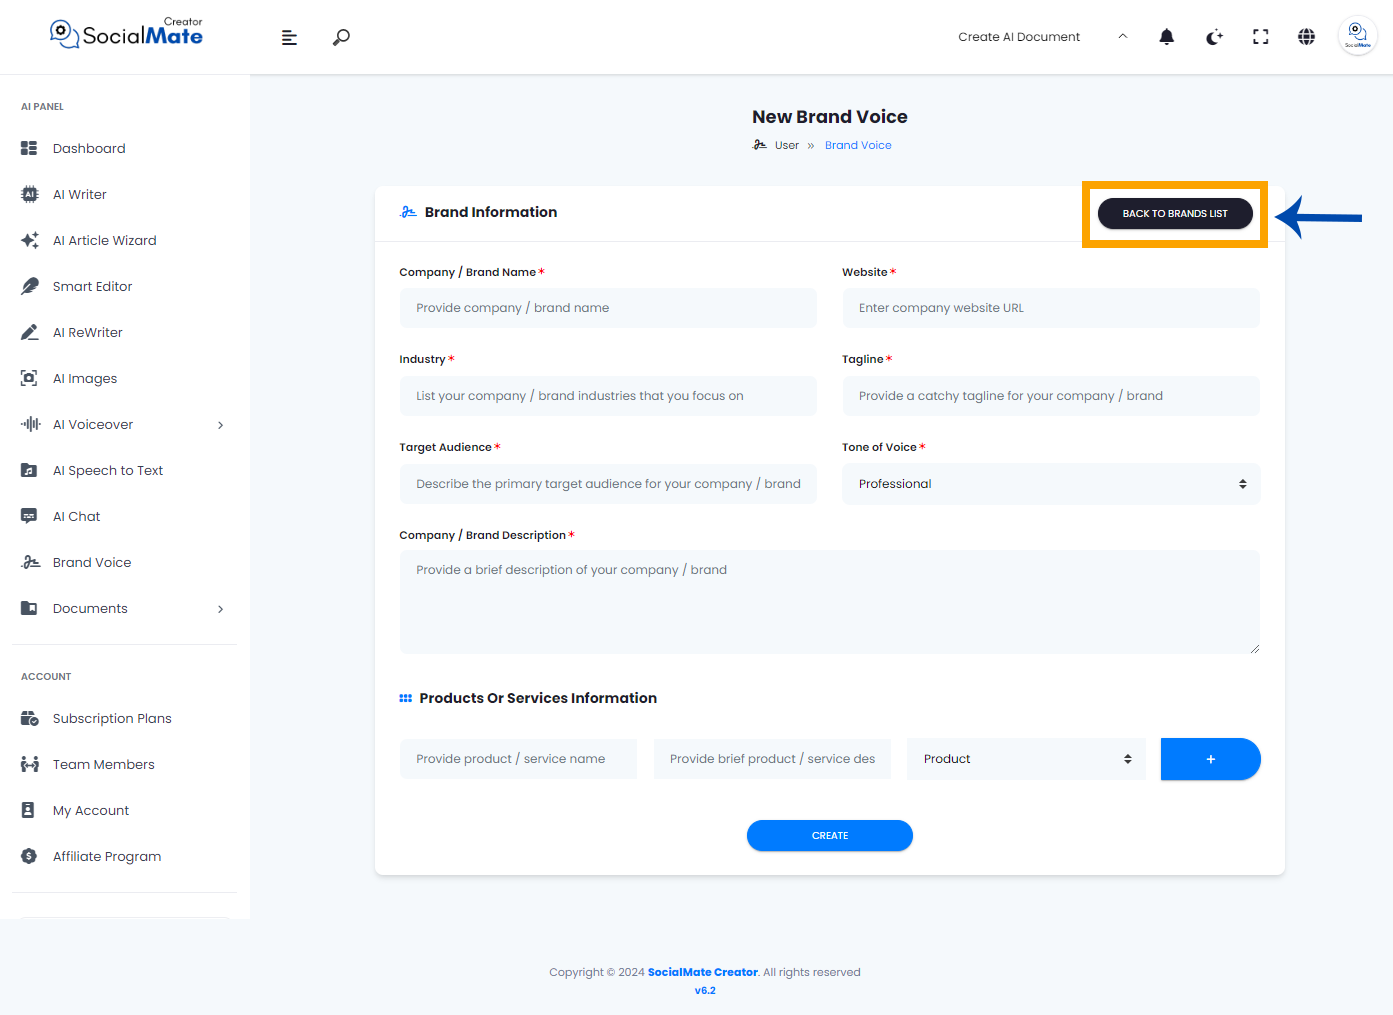
4. Complete the Brand Information requirements
It’s time to complete the required details in the Brand Information section. There are 7 mandatory fields to provide:

1- Company/Brand Name
Enter the official name of your company or brand. This is how your business will be identified and recognized in all communications.

2- Website
Provide the URL of your company’s website. This allows customers to easily access more information about your products or services online.

3- Industry
Select the industry or industries that your company operates in, such as finance, marketing, or technology. This helps categorize your business and its primary area of focus.

4- Tagline
Input a catchy and memorable tagline that captures the essence of your brand. A tagline is like a slogan but often more focused on public relations and brand identity.

5- Target Audience
Identify the primary audience for your brand. Whether it’s men, women, children, or business professionals, defining your target market helps tailor your messaging and outreach.

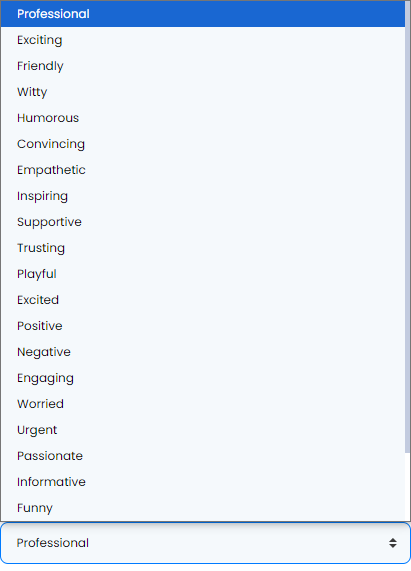
6- Tone of Voice
Choose the tone that best represents your brand’s communication style. You can select from a range of options, from professional to playful, to suit your brand personality.

7- Company/Brand Description
Write a concise description of your company or brand. This overview will help new customers understand what your business is about and what it offers.

5. Complete the Products or Services Information Requirements
Now is the time to fill out the necessary details in the Products or Services Information section. There are 3 key fields to complete, and you also have the option to add additional products or services:

1- Product/Service Name
Enter the name of the product or service you are offering. This will be the title by which your offering is recognized.

2- Brief Product/Service Description
Provide a concise description of your product or service. This summary should highlight key features or benefits to help users understand its value.

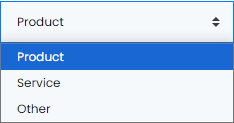
3- Product/Service Type
Select whether your offering is a product, service, or another type. This classification helps categorize your business offerings.

4- Add More
If you have additional products or services to include, use the “Add More” button to input their details.

5- Create
Once you’ve entered all the necessary information, click the “Create” button to finalize your Brand Voice.

Implementation
Let’s go through an example to apply everything we’ve covered and see what happens when you complete all the required data in Brand Voice. You’ll also learn how to use it across various AI Writer tools afterward.
We will complete all the fields using Socialmate information to demonstrate how to fill them out.
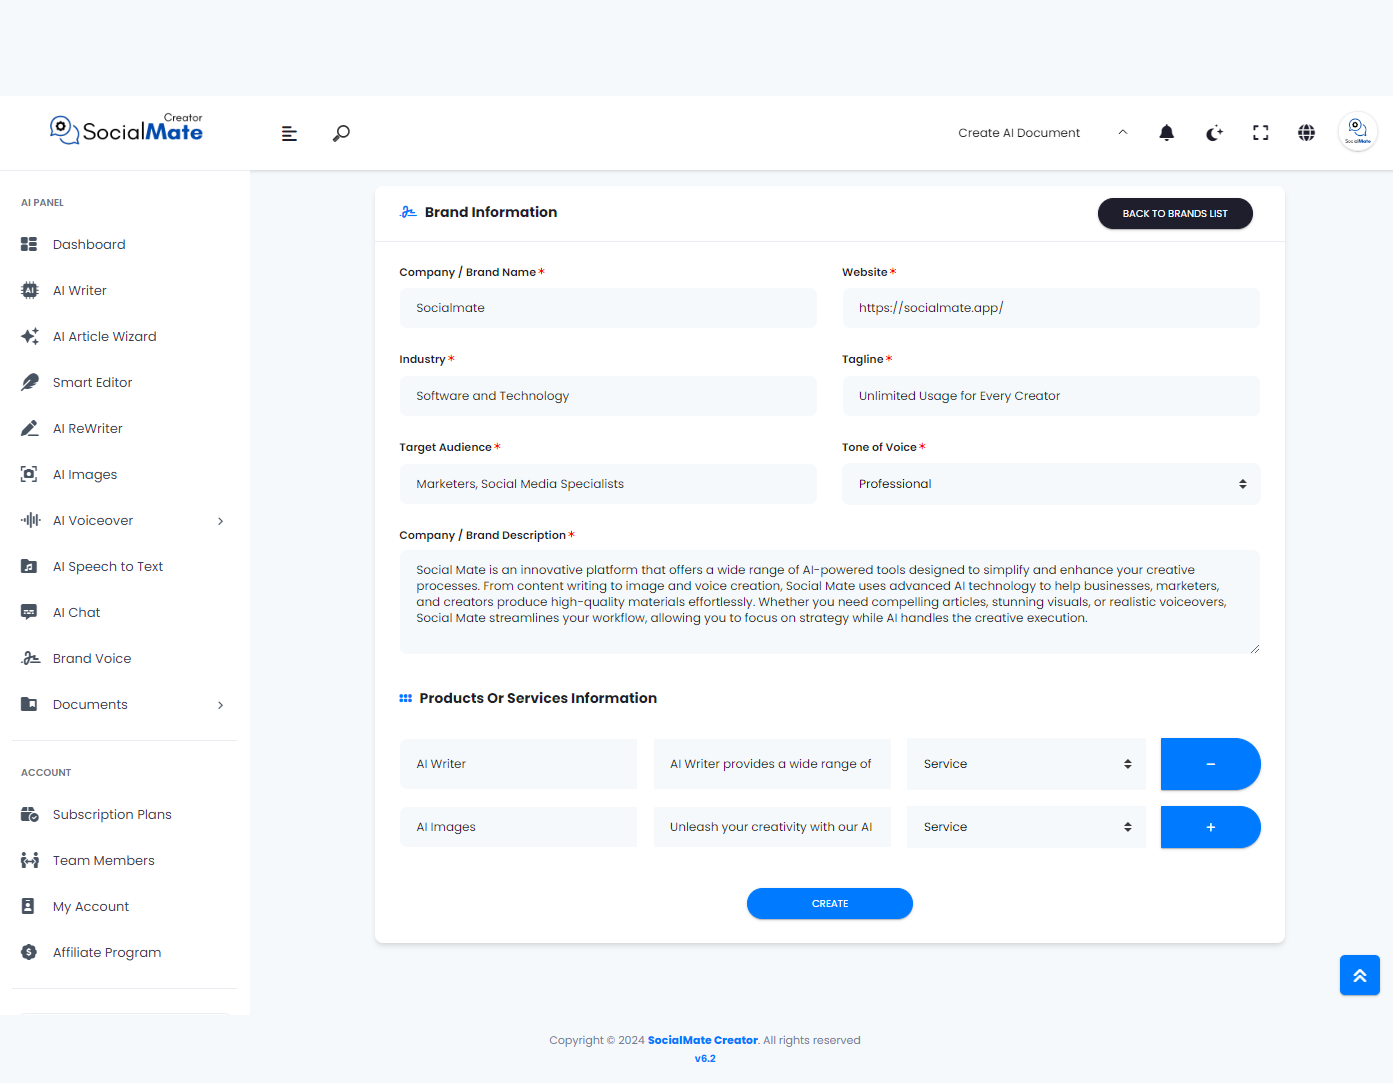
Once all the fields are filled out and we click on ‘Create,’ we will receive a notification indicating that the Brand Voice has been successfully created. Now, let’s click on the ‘Back to Brands List’ button.
As you can see, our Brand Voice has been created and is now displayed in the list. You can edit it or add more Brand Voices as needed.
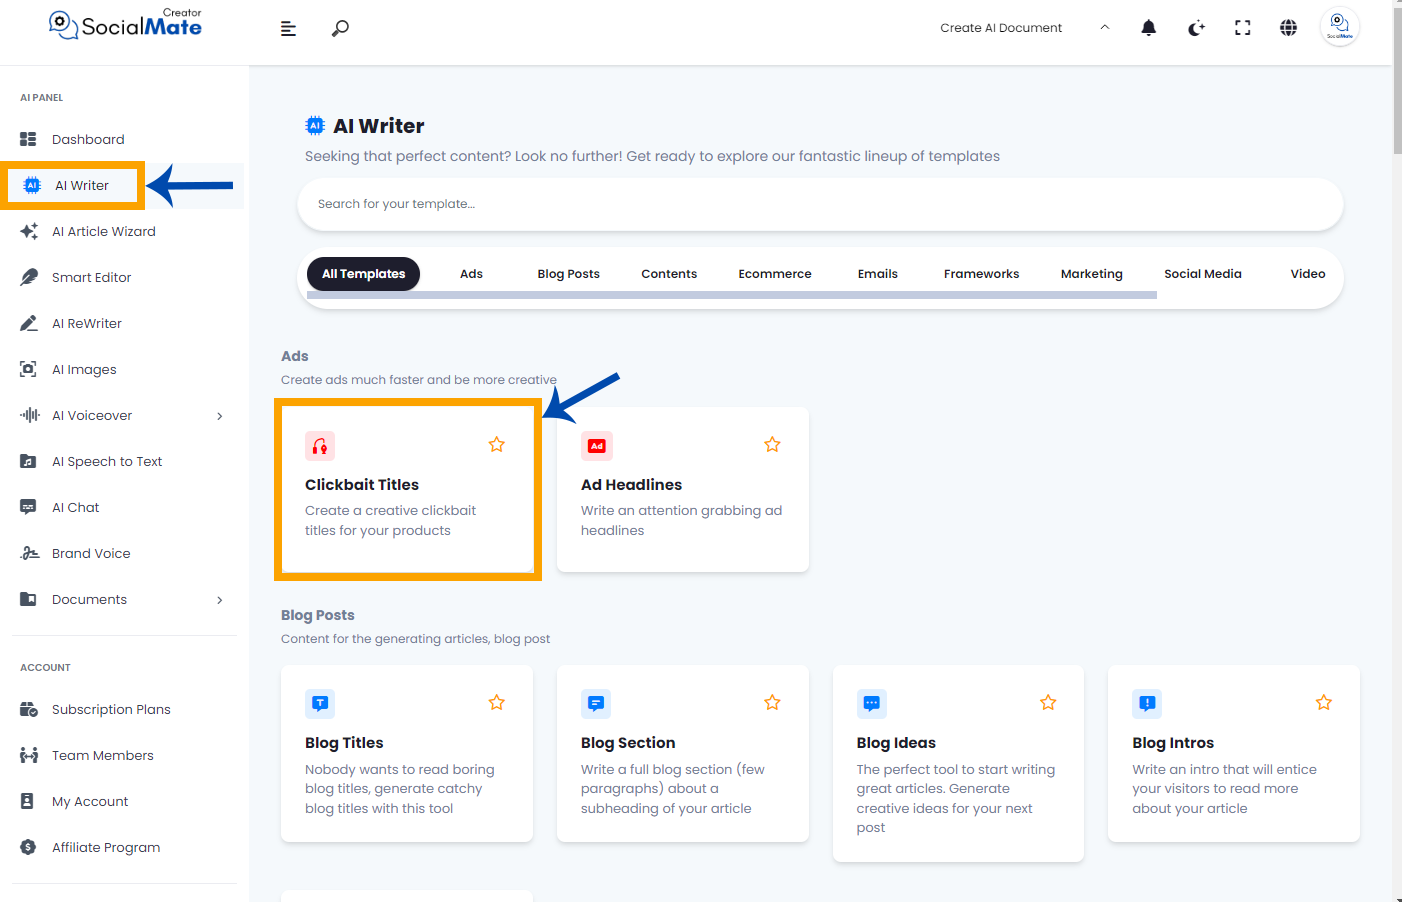
Now, let’s take a look at the results and explore how we can utilize the Brand Voice in our various AI Writer tools. Click on ‘AI Writer’ and select ‘Clickbait Titles’ from the Ads section, for instance.
Do you recall when we covered all the different types of AI Writer tools? We mentioned earlier, while discussing ‘Include your Brand,’ that we would explain it later in the context of ‘Brand Voice.’ Well, this is how it’s used!
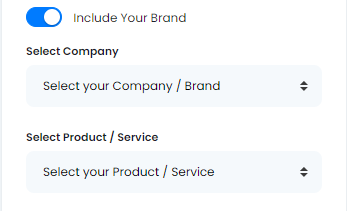
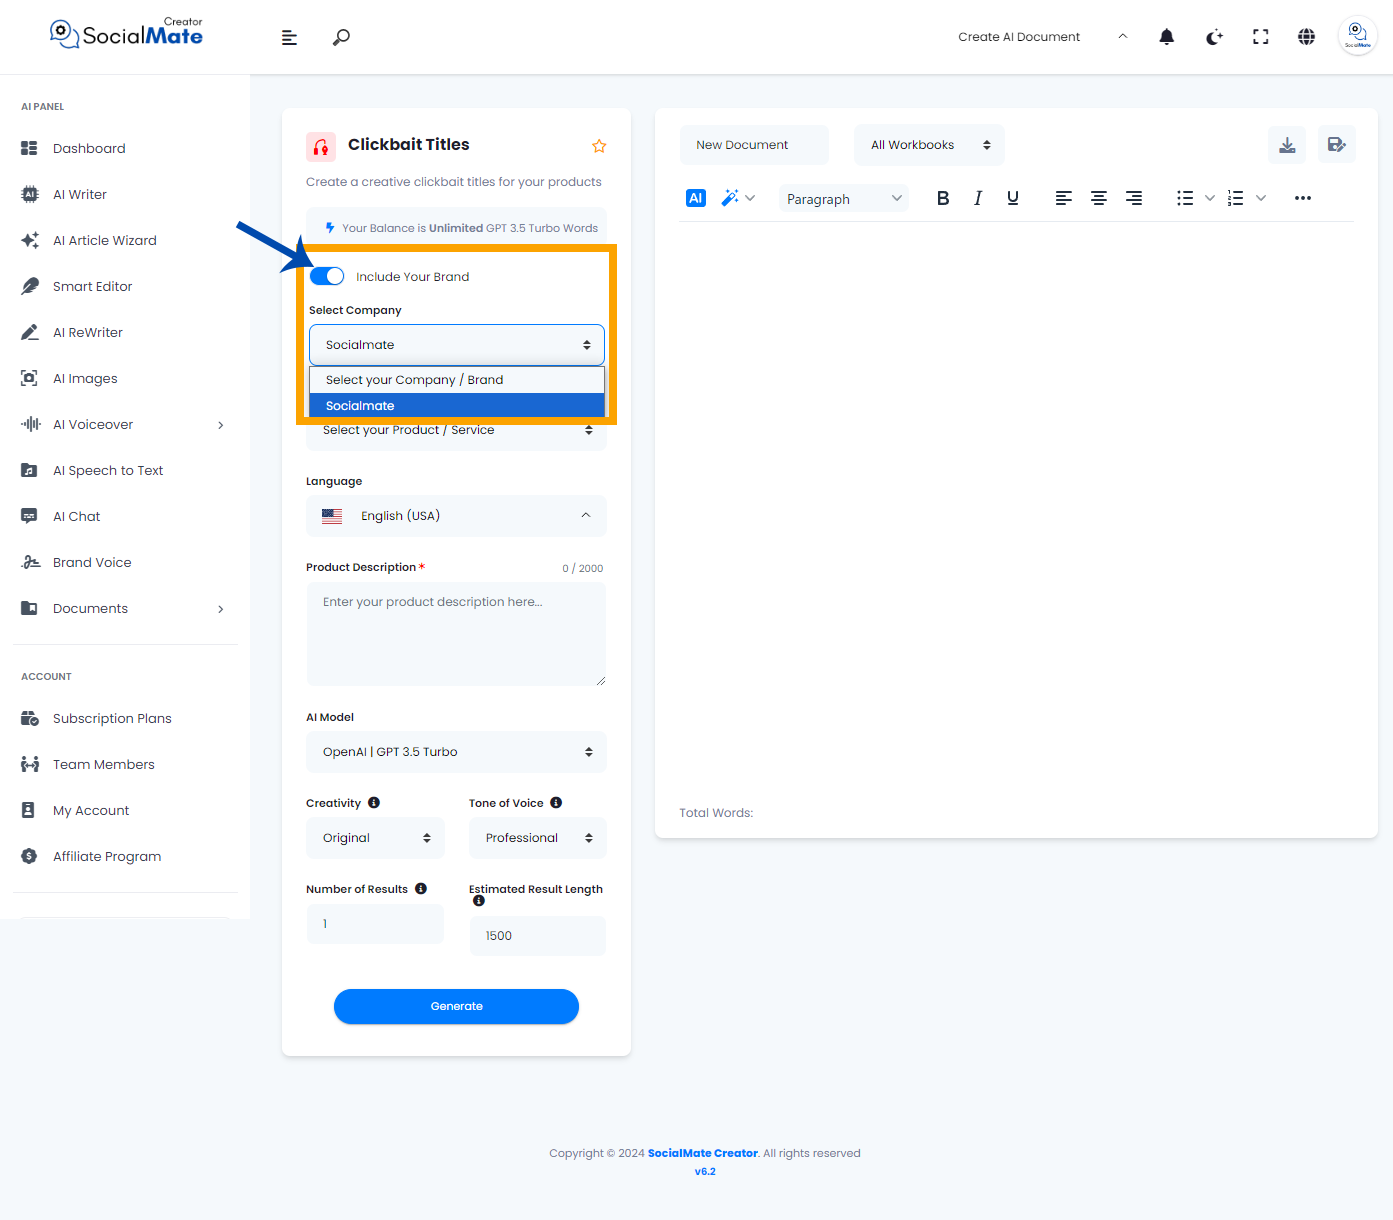
When you encounter any type of AI Writer tool, simply enable ‘Include Your Brand’ and choose the saved Brand Voice from the ‘Select Your Company’ dropdown menu.
Additionally, select the products or services you previously created in Brand Voice from the dropdown menu.
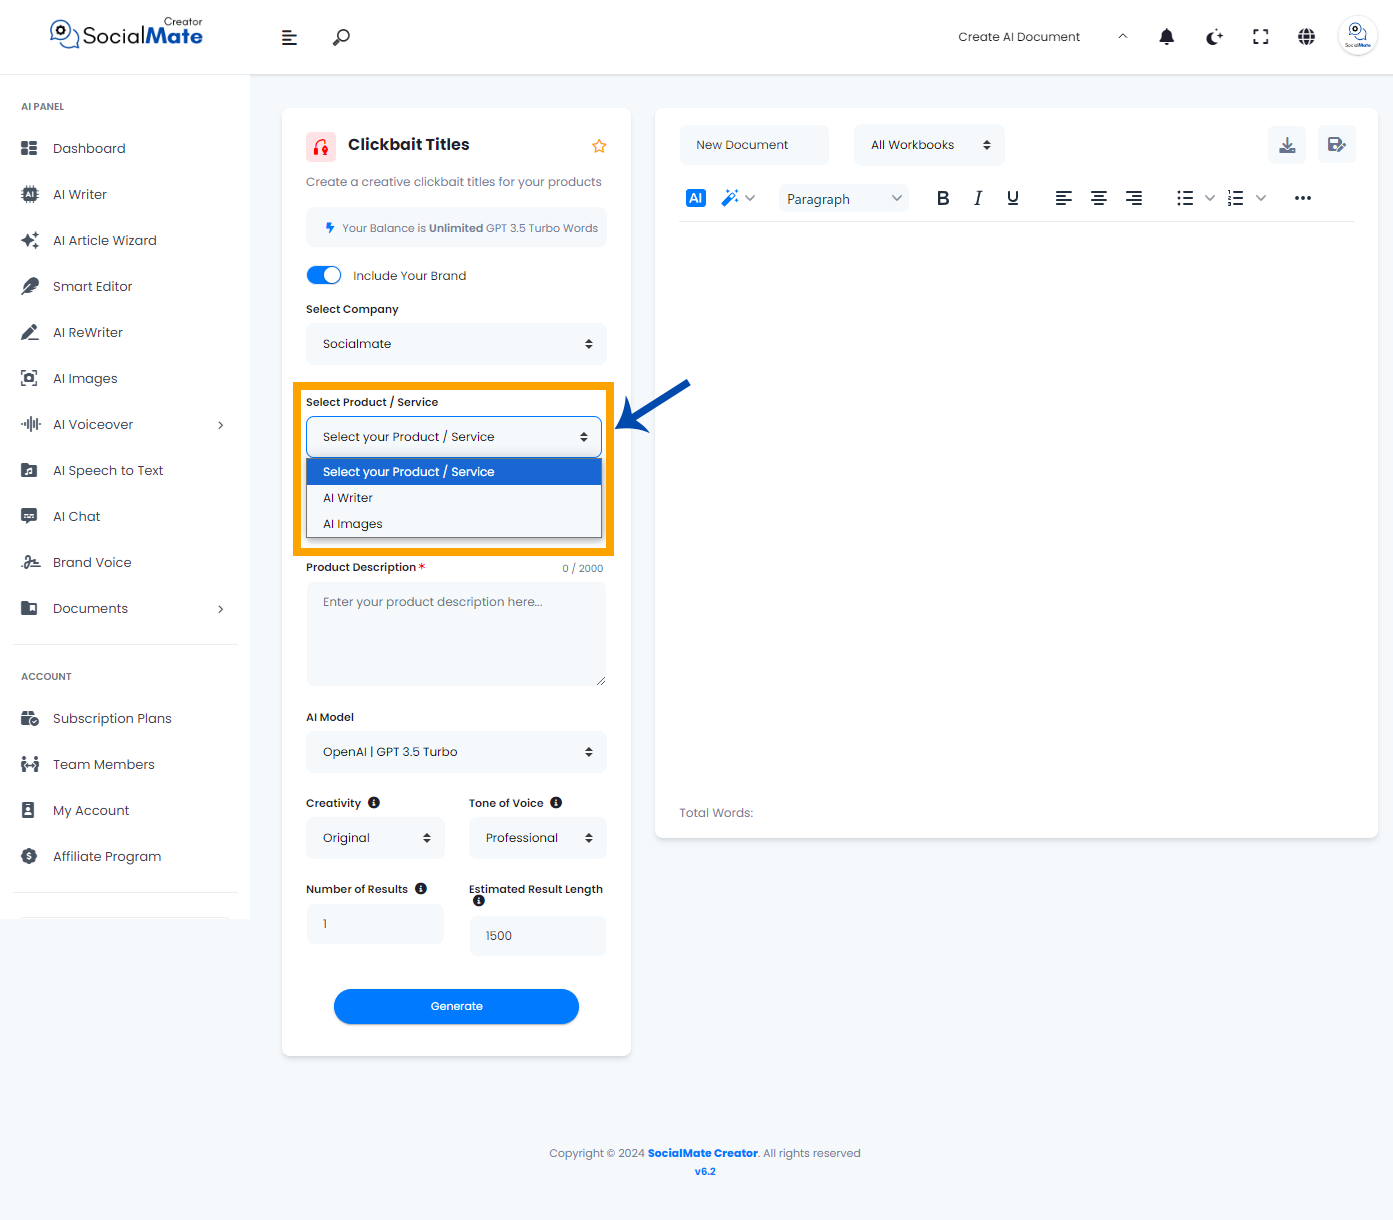
Now, you don’t need to provide any additional details. When you click ‘Generate,’ the AI will automatically retrieve the data you previously entered in the Brand Voice and create any type of AI Writer tool based on that information.
Finally, we hope you have a clear understanding of Brand Voice and how it allows you to save your data just once, eliminating the need to enter it repeatedly each time you use AI Writer tools.


