The final feature in the AI Panel is “Documents,” where you can access a history of all the AI tools you’ve previously used. This section allows you to view and manage documents generated with various AI tools, including articles crafted with the AI Article Wizard, images created using AI, audio files produced by AI voices, and transcripts made with AI transcription tools. Additionally, you can organize and save all of these resources within this “Documents” section for easy reference and access.

With “Documents,” the AI Panel offers a seamless way to keep track of your creative and productivity projects in one place. Whether you’re working on multiple articles, visual designs, or voice recordings, you can quickly locate and revisit each project without the need to search through different tools separately. This centralized document hub not only enhances productivity but also allows for easy editing, updating, or sharing of your AI-generated content. As you continue to use various AI tools, “Documents” becomes an invaluable resource for managing your progress, organizing your ideas, and preserving your work, making your creative workflow both efficient and streamlined.
| Let’s walk through the steps to efficiently organize and access your files using the Documents feature, harnessing the capabilities of AI to streamline your workflow. |
You can locate the “Documents” tool in the AI Panel on the left side of the screen.
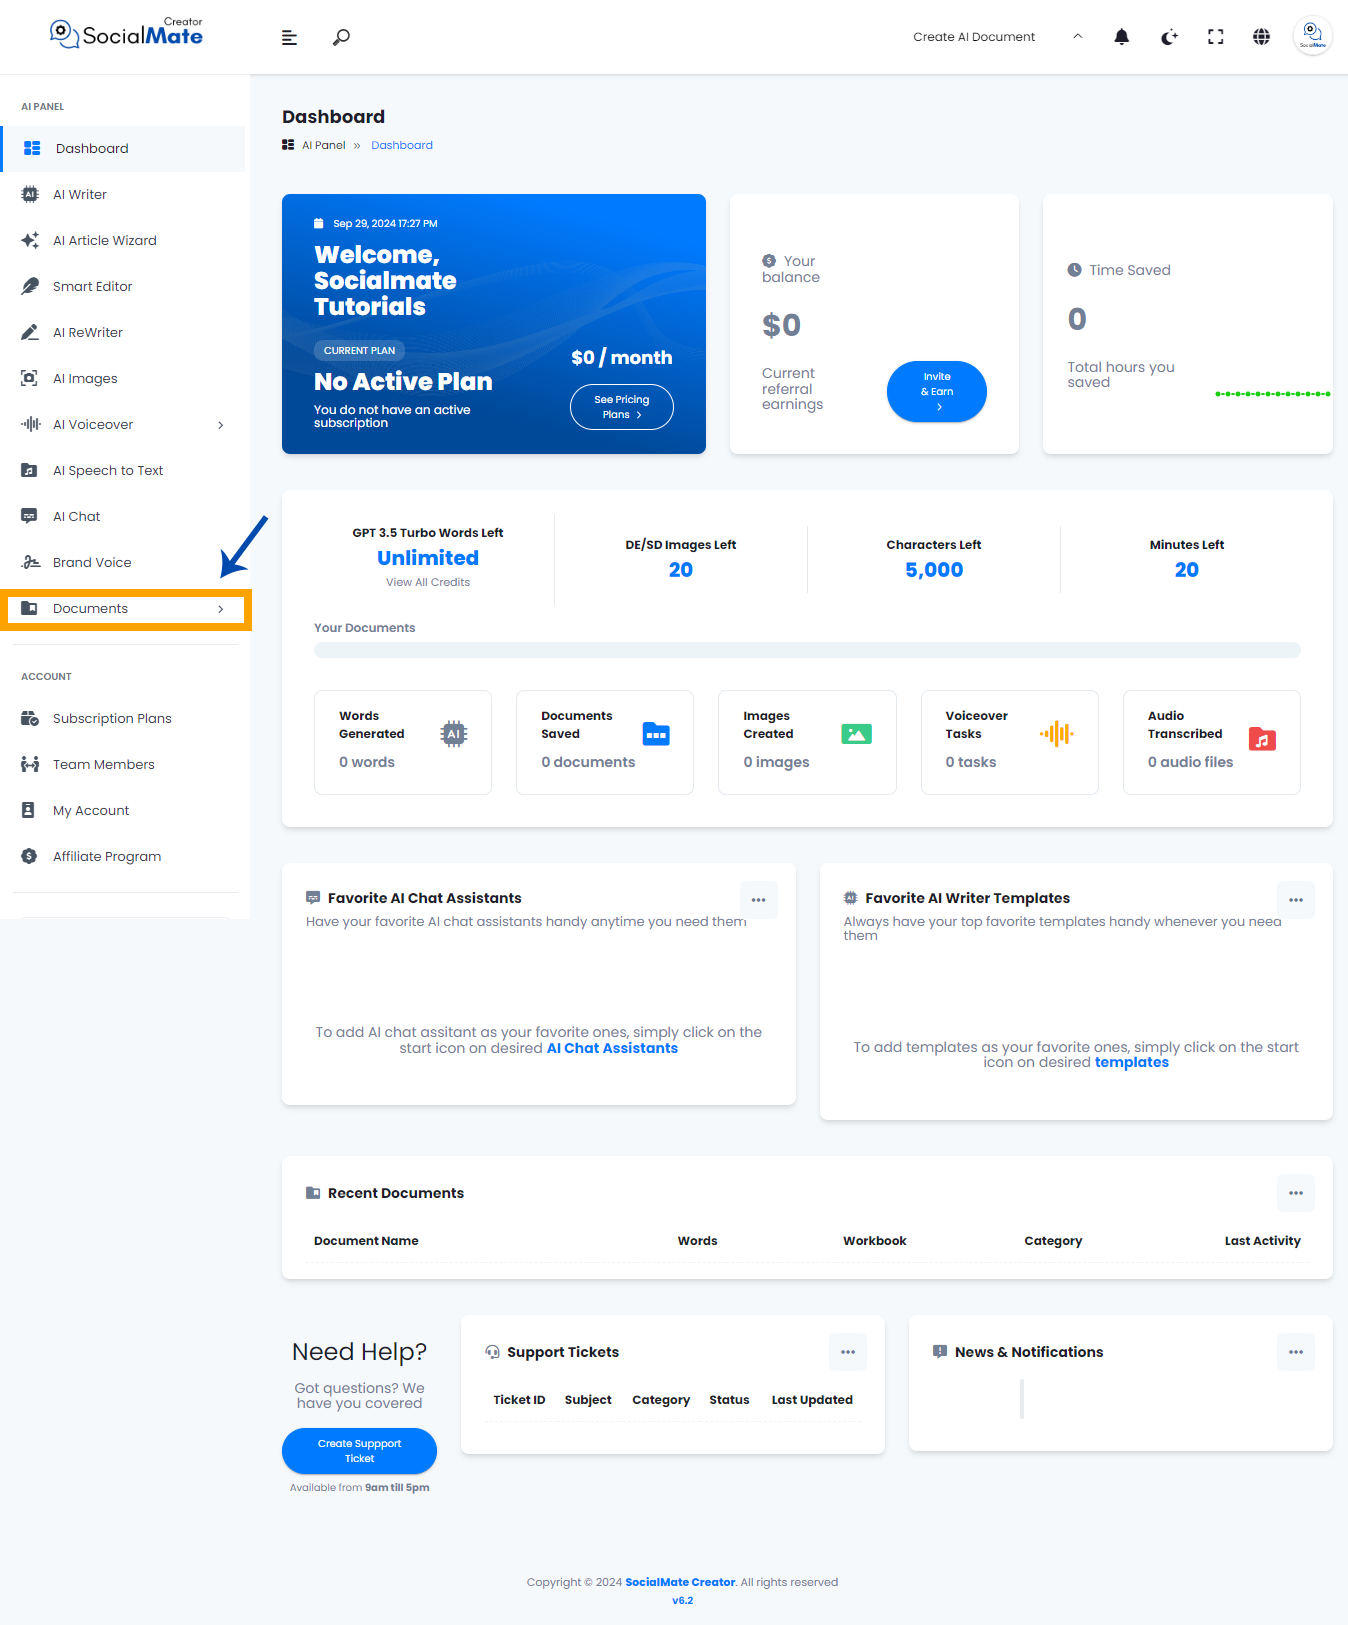
When you click on the tool, a new drop list will appear.
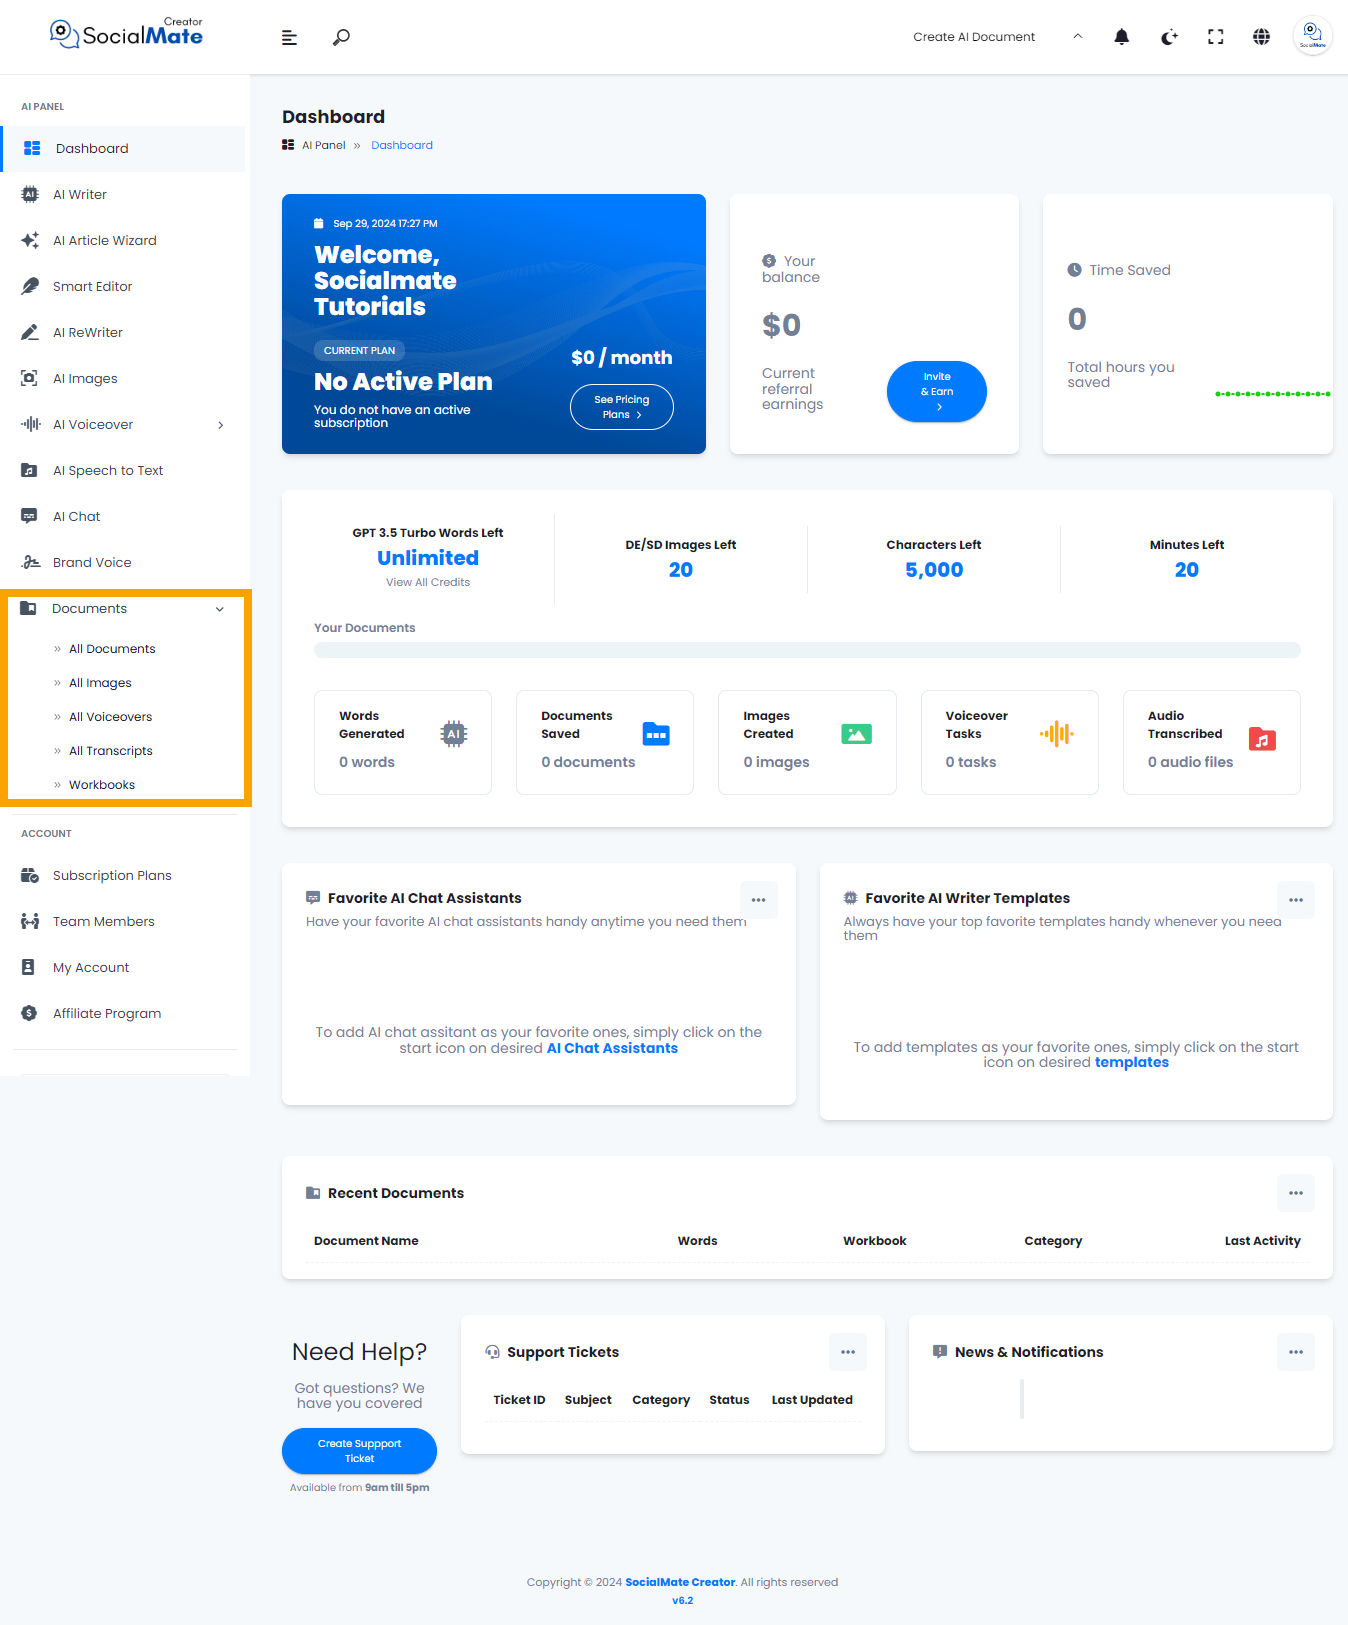
Let’s go through them step by step:
1. ِAll Documents:
Here, you’ll find all the documents created using the AI Article Wizard. Each entry includes detailed information such as the creation date, language, word count, and an option to delete the document if needed.
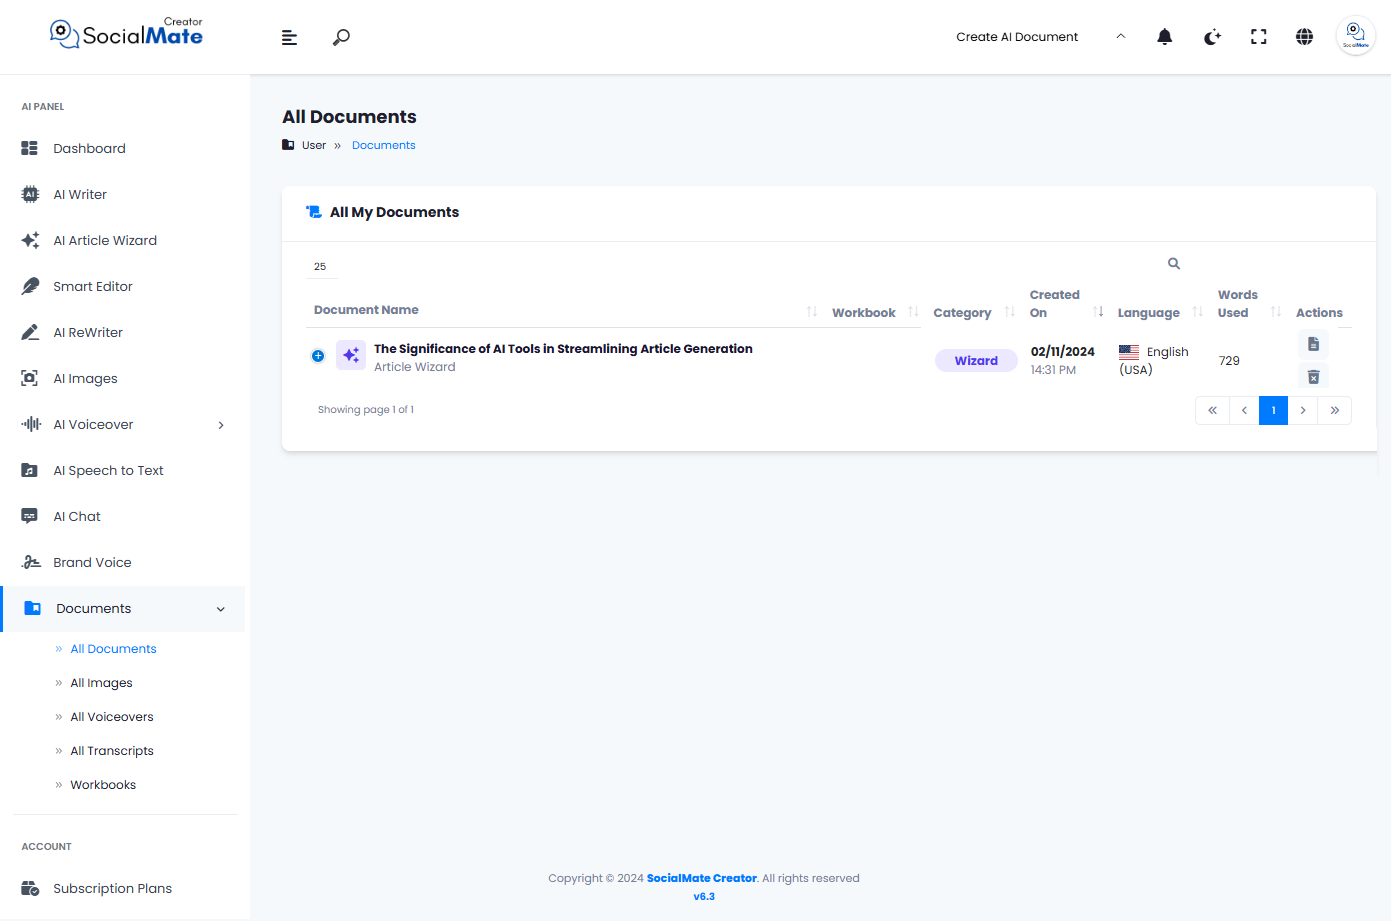
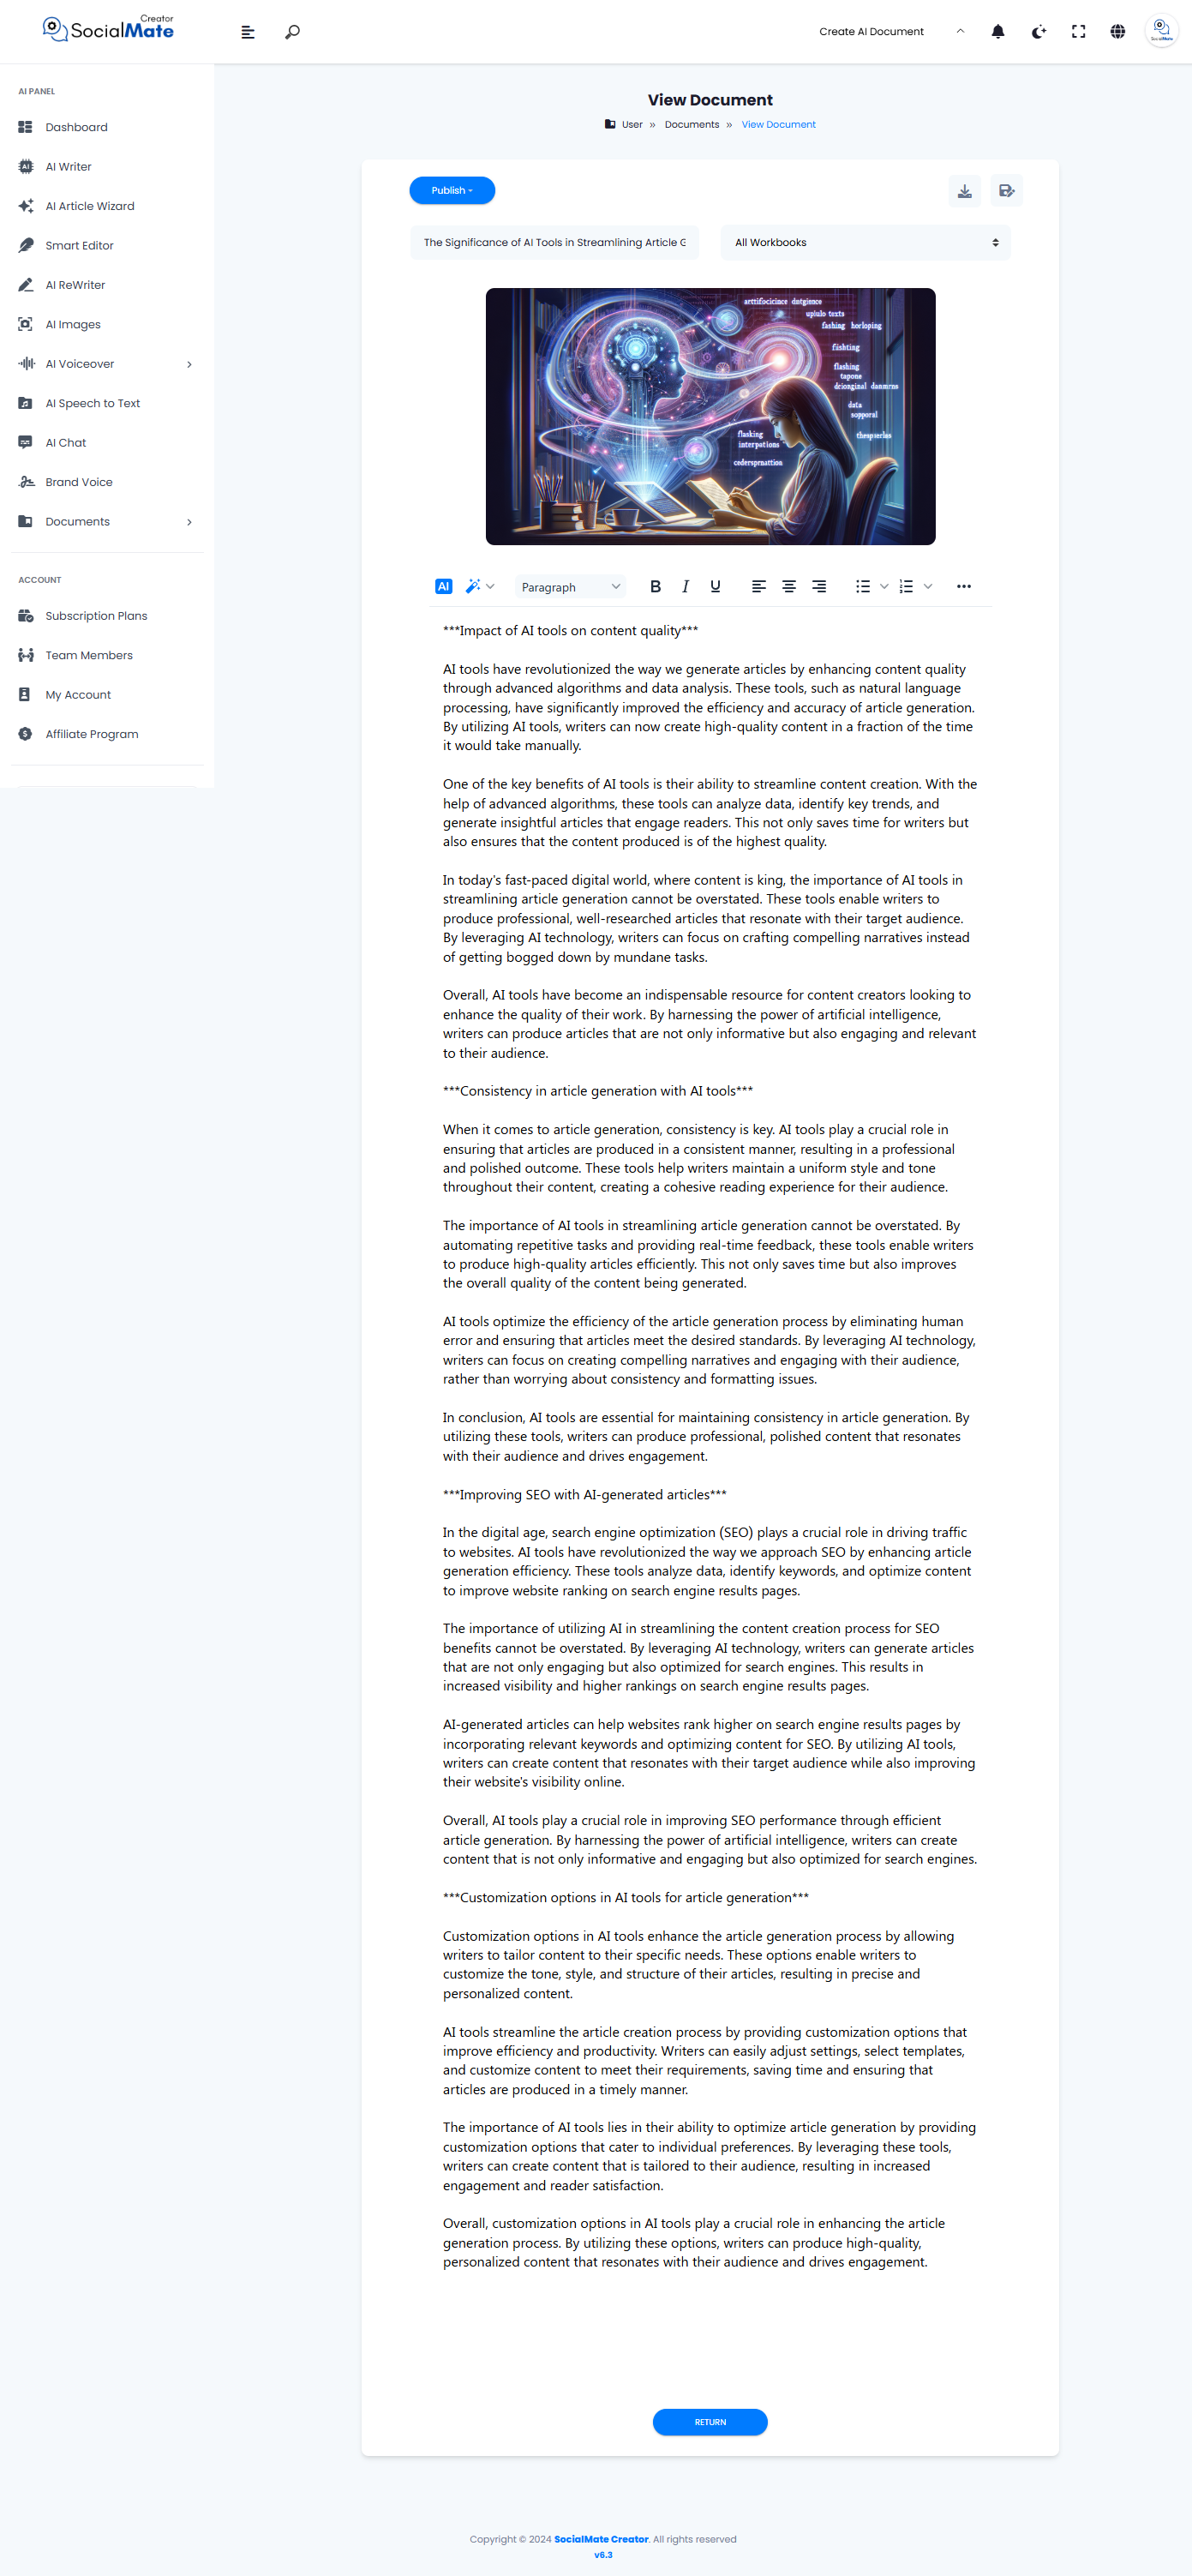
Clicking on a document opens it in a new window, allowing you to view the article you previously created.
2. AI Images:
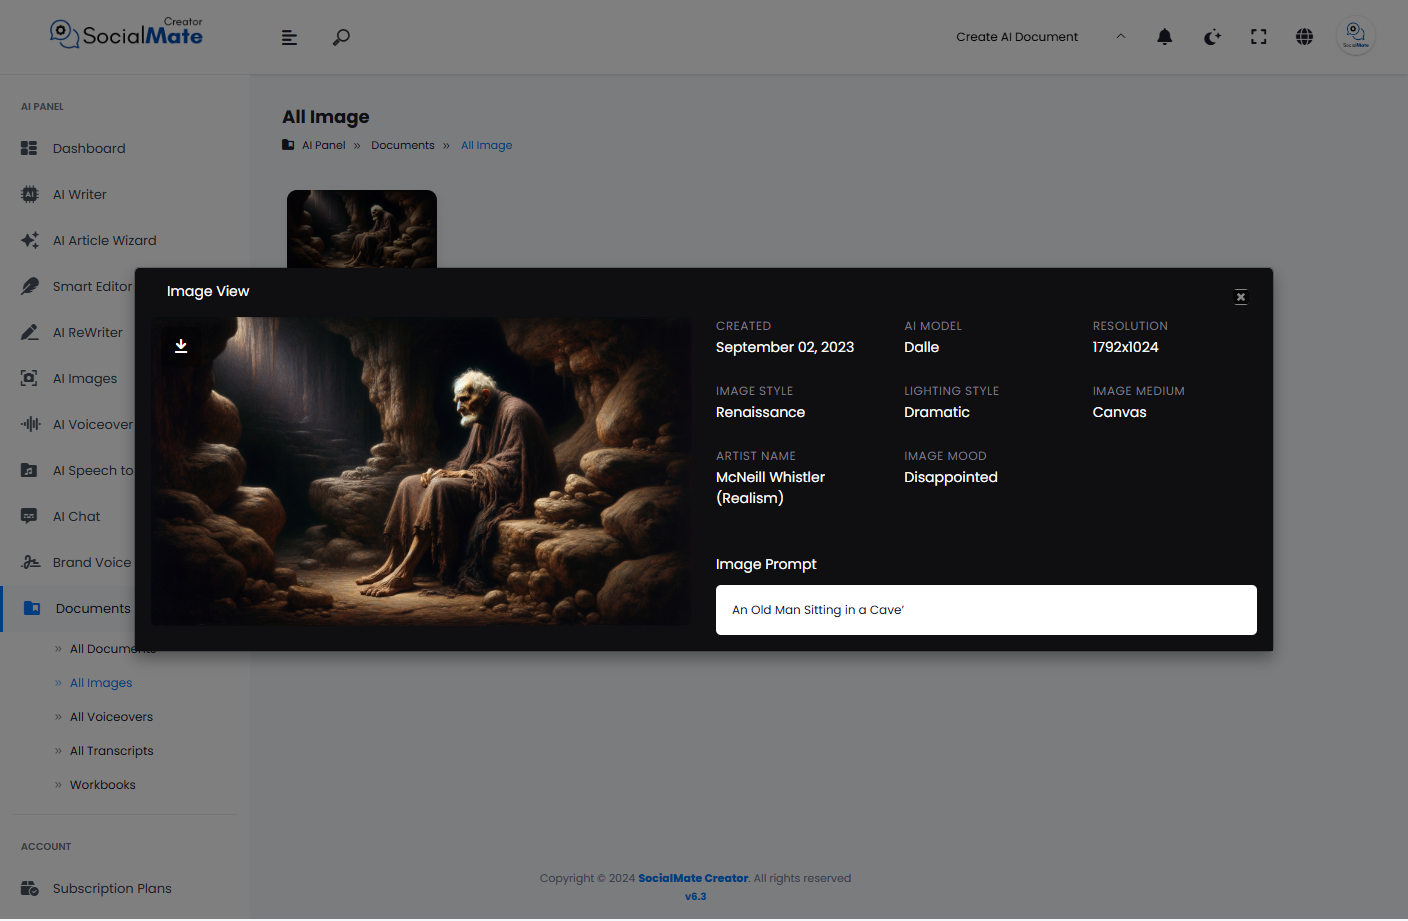
Here, you’ll find all the images created using the AI Images.
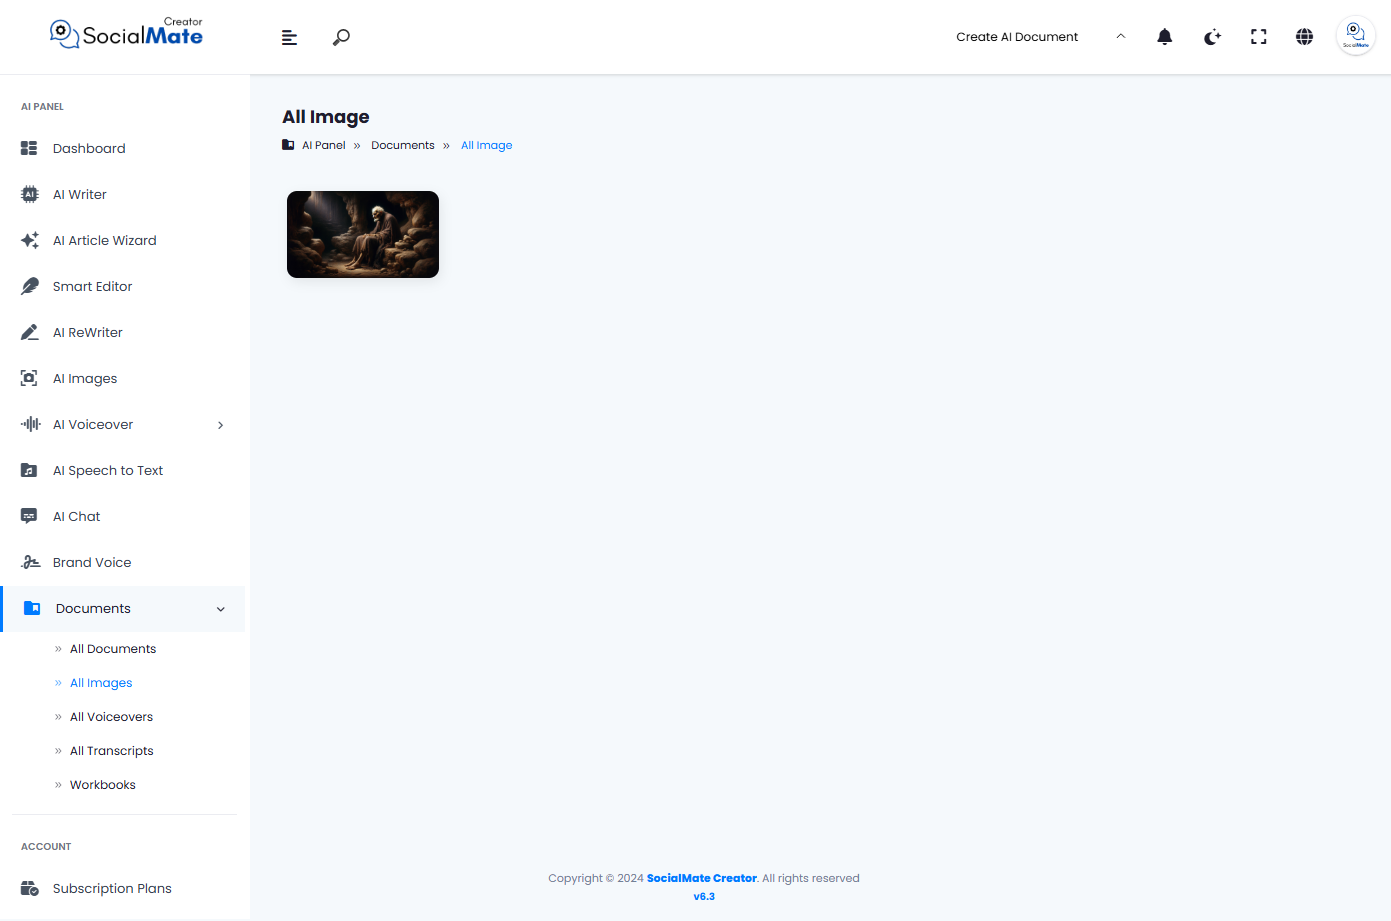
You’ll have the options to download, expand, or delete the document.
3. AI Voiceovers:
Here, you’ll find all the voiceovers created using the AI Voiceover. Each voiceover includes detailed information such as the creation date, language, voice, gender, Characters counts and an option to delete the voiceover if needed.
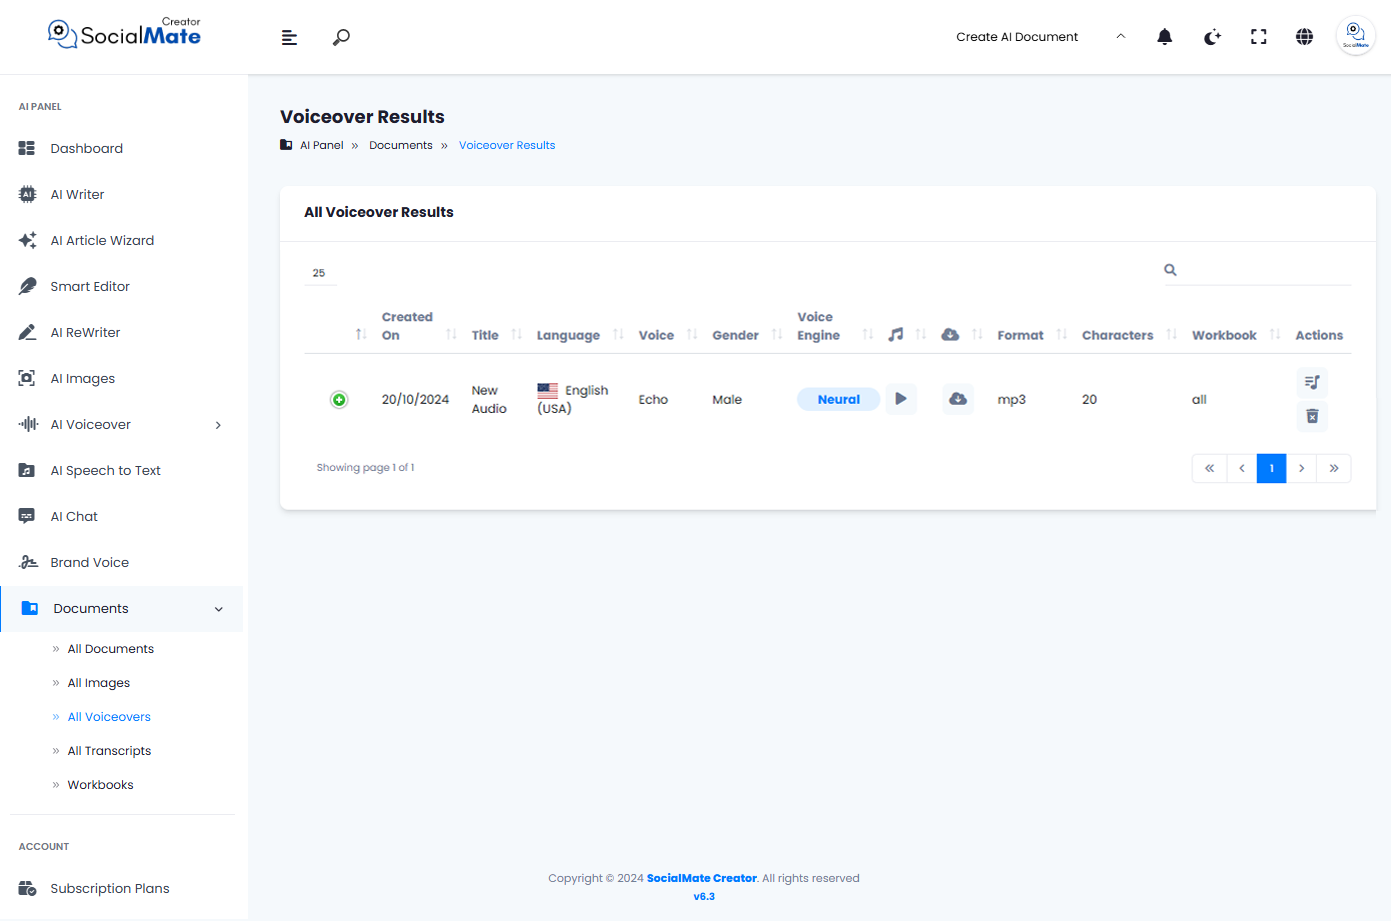
If you clicked on the green add button, the voiceover document will be shown down.
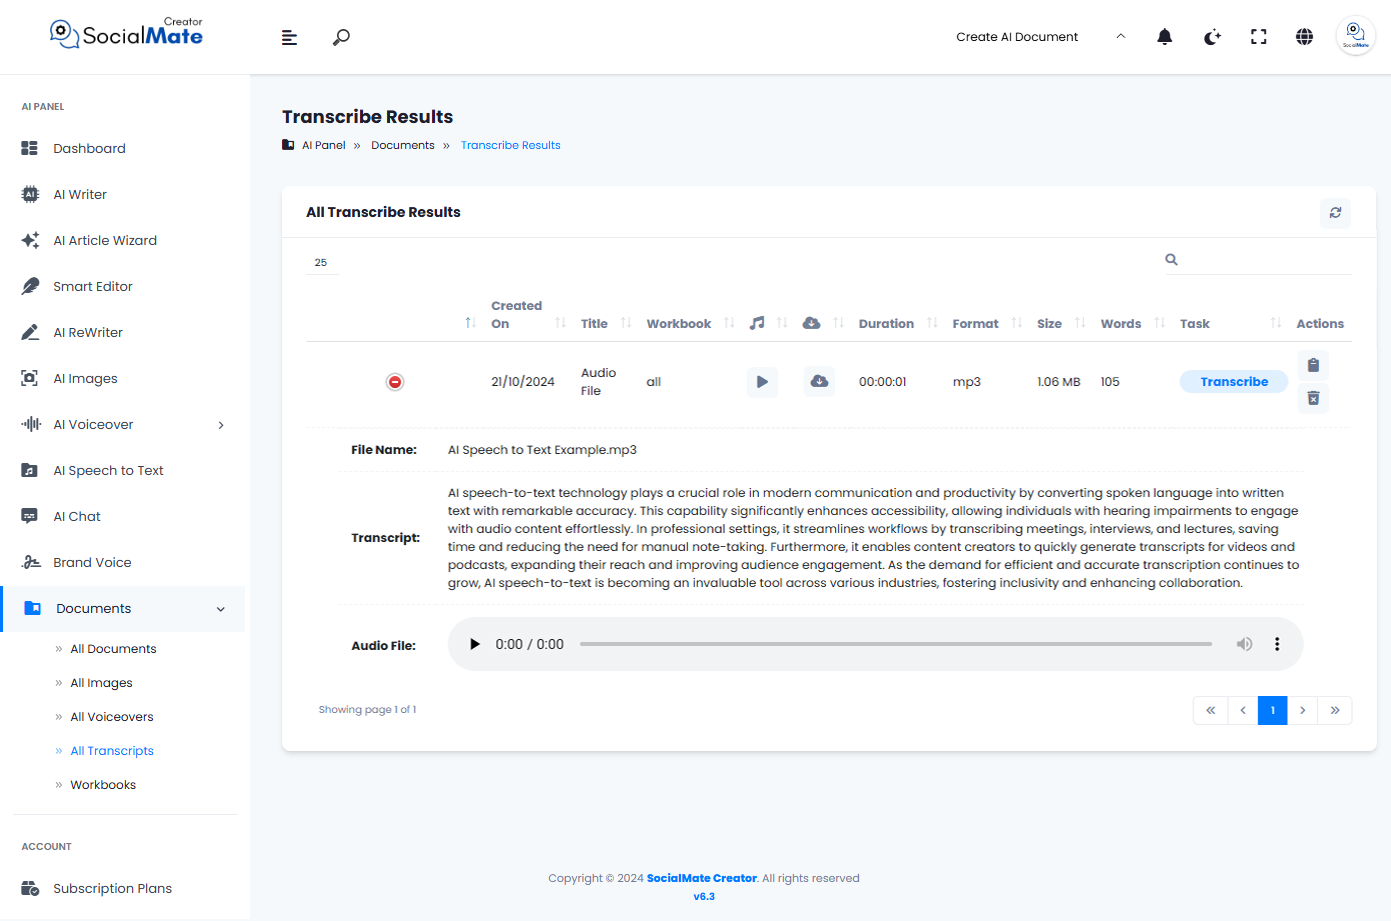
4. All Transcripts:
Here, you’ll find all the transcripts created using the AI Speech to Text. Each voiceover includes detailed information such as the creation date, duration, format, size, word counts and an option to view or delete the voiceover if needed.
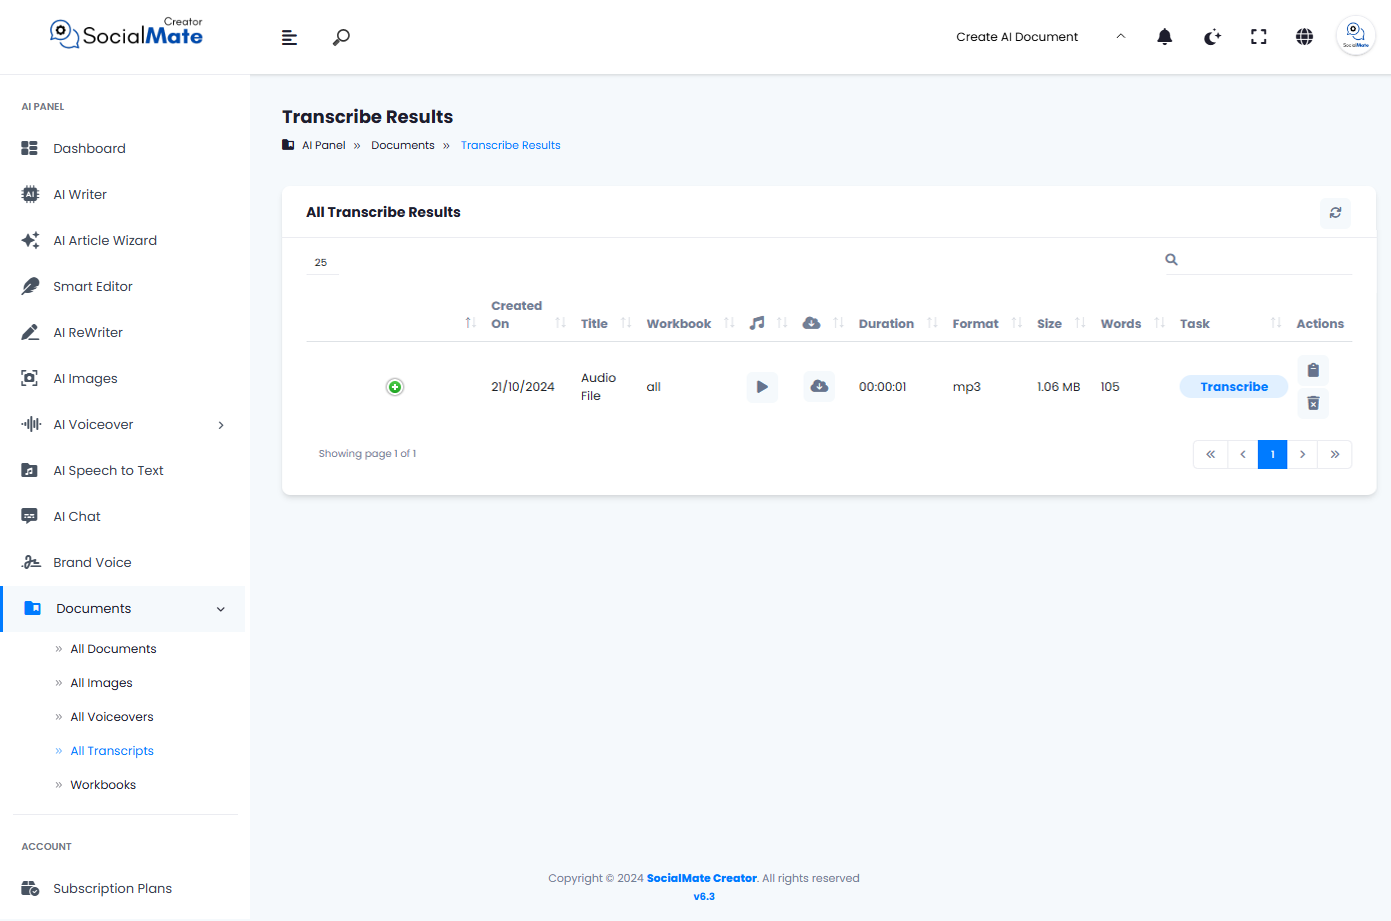
If you clicked on the green add button, the transcript document will be shown down with the voice file.
5. Workbooks:
This feature allows you to create a dedicated workbook to organize and store all the projects you create. Within each workbook, you can group related documents, images, articles, and other project files, making it easy to manage and access everything in one place.
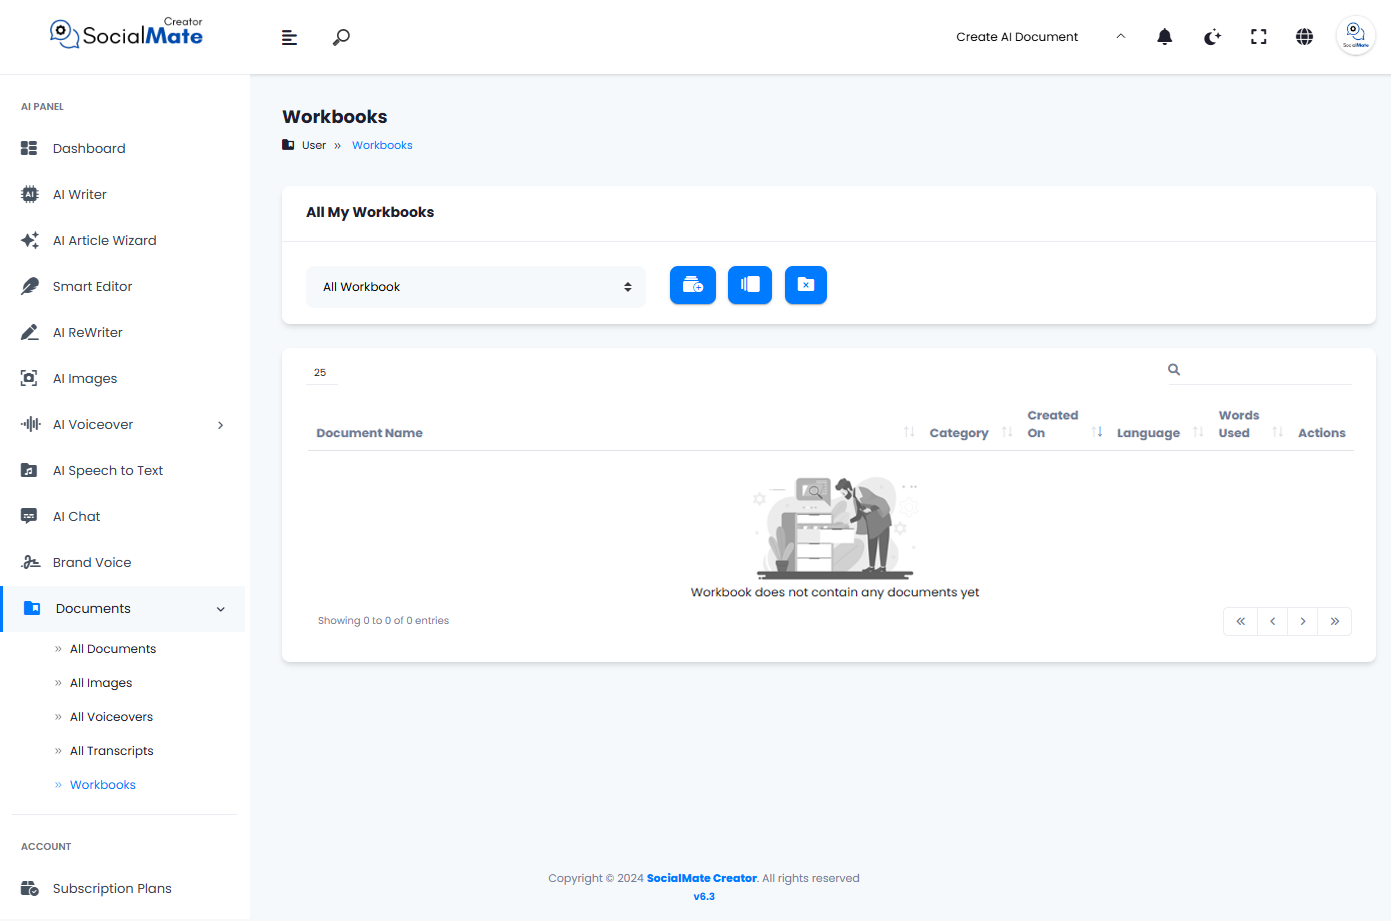
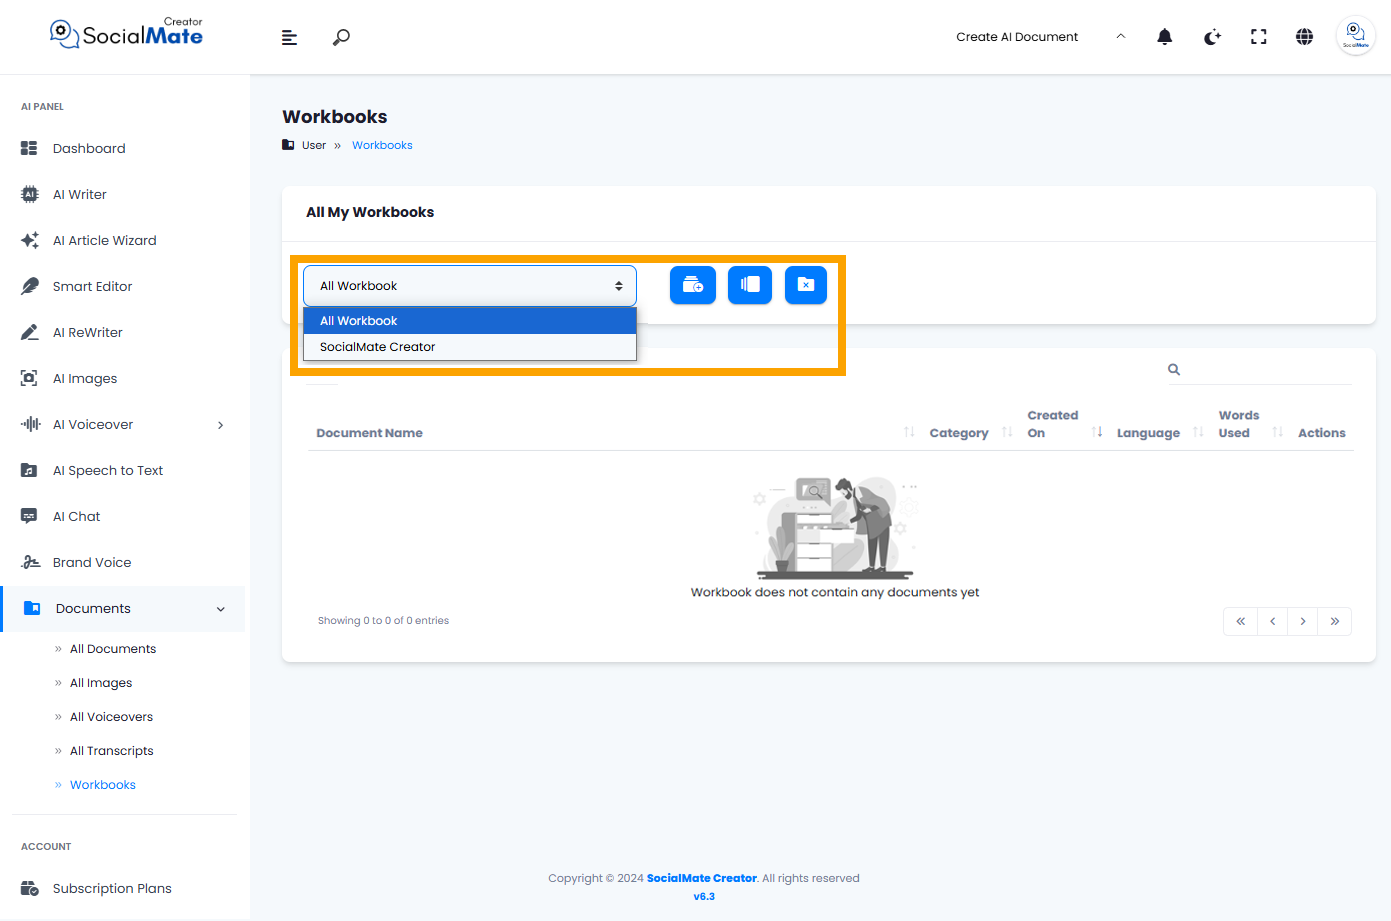
In the drop-down list, you’ll see all the workbooks you’ve created. You also have three options: create a new workbook, set a default workbook, or delete a specific workbook.
In conclusion, the “Documents” feature offers a comprehensive and organized way to manage all your AI-generated content. Whether you’re working with articles, images, audio, or transcripts, you can easily access, edit, and save your creations in one central hub. By utilizing workbooks, you can further streamline your workflow by grouping related projects together for better organization. With the ability to download, expand, or delete files, and with quick access to detailed information about each document, the “Documents” feature helps ensure that all your AI-assisted work is easily accessible and efficiently managed.


