The “Ecommerce” AI Tool offers powerful capabilities for optimizing product listings, making it easier to create high-quality descriptions and comparisons that drive sales. From crafting product titles to detailing benefits and characteristics, this tool streamlines e-commerce content creation, enhancing your product pages on platforms like Amazon.
Key Features
The Amazon Product Description generates attention-grabbing Amazon product descriptions that captivate potential buyers and highlight the uniqueness of your products, improving your chances of sales.

The Product Benefits helps you clearly communicate the value your product offers, making it more appealing to potential customers.

The Selling Product Titles tool finds titles that not only grab attention but also improve the chances of converting views into purchases.
The Product Comparisons helps potential buyers make informed decisions by showcasing the differences and advantages of each product.

The Product Characteristics writes comprehensive product characteristics that give customers a detailed understanding of your product’s features, functionality, and quality.
The Amazon Product Features highlights the advantages and key features of your product, making it irresistible to shoppers. This feature ensures that your product stands out with well-crafted, enticing descriptions.
Benefits
Increased Sales Potential: With AI-generated descriptions and titles, this tool enhances the appeal of your product listings, making it easier to convert views into sales.
Time-Saving Solutions: Automating the generation of product benefits, characteristics, and comparisons allows you to create detailed listings faster, freeing up time for other business tasks.
Improved Product Visibility: Optimized titles and descriptions improve your product’s visibility on platforms like Amazon, helping you stand out in a crowded marketplace.
Implementation
Let’s walk through an example of how to use the Ecommerce AI Tool to optimize product listings. We’ll start with the Amazon Product Description feature, where you can input your product details and let the AI generate high-quality descriptions that drive sales. Simply follow the steps, and you’ll receive optimized content in seconds. The same process applies to other features, ensuring you can quickly create detailed benefits, comparisons, and characteristics for your listings.
Let’s explore how the Amazon Product Description feature can assist you in crafting engaging and impactful product descriptions.
When you click on the tool, a new window will appear.
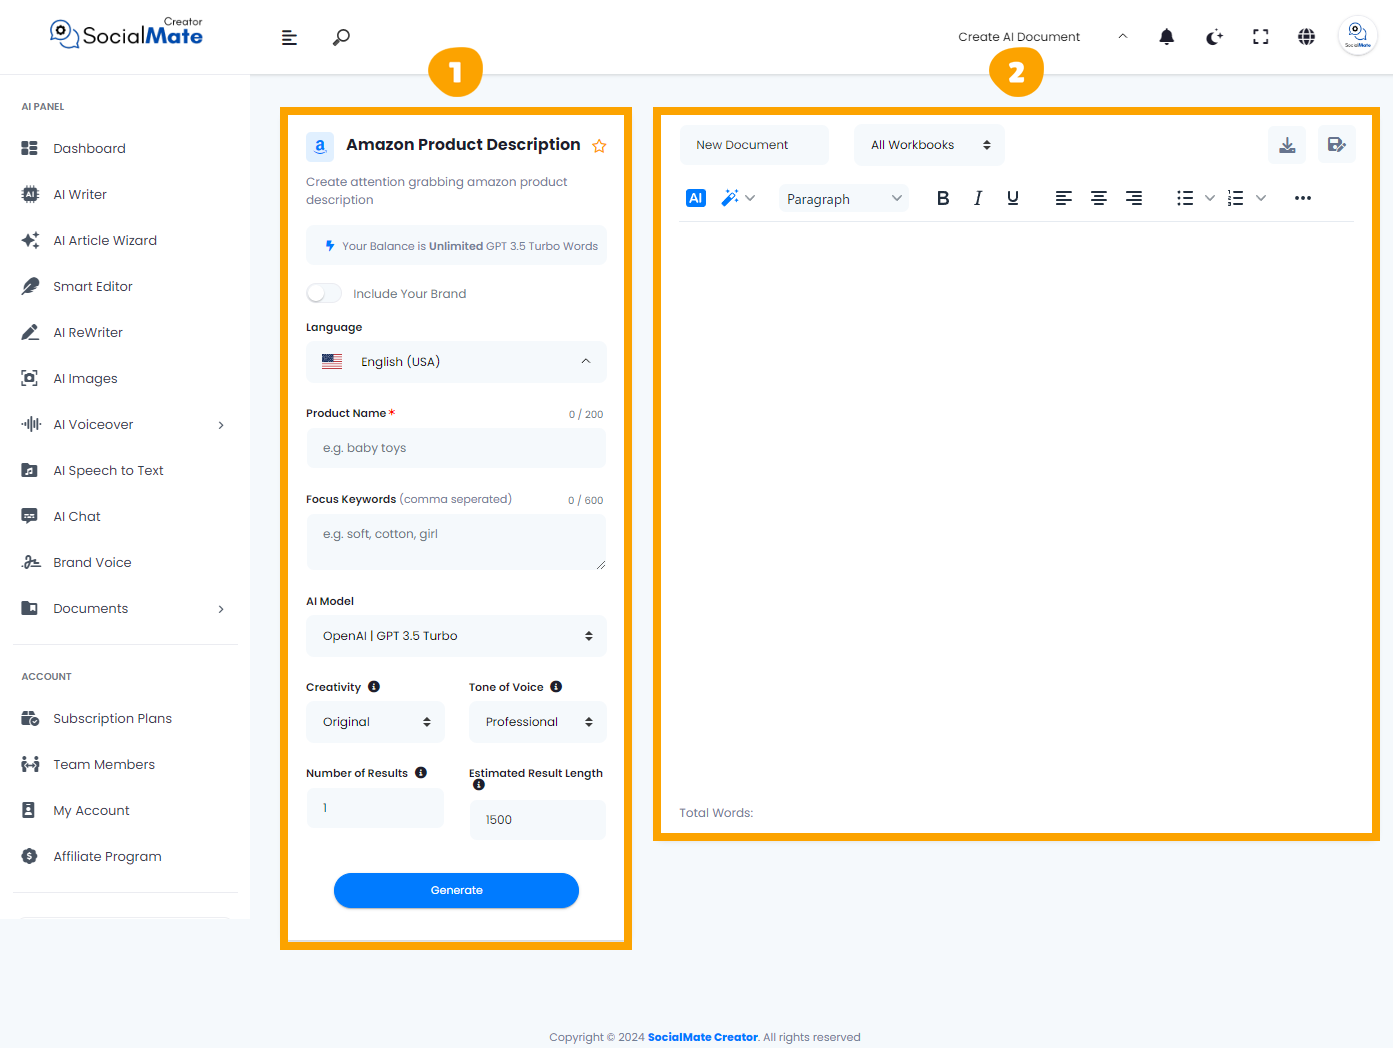
1- On the left side, you’ll see various input fields where you’ll enter the required information.
2- On the right side, you’ll find the output – the generated titles – with options to adjust, modify, add, or completely change them.
Let’s break down the input fields on the left side:
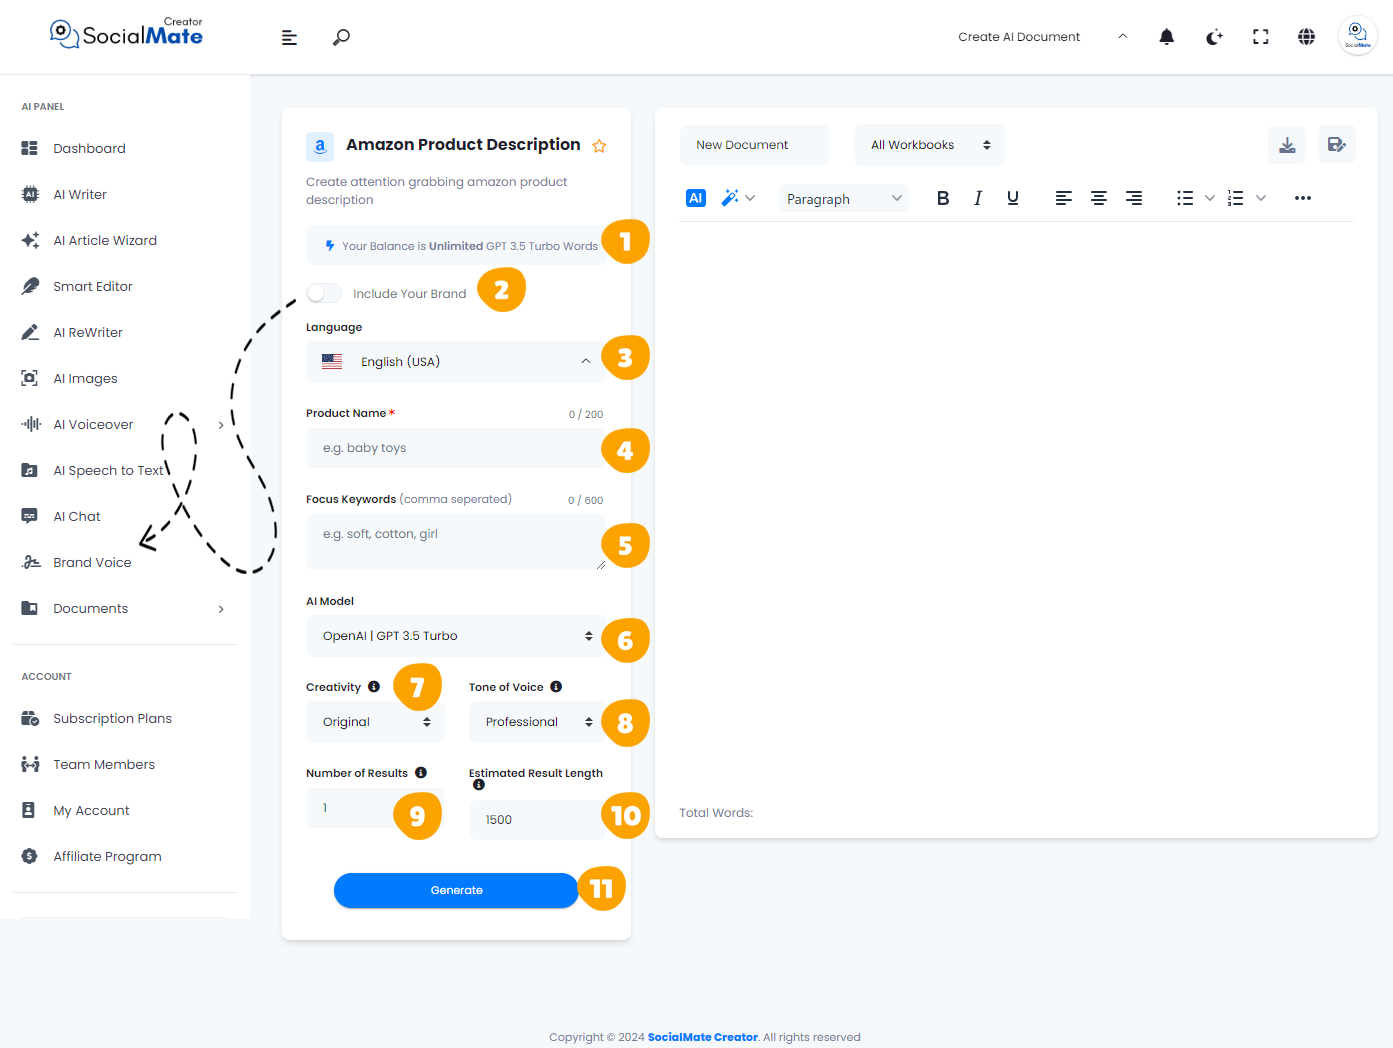
1. Your Balance:
This shows the available credits for generating AI content and which AI model version you’re using.

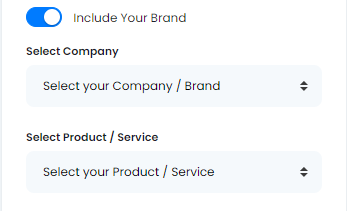
2. Your Brand:
Enabling this will use your previously saved brand data, so you won’t need to re-enter your details each time. More about this will be covered in the Brand Voice section [Here].

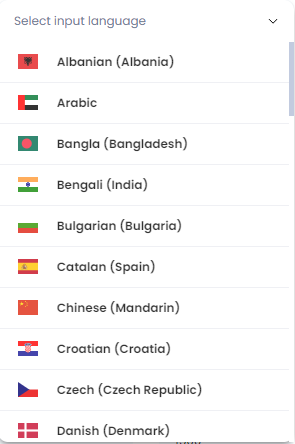
3. Language:
Choose any language to create titles that resonate with your audience in their native language.

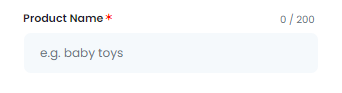
4. Product Name:
Enter your product name to help the AI tool understand it accurately and deliver the best possible results. Remember it is a mandatory field.
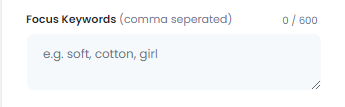
5. Focus Keywords:
Input your focus keywords to ensure the AI emphasizes them for improved SEO and search performance. Be sure to separate each keyword with a comma.
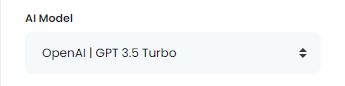
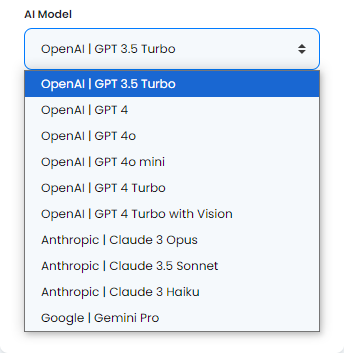
6. AI Model:
Select from various AI platforms, including OpenAI versions, Anthropic models, and Google Gemini. Pick the one that suits your needs.
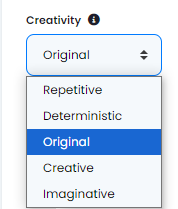
7. Creativity:
Choose between a more predictable or innovative approach by adjusting the creativity level.

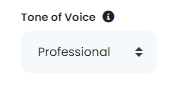
8. Tone of Voice:
Select the tone that fits your purpose, ranging from professional to playful and beyond.

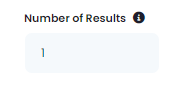
9. Number of Results:
You can generate up to 50 title suggestions to select from.
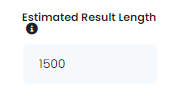
10. Estimated Result Length:
This shows the estimated word count for each result, based on the subscription plan you’ve chosen.
11- Generate Button:
Once you’ve entered all the required information, simply click the Generate Button to create your titles.

These concepts are crucial for crafting effective Amazon product descriptions. They are also relevant across various AI tools, so mastering them will enhance your ability to use any AI tool efficiently.
Now, let’s understanding the Right-Side Fields:

1. Rename Your Document:
This option allows you to rename the current document you’re working on for easy identification.

2. All Workbooks:
A section where you can access all your previously saved workbooks.

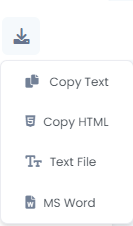
3. Download Button:
After finishing your document, you can download it in multiple formats. Choose to copy the text as-is, copy it as HTML, save it as a text file, or download it as a Microsoft Word document.

4. Save Document:
This button is designed to save your document for future access, ensuring you can continue working on it whenever needed.

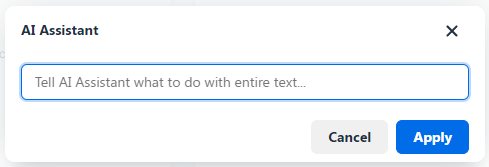
5. AI:
This feature allows you to leverage AI for rewriting your document. When you click it, you’ll be prompted to specify what you want to achieve, and the AI will adjust the text accordingly.

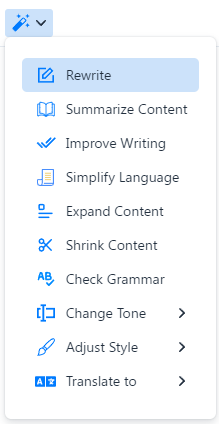
6. Magic Button:
A powerful tool that provides multiple options to refine your document. You can use it to rewrite, summarize, enhance, simplify, expand, shorten, check grammar, change the tone of voice, modify the style (e.g., business or medical), or translate the content into any language.

7. Toolbar:
The toolbar offers various formatting tools to enhance your content. You can bold or italicize text, select different paragraph styles, and insert media like images or videos. It allows for quick customization and styling to make your document more professional and engaging.

8. The Body:
This section contains the text of your document where all your editing and formatting will be applied.

In summary, we hope the information shared above has been clear and helpful. Once you understand these features, you’ll notice that many AI tools function based on similar principles. Occasionally, you may encounter additional fields, which we will clarify in our explanations. For example, while the steps in other tools within the “Ecommerce” category remain consistent, it’s important to recognize the differences in the:
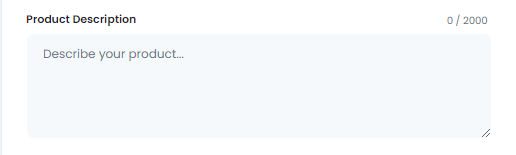
- Product Benefits feature, there’s an extra field labeled “Product Description”, this field in the Product Benefits feature allows you to input essential information about your products to enhance the AI tool’s output. By providing detailed descriptions, key attributes, and unique selling points, you enable the AI to generate more relevant and compelling content.
- For Product Comparisons feature, there is an extra field labeled “Products to Compare” this field allows you to create clear comparisons between two products. To get the best results, simply input the products as “Product A vs. Product B.” This enables the AI tool to analyze and generate a concise comparison, highlighting the key differences, features, and benefits of each product, helping customers make informed decisions.

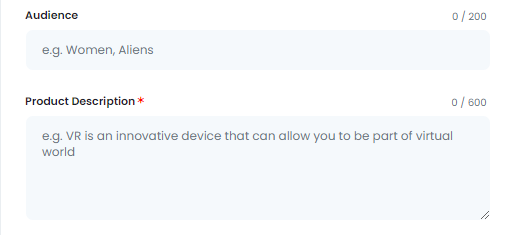
- Amazon Product Features feature, it has 2 extra fields, which are “Audience” & “Product Description”, For the Audience field, it lets you define your target demographic, such as women, men, children, and more, while for the Product Description as we mentioned before in the Product Benefits feature, it allows you to input essential information about your products to enhance the AI tool’s output.