Introducing the “Frameworks” AI Tool—your ultimate ally in creating persuasive marketing copy. Whether you’re drafting ads, landing pages, or any other content designed to convert, these frameworks simplify the process. With formulas like PAS, AIDA, and more at your fingertips, you can effortlessly craft compelling narratives that engage and drive action.
Key Features
The Problem-Agitate-Solution (PAS) Framework generates powerful copy using one of the most effective formulas for persuasion. The PAS framework identifies a problem, stirs emotions, and presents your solution, ensuring your message resonates with your audience.
The Attention-Interest-Desire-Action (AIDA) Framework guides you through creating writing that captures attention and drives engagement. By addressing these four key components, you’ll ensure your content is not just read but acted upon.
The Before–After–Bridge (BAB) Framework highlights where the audience is now, where they could be, and how your product bridges that gap. Focused on conversions, the BAB framework paints a vivid picture of the transformation your offer can provide.

The Promise–Picture–Proof–Push (PPPP) Framework crafts content that compels readers to take action with this robust formula. The PPPP framework combines promises, vivid imagery, proof of effectiveness, and a strong push to convert prospects into loyal customers.
Benefits
Elevate Your Copywriting Game: Leverage these proven frameworks to enhance your marketing copy. Each formula is designed to engage readers, ensuring your content stands out and drives results.
Streamlined Content Creation: No more guesswork in crafting persuasive copy. With these frameworks, you can quickly outline and generate effective messages, saving you time while maintaining quality.
Boost Conversion Rates: By using these structured approaches, you’ll create content that resonates with your audience. More engaging writing means better conversion rates, helping your business achieve its goals.
Implementation
Let’s delve into how to leverage the Frameworks AI Tool to enhance your content creation process. Begin with the Problem-Agitate-Solution (PAS) Framework, where you outline the challenges your audience encounters. The AI will then produce impactful copy that highlights the problem, evokes emotions, and showcases your solution, all designed to engage your viewers. Just follow the easy steps, and you’ll have persuasive content ready in no time. This streamlined method applies to the tool’s other features too, allowing you to swiftly create attention-grabbing titles, SEO-friendly tags, and engaging scripts for your content.
Let’s discover how the Problem-Agitate-Solution (PAS) Framework can assist you in creating compelling and impactful copy for your content.
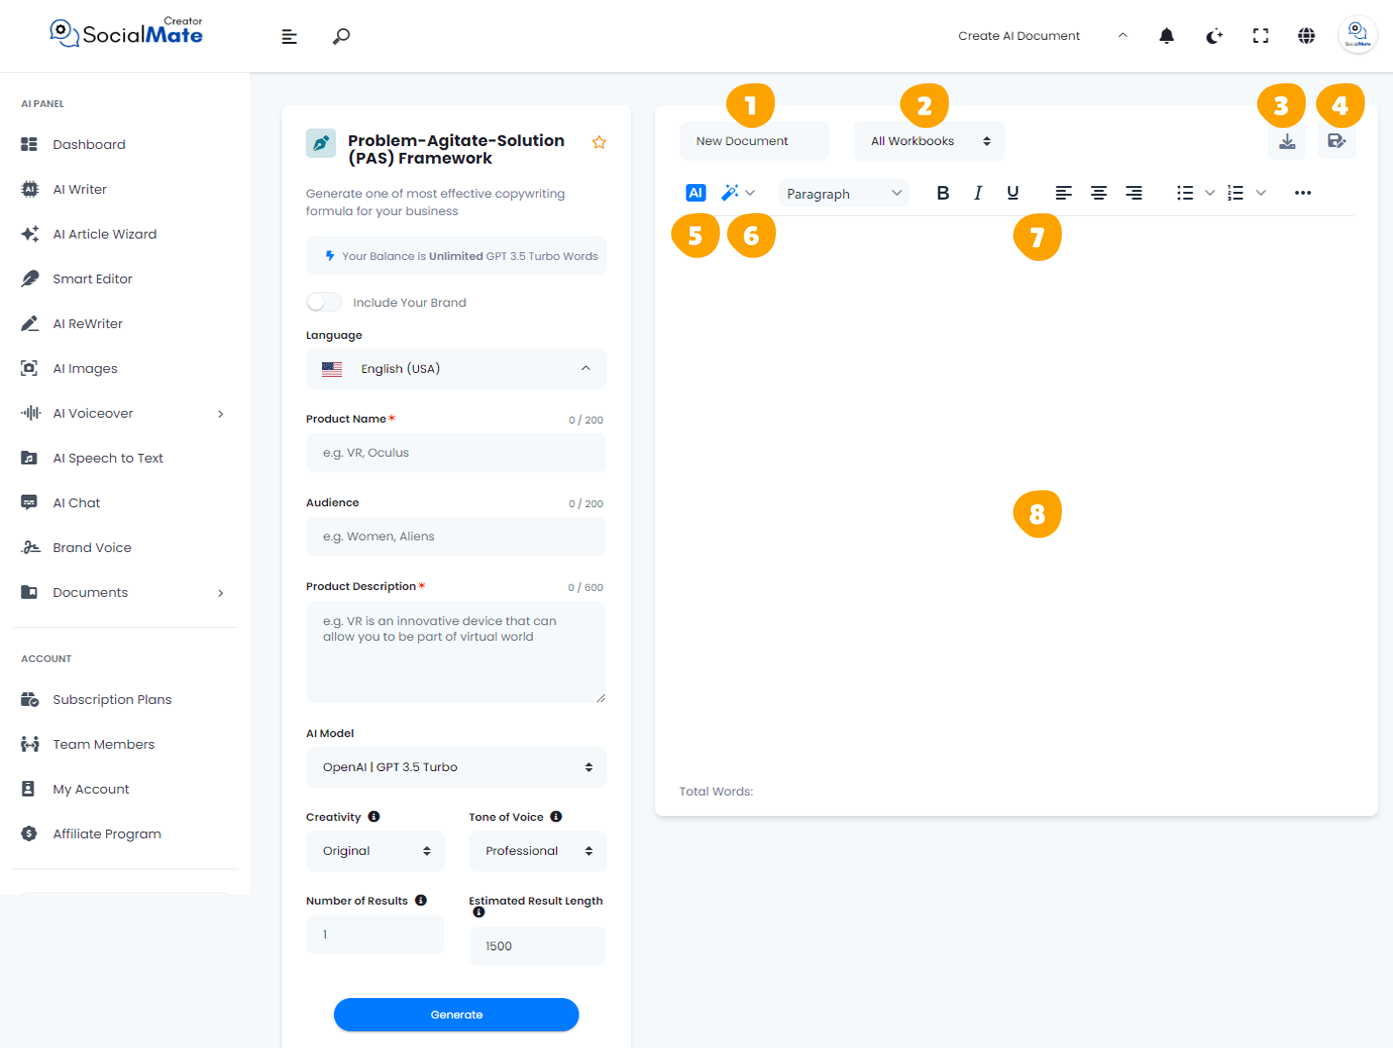
When you click on the tool, a new window will appear.
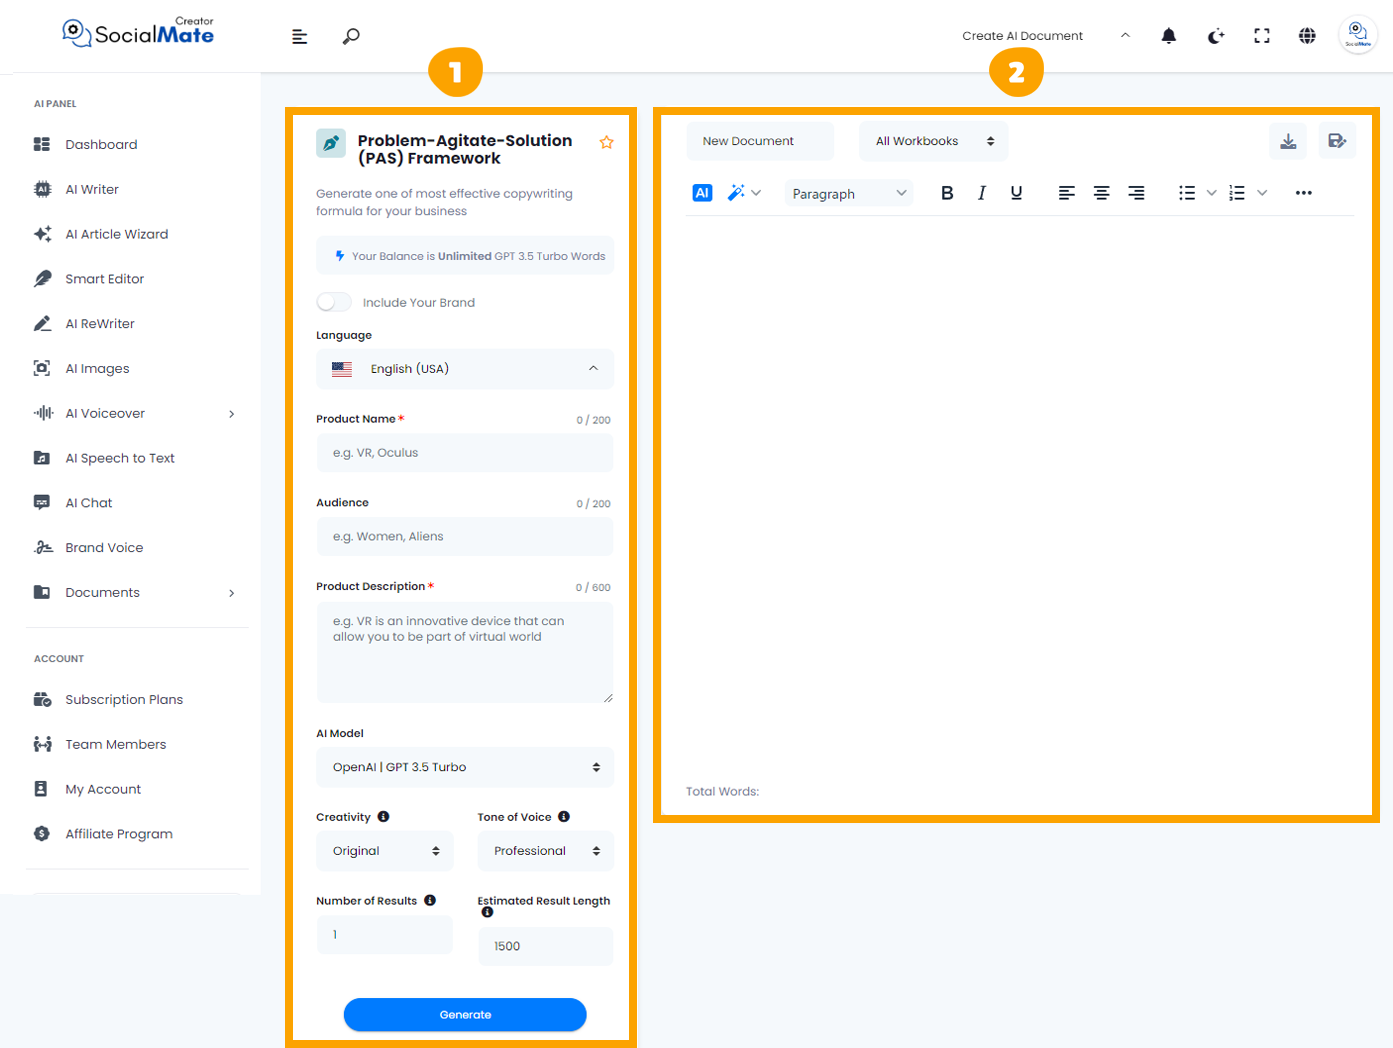
1- On the left side, you’ll see various input fields where you’ll enter the required information.
2- On the right side, you’ll find the output – the generated titles – with options to adjust, modify, add, or completely change them.
Let’s break down the input fields on the left side:
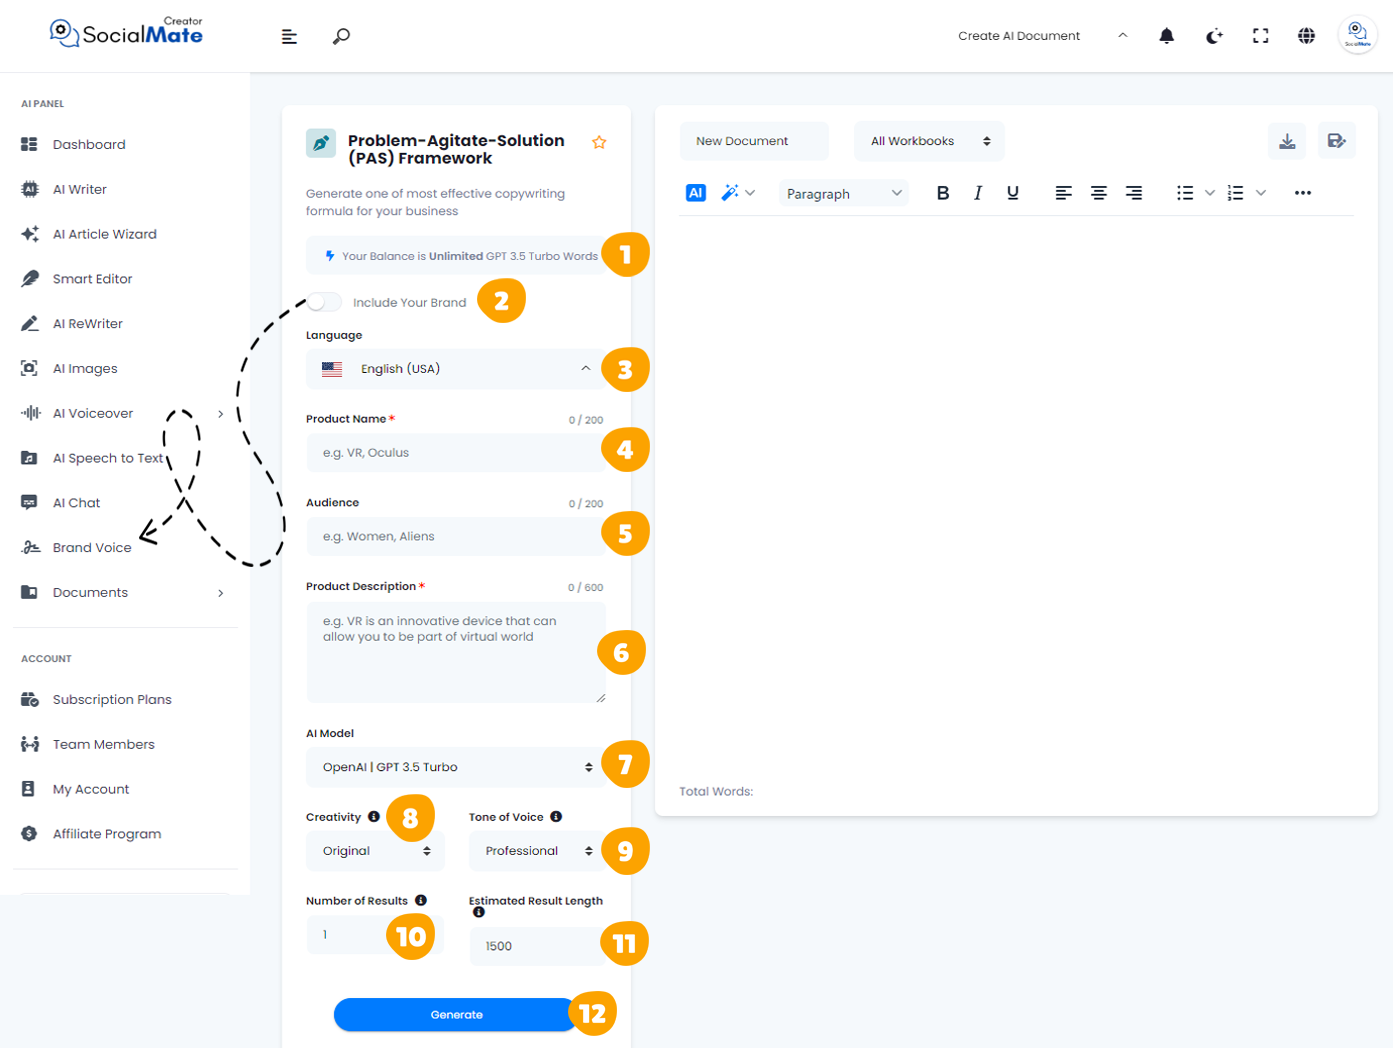
1. Your Balance:
This shows the available credits for generating AI content and which AI model version you’re using.

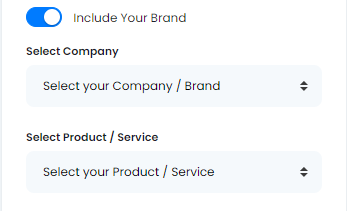
2. Your Brand:
Enabling this will use your previously saved brand data, so you won’t need to re-enter your details each time. More about this will be covered in the Brand Voice section [Here].

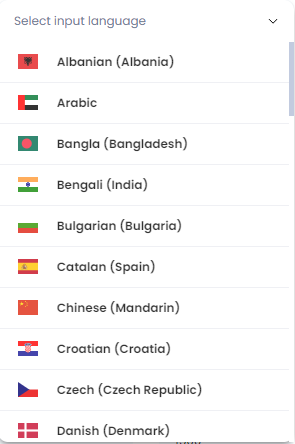
3. Language:
Choose any language to create titles that resonate with your audience in their native language.

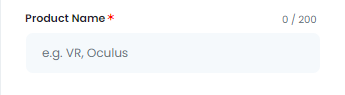
4. Product Name:
Entering your product name is crucial for the Frameworks AI tool to understand what you’re promoting. A clear and compelling product name allows the AI to tailor its generated copy specifically to your offering, ensuring that the messaging aligns with your brand’s identity and appeals to your target audience.
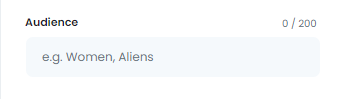
5. Audience:
Defining your audience is essential for crafting effective marketing copy. By specifying who your target demographic is, the AI can adjust the tone, style, and approach of the generated content to resonate with those specific individuals. This targeted focus increases the chances of engaging your audience and driving conversions.
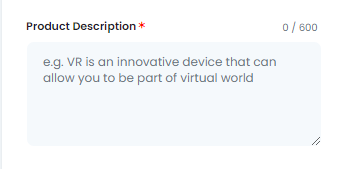
6. Product Description:
Providing a concise product description is key to guiding the AI in creating compelling copy. A well-articulated description helps the tool emphasize the unique features and benefits of your product, allowing it to generate persuasive messaging that captures attention and motivates potential customers to take action.
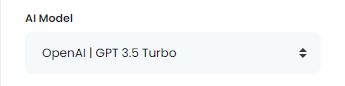
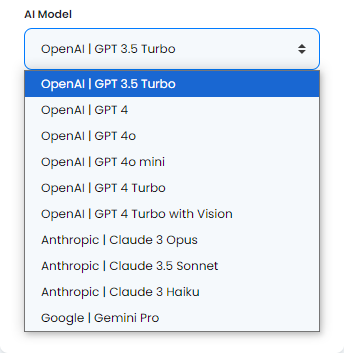
7. AI Model:
Select from various AI platforms, including OpenAI versions, Anthropic models, and Google Gemini. Pick the one that suits your needs.
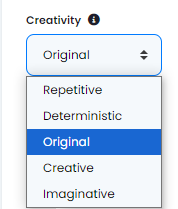
8. Creativity:
Choose between a more predictable or innovative approach by adjusting the creativity level.
9. Tone of Voice:
Select the tone that fits your purpose, ranging from professional to playful and beyond.

10. Number of Results:
You can generate up to 50 title suggestions to select from.
11. Estimated Result Length:
This shows the estimated word count for each result, based on the subscription plan you’ve chosen.
12- Generate Button:
Once you’ve entered all the required information, simply click the Generate Button to create your titles.

These fields are essential to understand for creating successful Blog titles. They also apply across many AI tools, so mastering them will help you use any AI tool effectively.
Now, let’s understanding the Right-Side Fields:
1. Rename Your Document:
This option allows you to rename the current document you’re working on for easy identification.

2. All Workbooks:
A section where you can access all your previously saved workbooks.

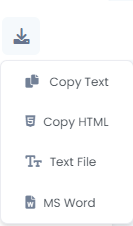
3. Download Button:
After finishing your document, you can download it in multiple formats. Choose to copy the text as-is, copy it as HTML, save it as a text file, or download it as a Microsoft Word document.

4. Save Document:
This button is designed to save your document for future access, ensuring you can continue working on it whenever needed.

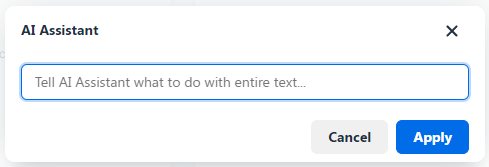
5. AI:
This feature allows you to leverage AI for rewriting your document. When you click it, you’ll be prompted to specify what you want to achieve, and the AI will adjust the text accordingly.

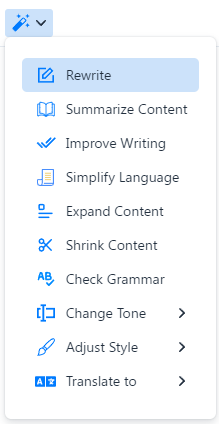
6. Magic Button:
A powerful tool that provides multiple options to refine your document. You can use it to rewrite, summarize, enhance, simplify, expand, shorten, check grammar, change the tone of voice, modify the style (e.g., business or medical), or translate the content into any language.

7. Toolbar:
The toolbar offers various formatting tools to enhance your content. You can bold or italicize text, select different paragraph styles, and insert media like images or videos. It allows for quick customization and styling to make your document more professional and engaging.

8. The Body:
This section contains the text of your document where all your editing and formatting will be applied.

In summary, we trust the information provided has been clear and beneficial. As you explore these features, you’ll find that many AI tools operate on similar principles. You may occasionally encounter additional fields, which we will clarify as needed. However, it’s important to note that the steps across the rest of the “Frameworks” category remain uniform, with no significant differences between them.


