The first step of the AI Article Wizard is called “Get Ideas.” This stage is specifically designed to help you generate ideas related to the topic you’ve chosen to write about. By utilizing this feature, you can explore various angles and perspectives, making your article more professional and comprehensive. The tool assists you in brainstorming, ensuring you have a solid foundation of ideas to develop further as you craft your content. This initial step is crucial for setting the tone and direction of your article, allowing you to create a more engaging and well-rounded piece.
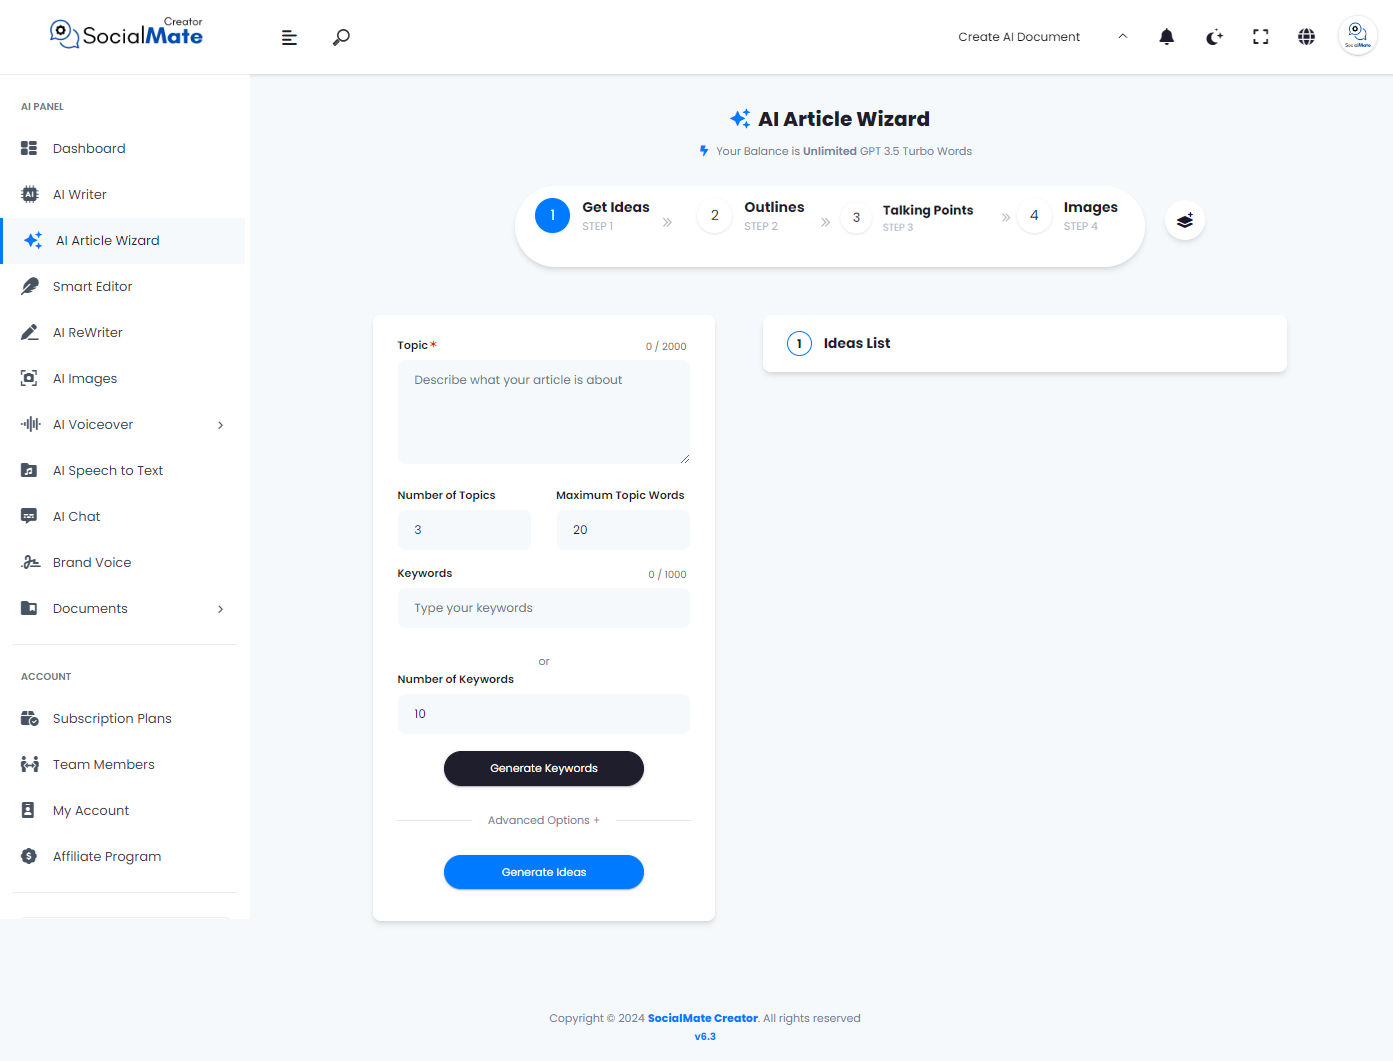
In the Get Ideas section, you’ll need to enter some key information to achieve the best results, including:
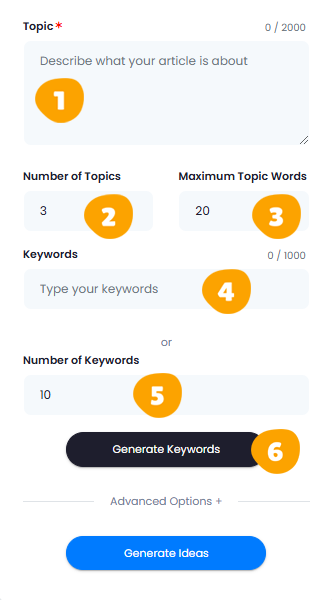
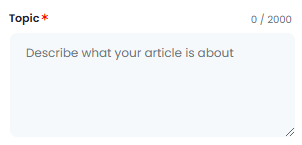
1. Topic:
Give a brief description of what your article covers. Include key points or themes to clarify the focus.
2. Number of Topics:
Select the number of topics. You can adjust this to write multiple topics for the same idea.

3. Maximum Topic Words:
Set the maximum word count for each topic. This allows you to control the length of each topic.

4. Keywords:
Enter as many relevant keywords as you’d like for your topic.

5. Number of Keywords:
If you’re unable to provide the desired keywords, you can rely on the AI to generate suitable ones. Simply specify the number of keywords you need.”

6. Generate Keywords:
Once you’ve set the number of keywords, simply click ‘Generate Keywords.

Implementation 1
Here’s an example to go over before we dive into the rest of the Get Ideas section requirements:
Let’s complete some of the data requirements above to generate keywords for our article.
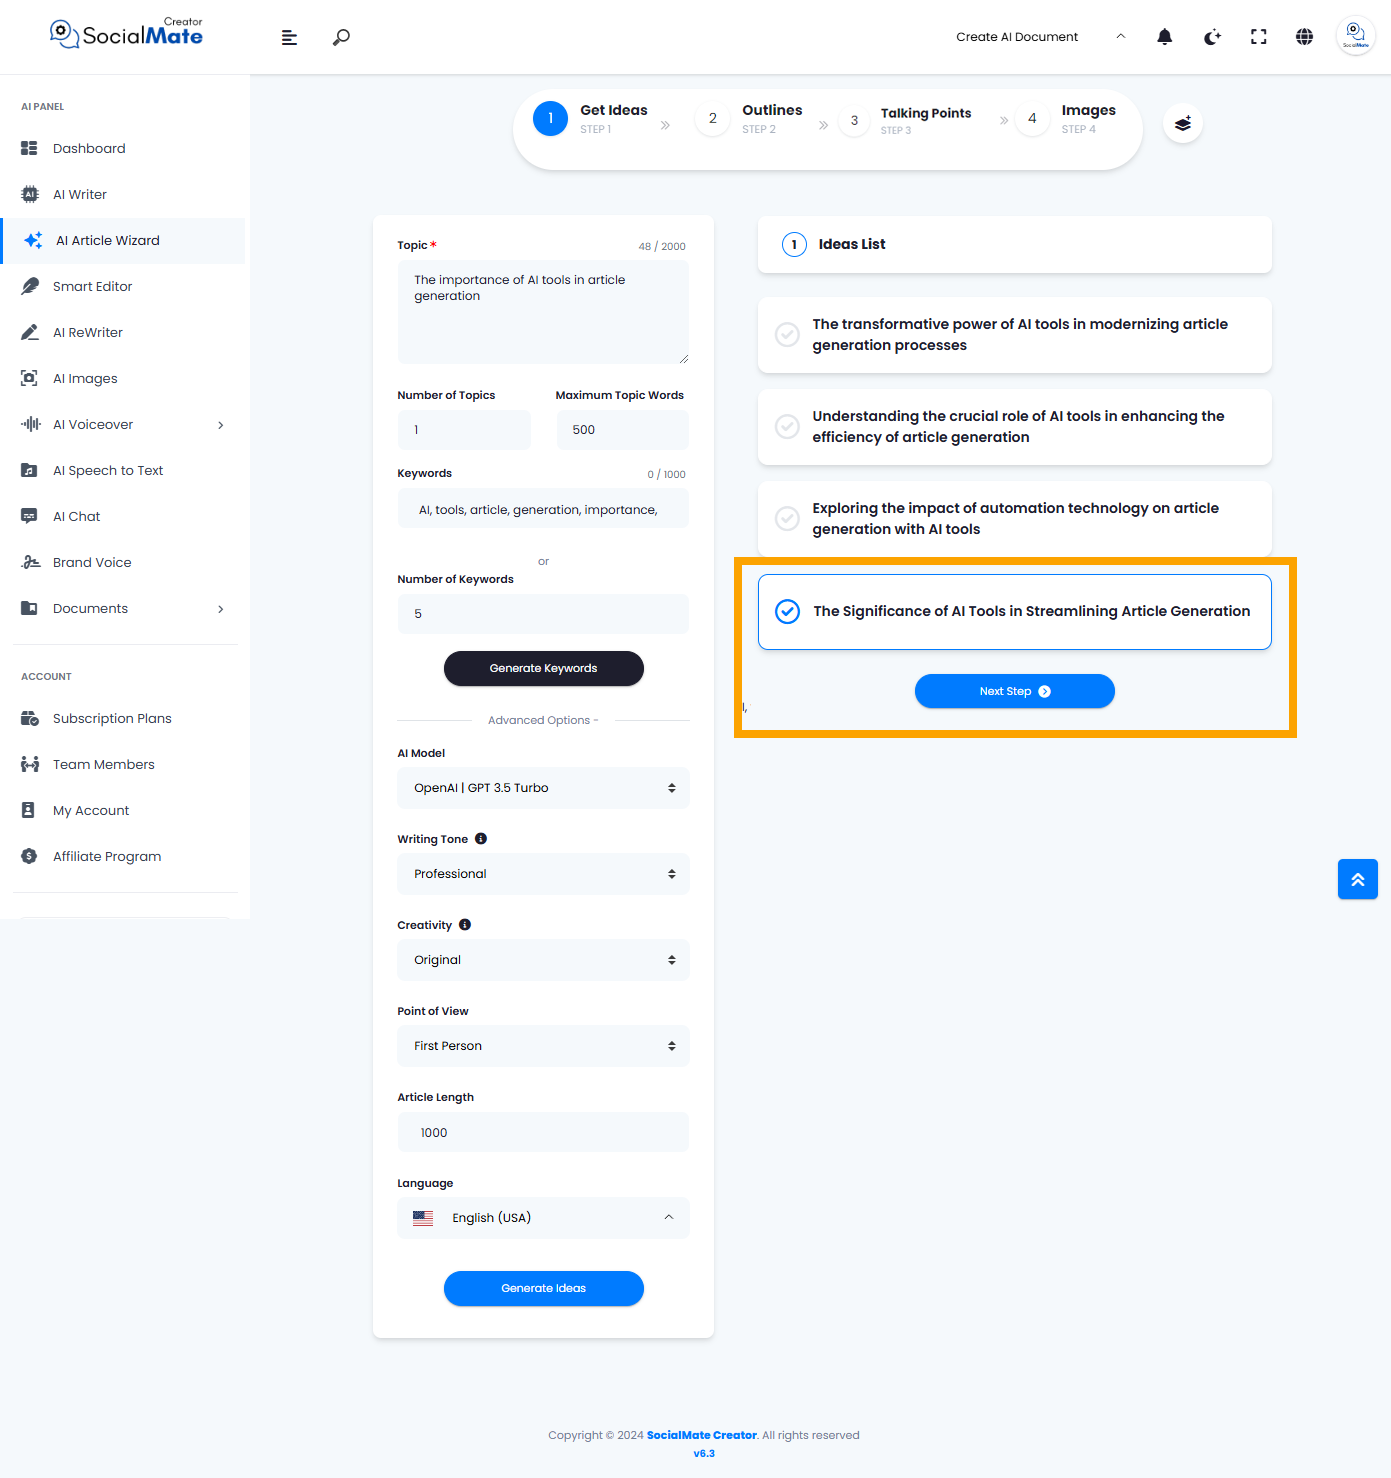
- In the topic box, we entered “The importance of AI tools in article generation.“
- We reduced the number of topics to “1” to simplify the example.
- We increased the word count to “500” for this topic.
- To generate keywords, we set the AI to produce “five “5” keywords.
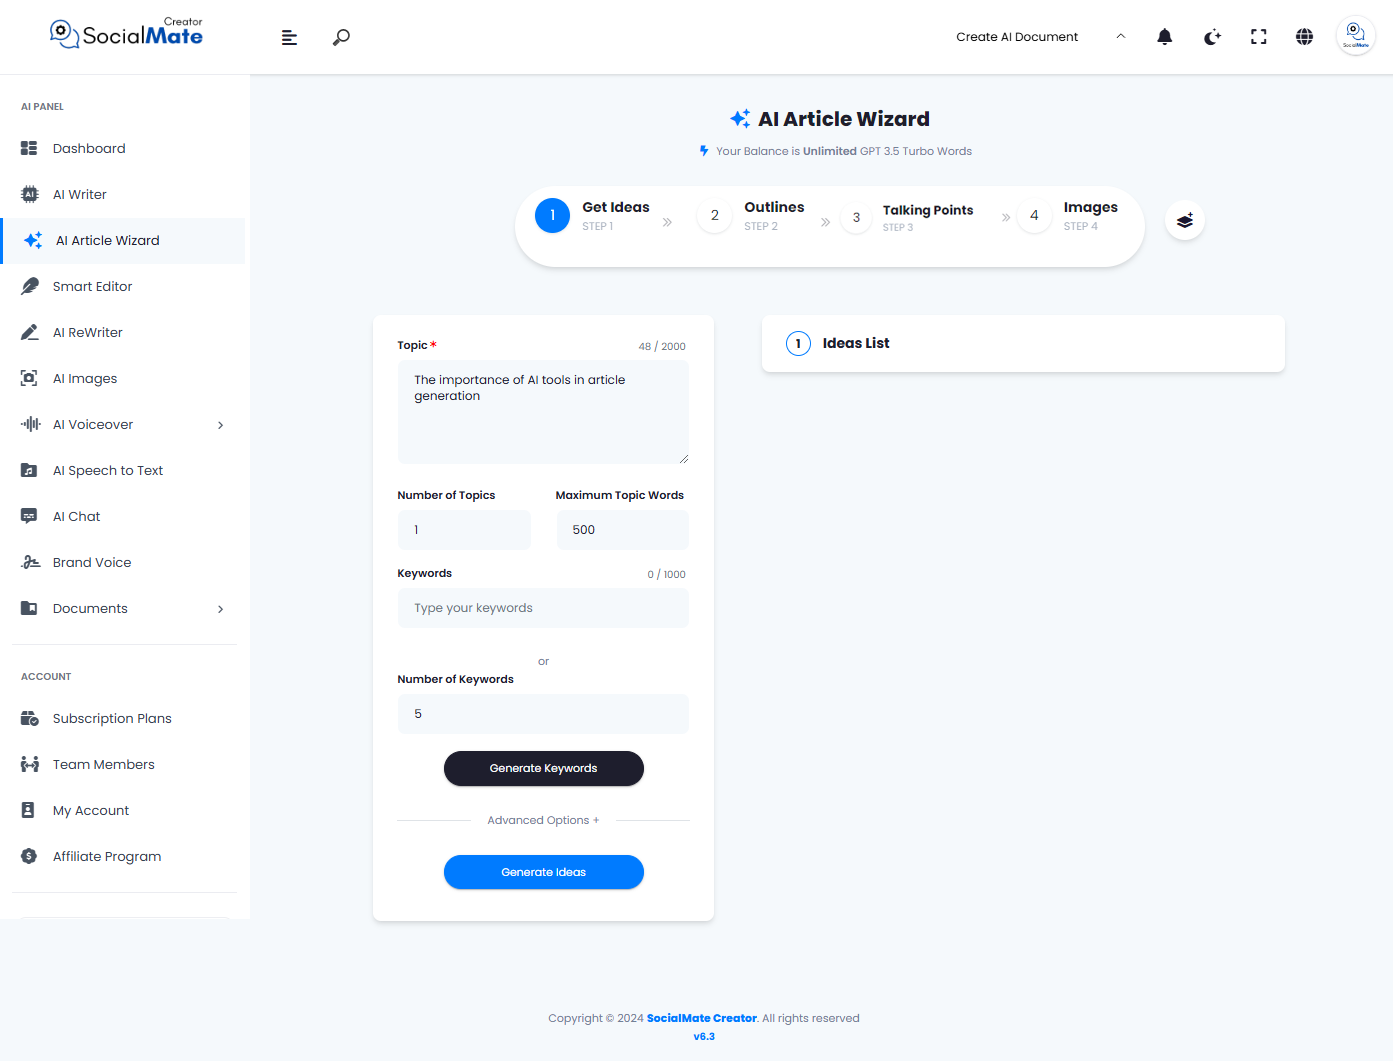
Once we finished, we clicked the “Generate Keywords” button and received the five keywords. Now, let’s proceed by selecting “Advanced Option”.
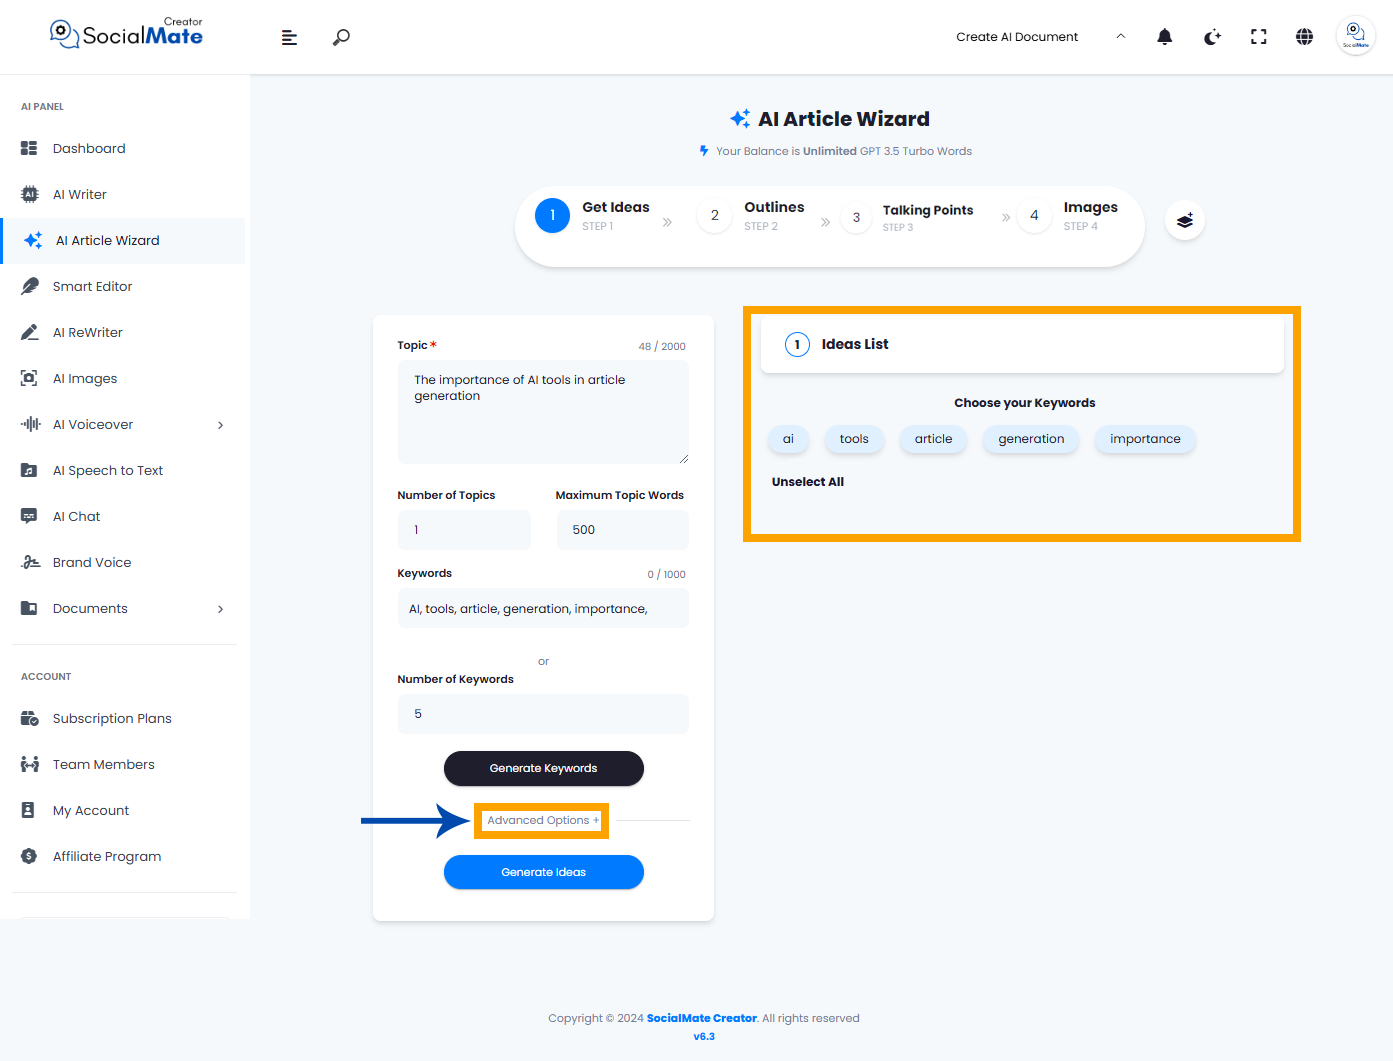
After clicking “Advanced Options,” additional settings will appear. Let’s review them before continuing our example.
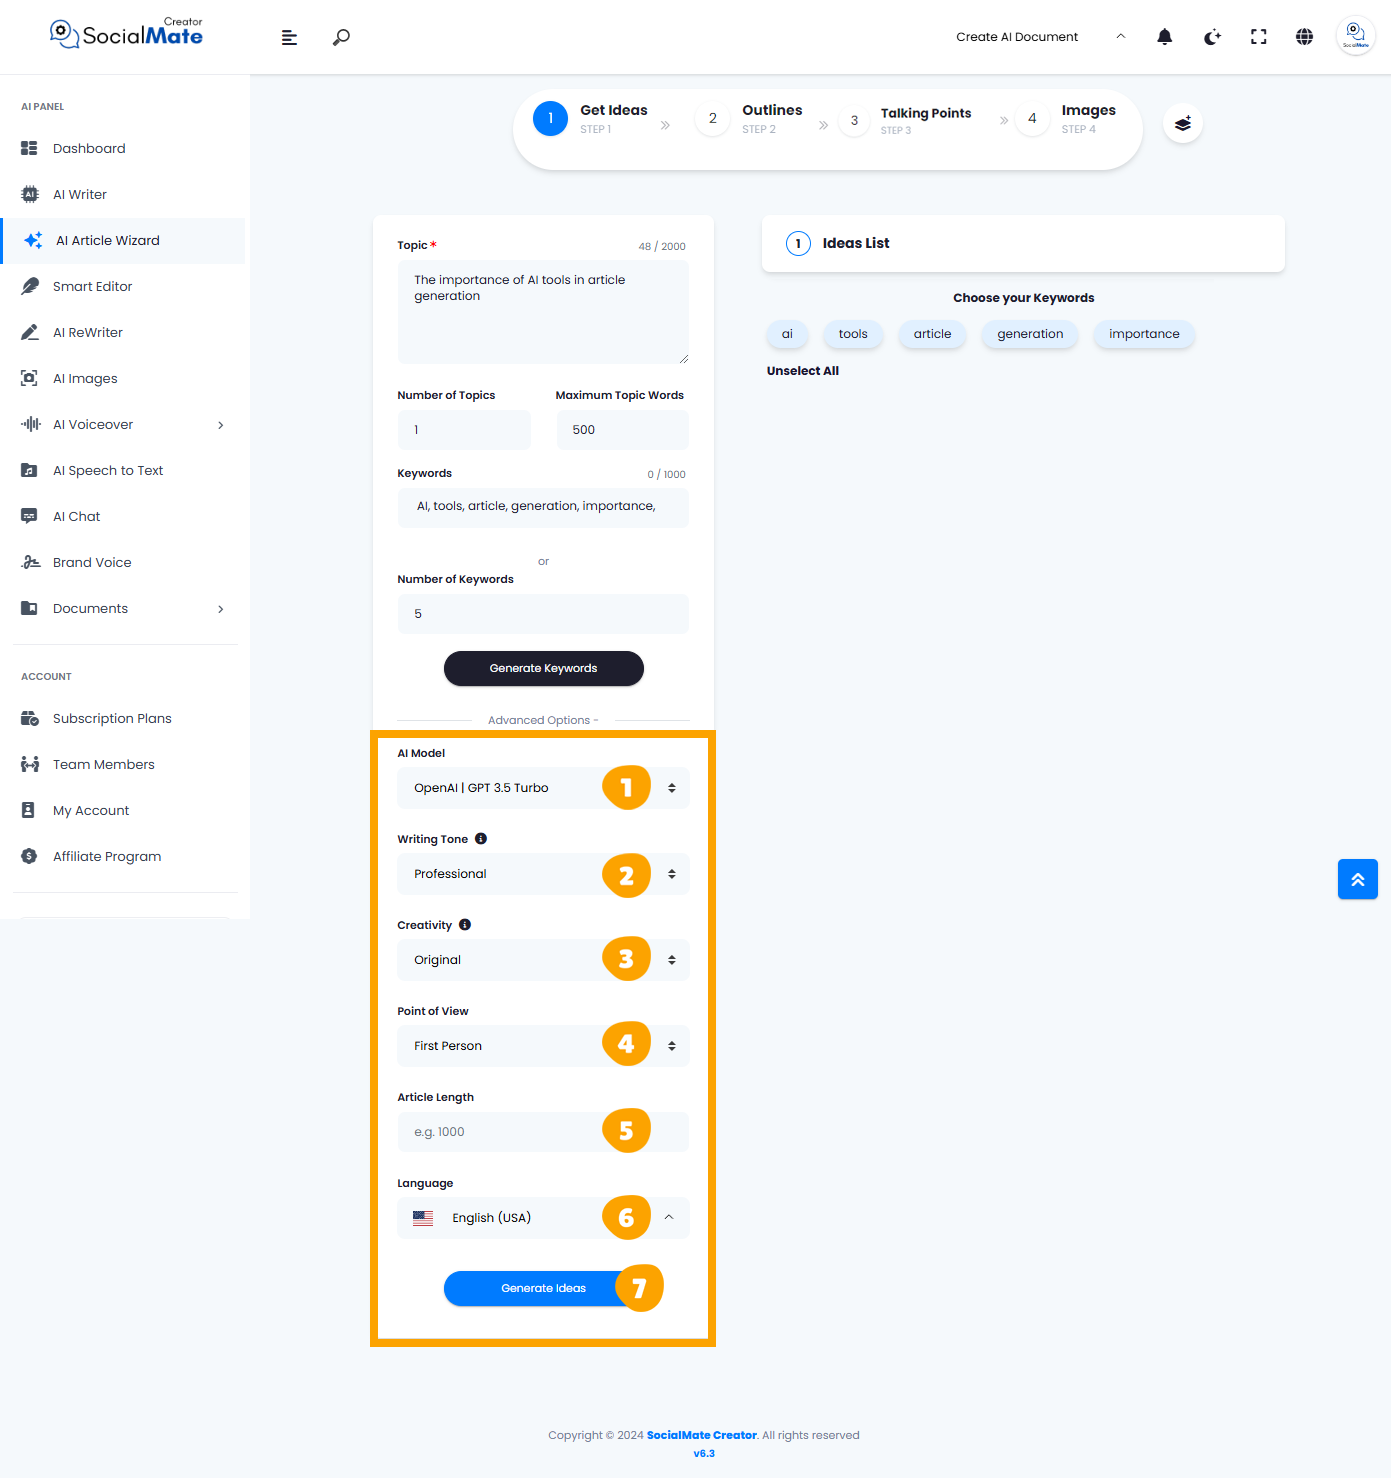
You’ll see six required fields to complete, which are:
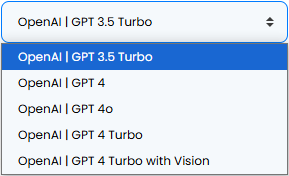
1. AI Model:
Select from various AI platforms, including OpenAI versions, Anthropic models, and Google Gemini. Pick the one that suits your needs.

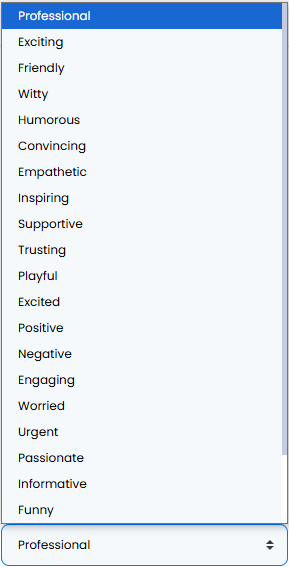
2. Writing Tone:
It allows you to choose the desired tone for your article from a dropdown list. Options include professional, inspiring, or even humorous, helping you align the content’s mood with your target audience.

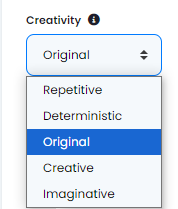
3. Creativity:
Choose between a more predictable or innovative approach by adjusting the creativity level.

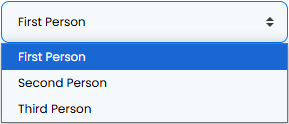
4. Point of View:
The “Point of View” option lets you set the perspective of your article. Choose between first person, second person, or third person to tailor how readers experience the content, whether it’s a personal narrative, direct address, or an objective viewpoint.

5. Article Length:
You can assign an appropriate word count to guide the content creation process effectively. By specifying a word count, you can ensure the resulting article meets your needs.

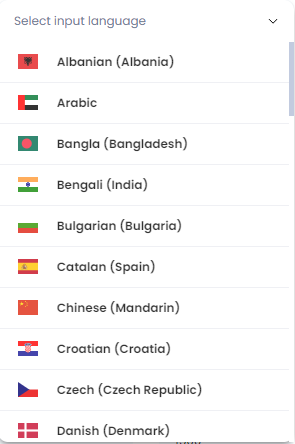
6. Language:
Choose any language to create an article that resonate with your audience in their native language.

7. Generate Ideas:
Once you’ve completed all the required information above, click the “Generate Ideas” button to create the ideas.

Implementation 2
Now that we have a grasp of the different fields, let’s proceed with our example and complete those requirements, leaving everything as is, and let’s hit the “Generate Ideas” button.
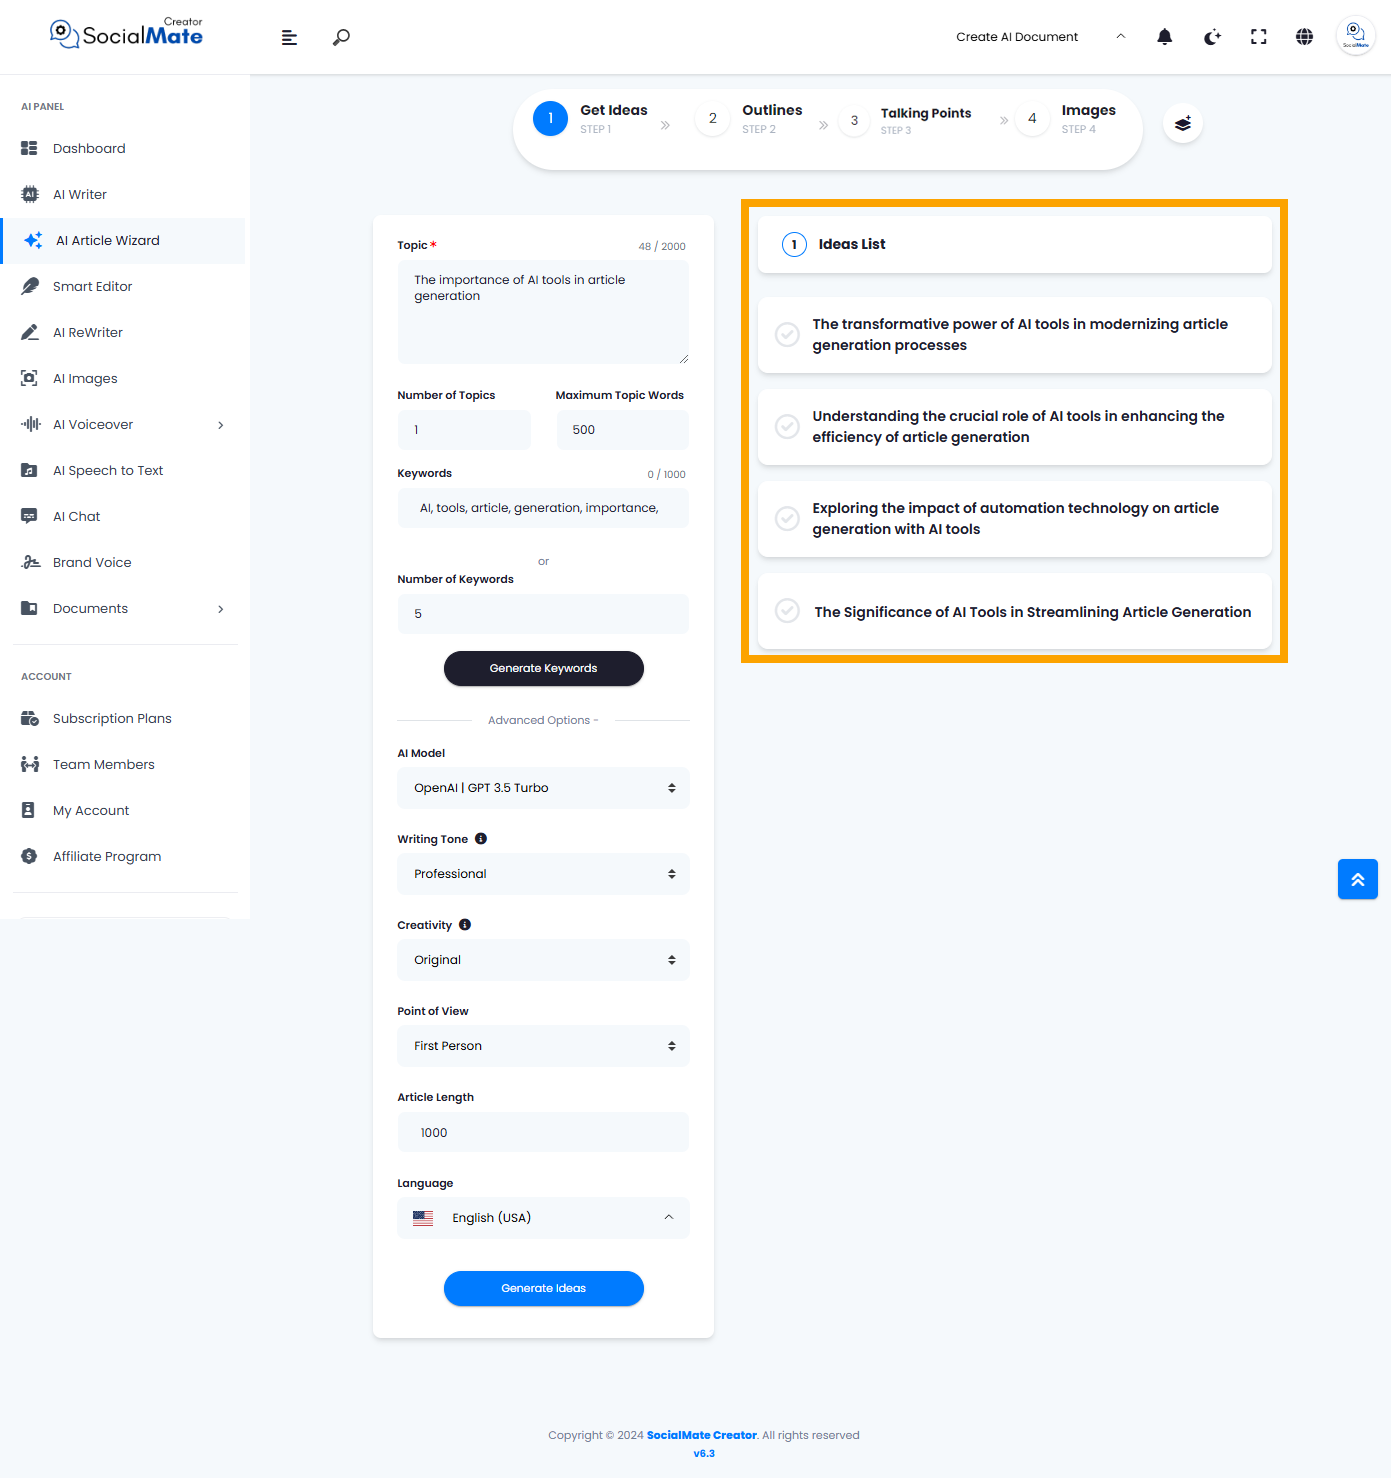
As you can see, the AI has generated four different ideas for your article based on the keywords created earlier. All you need to do is select one of these ideas to proceed to the next step, which is “Outlines.”
