In the fourth step of AI Article Wizard generation, “Images,” the focus is on visual enhancement and illustration of the content. Adding images improves reader engagement and helps convey complex ideas more clearly, making the article both informative and visually appealing. This step involves selecting or generating high-quality images that align with the article’s subject, ensuring they reinforce the main points or add additional context.
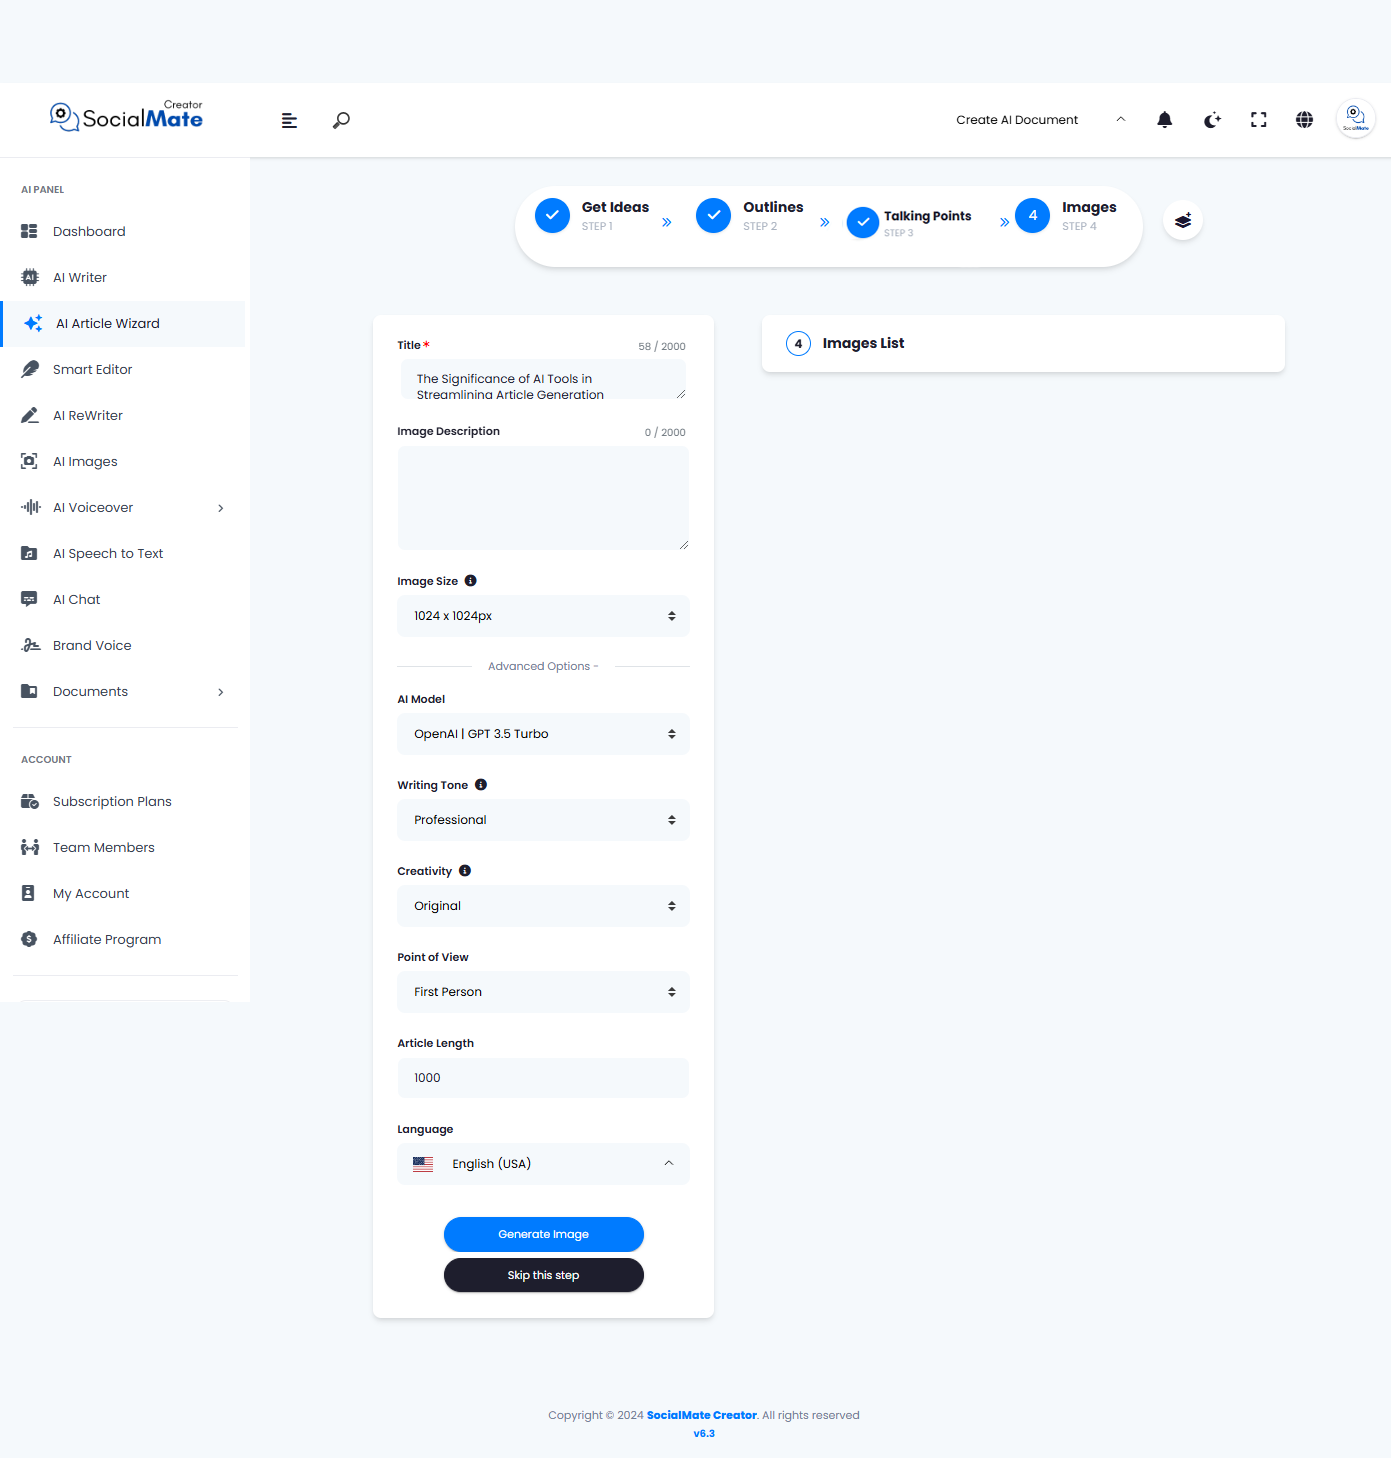
When we moved to the next step, there was a slight change on the left side as well. Although the adjustment is small, with only two fields being replaced, all other fields stayed the same.
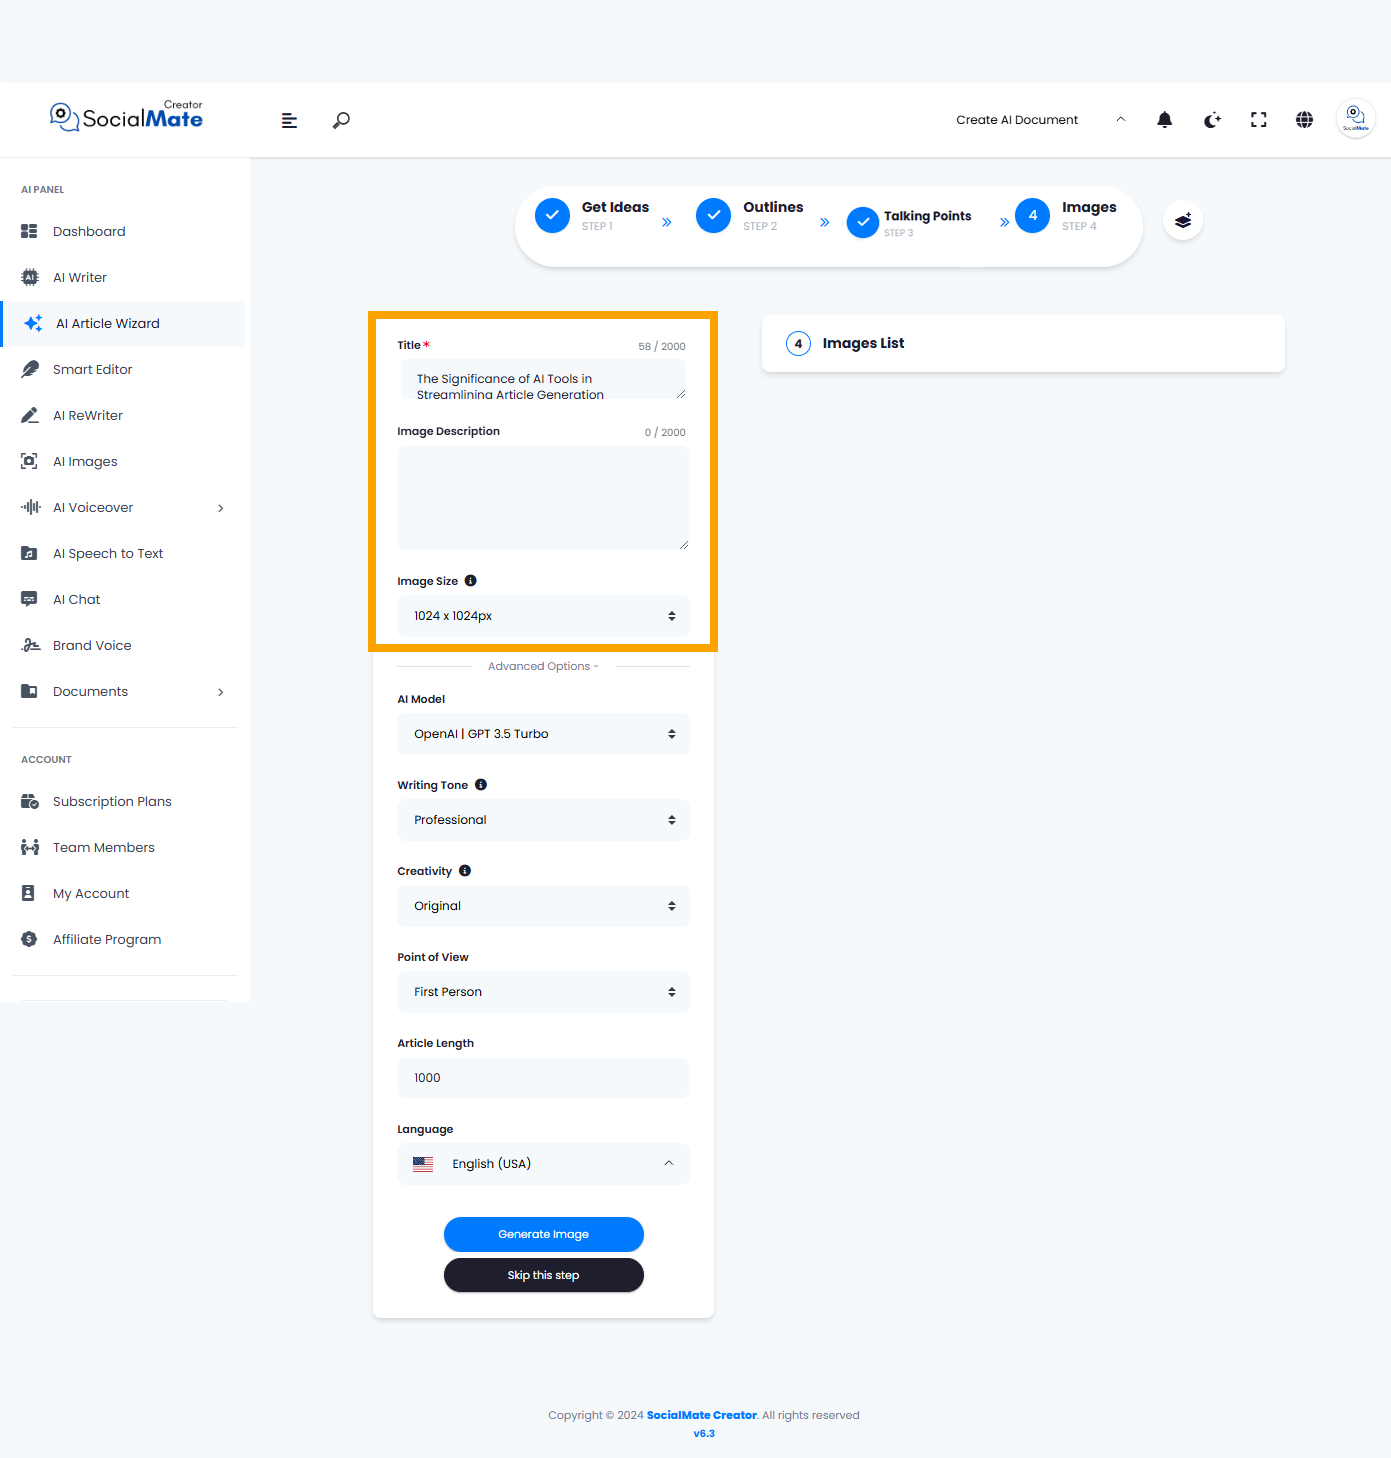
The two fields are “Image Description” and “Image Size.” You can choose to complete these fields or leave them as they are, depending on your preference.
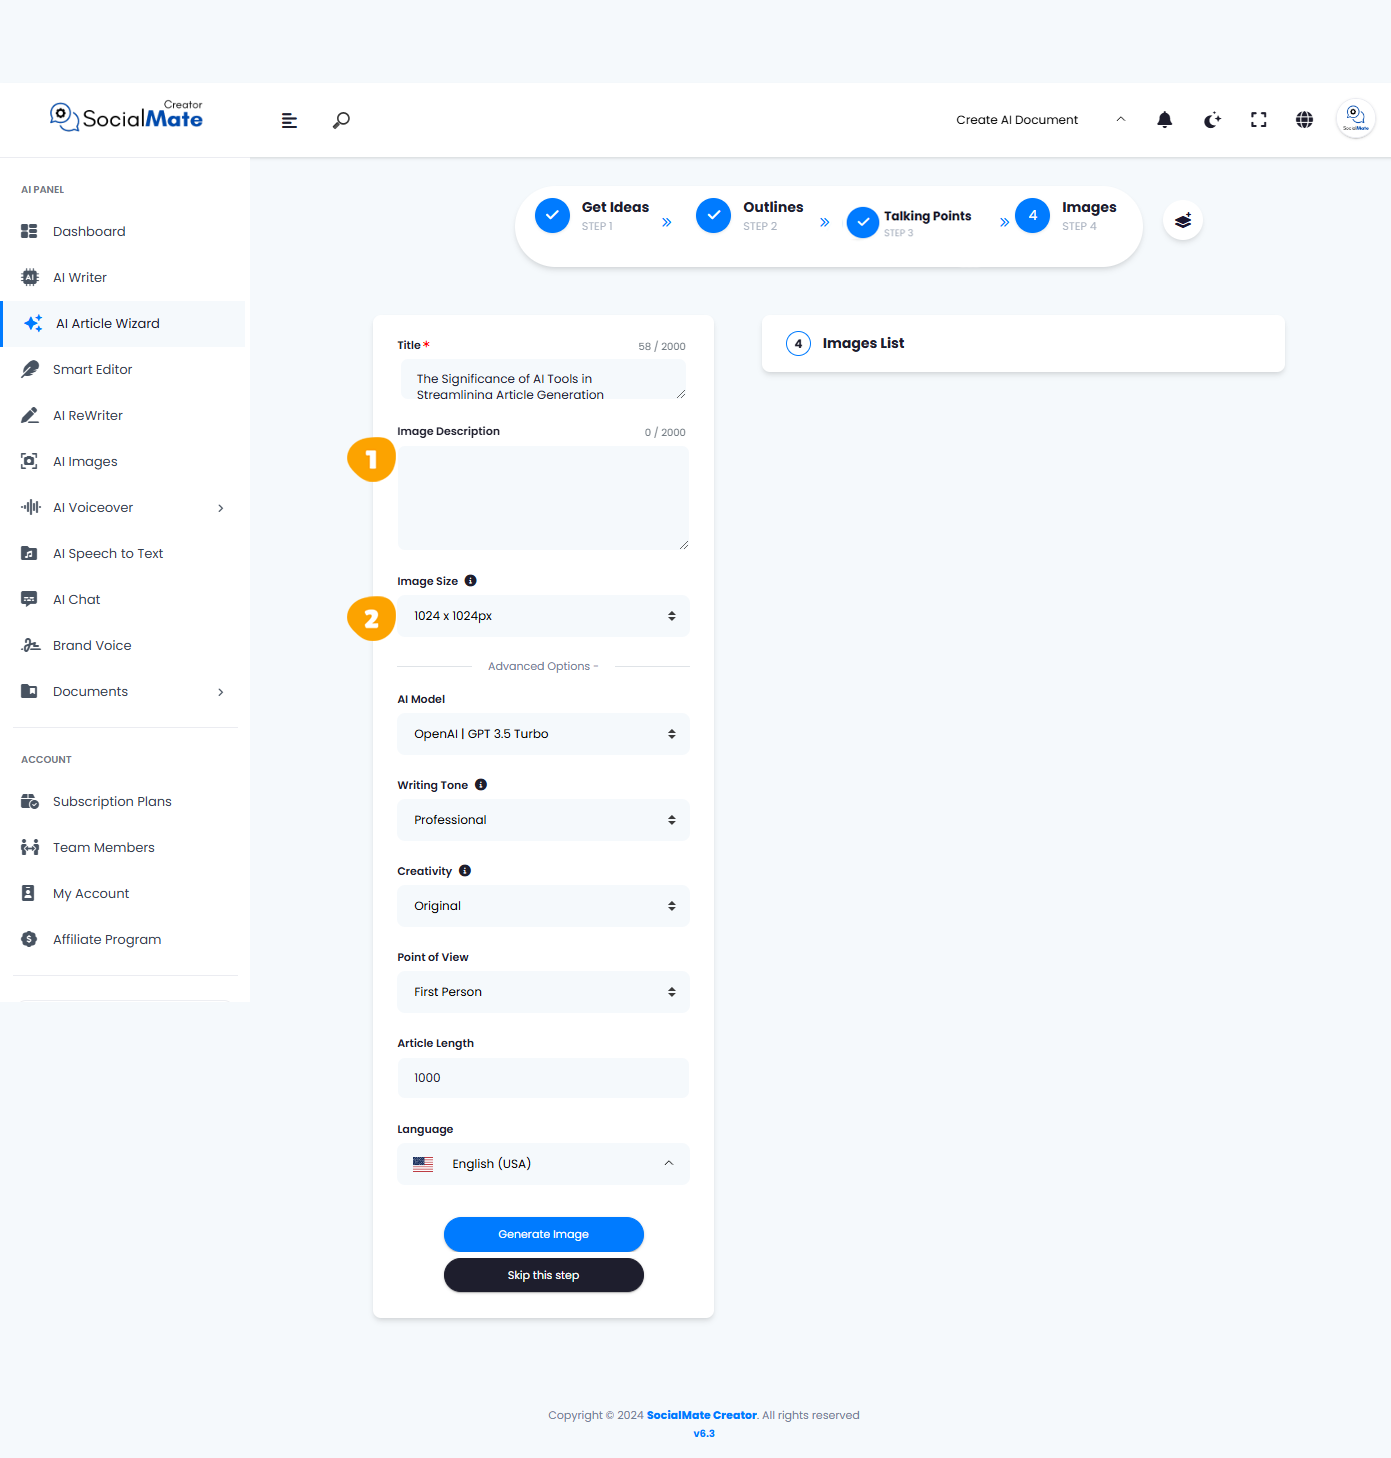
Let’s review them to grasp their significance in our article generation process.
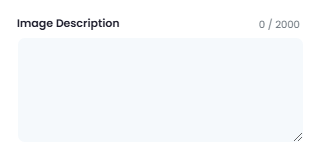
1. Image Description:
It allows you to provide a detailed context for the visuals included in your article, ensuring they accurately reflect the content and enhance understanding. By crafting a thoughtful description, you can guide the AI in generating images that align with your message and engage your readers more effectively.
2. Image Size:
It allows you to select the dimensions of your visuals to best suit your article’s layout. Common sizes include 1024 x 1024 for square images, 1024 x 1792 for vertical images, and 1792 x 1024 for wide images, each optimized for different content placements and visual impact.

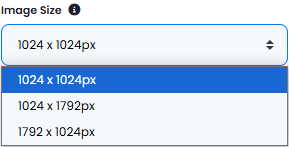
These two fields are the only changes; everything else remains the same and follows the guidelines from the first step, as previously explained.
Implementation
Let’s complete some of the data requirements above to add an image to our article.
- In the Image Description, we write “” “Illustration of an AI system assists a writer by generating text, displaying holographic charts and keywords to showcase its power in streamlining content
creation through data analysis and enhanced efficiency.” - In the Image Size, we choose “1792 X 1024px“
- We left everything else constant.
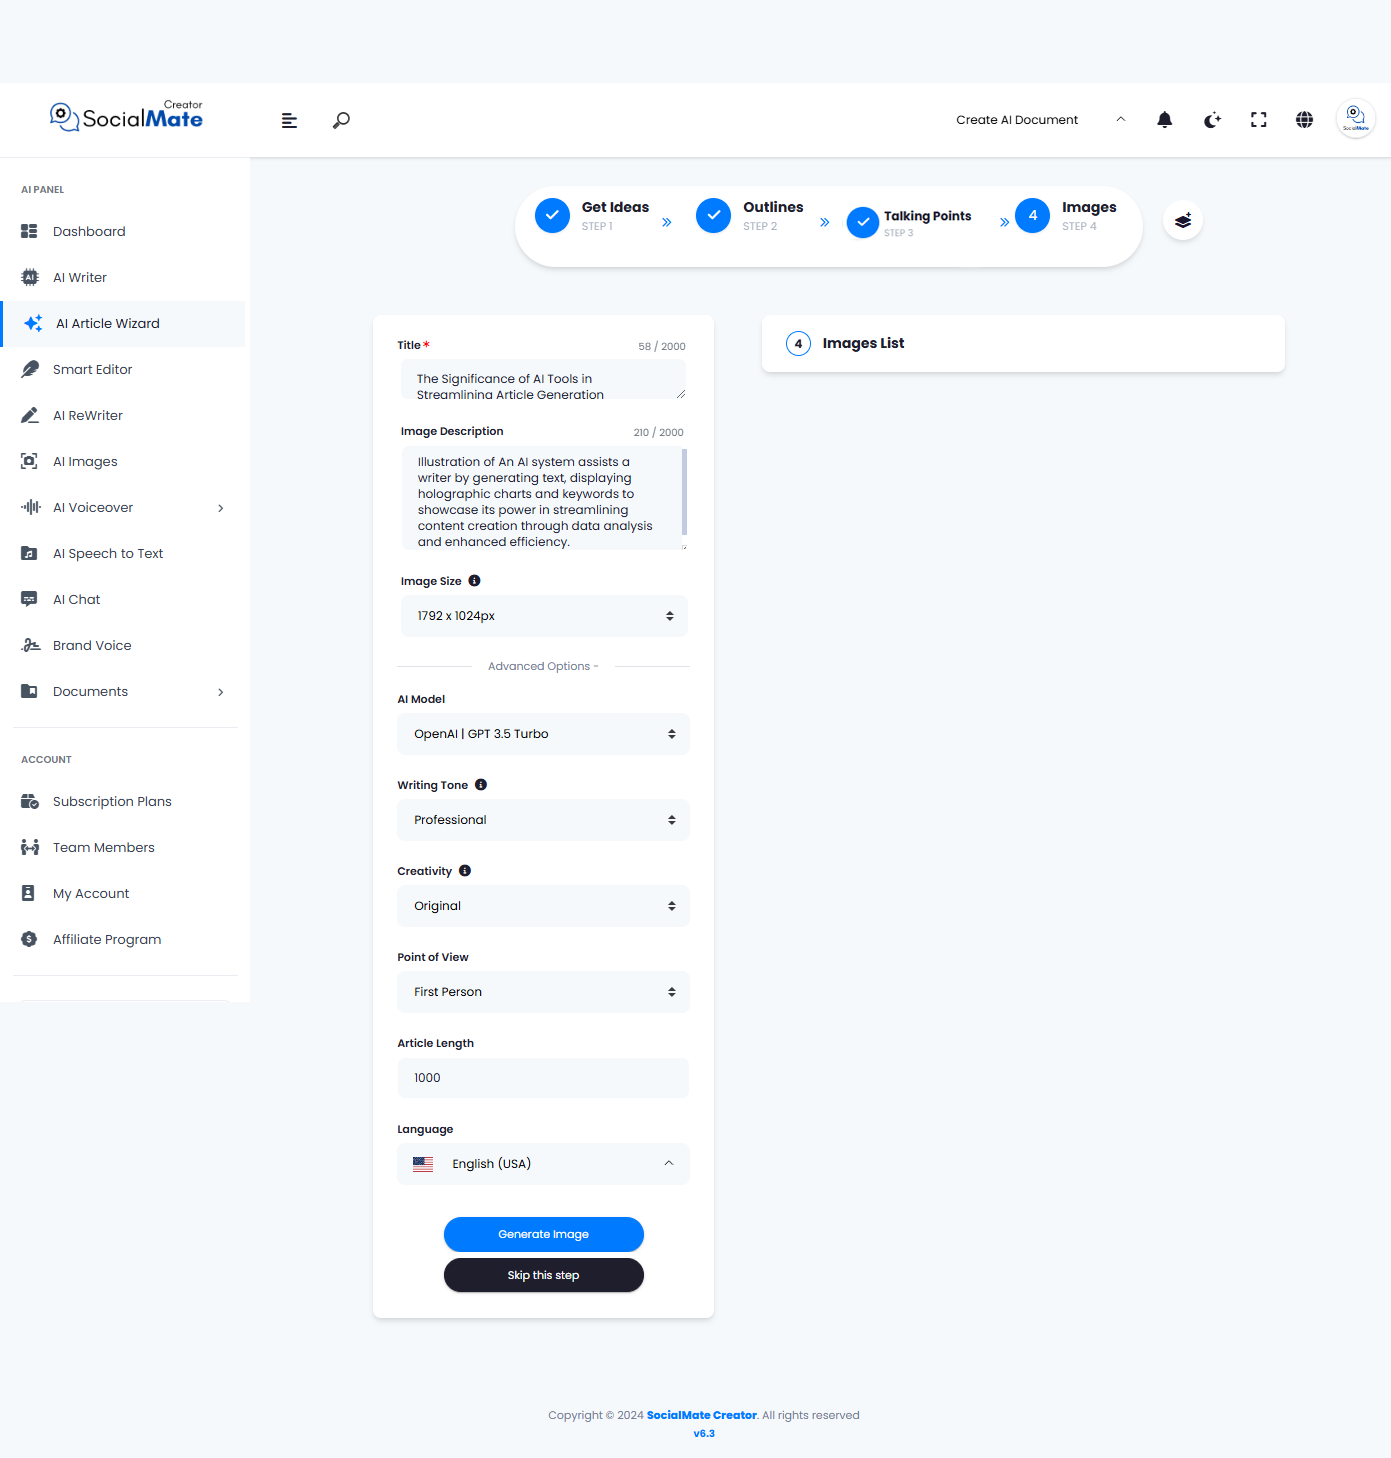
Now that we understand the different fields, let’s go ahead and click the “Generate Image” button.
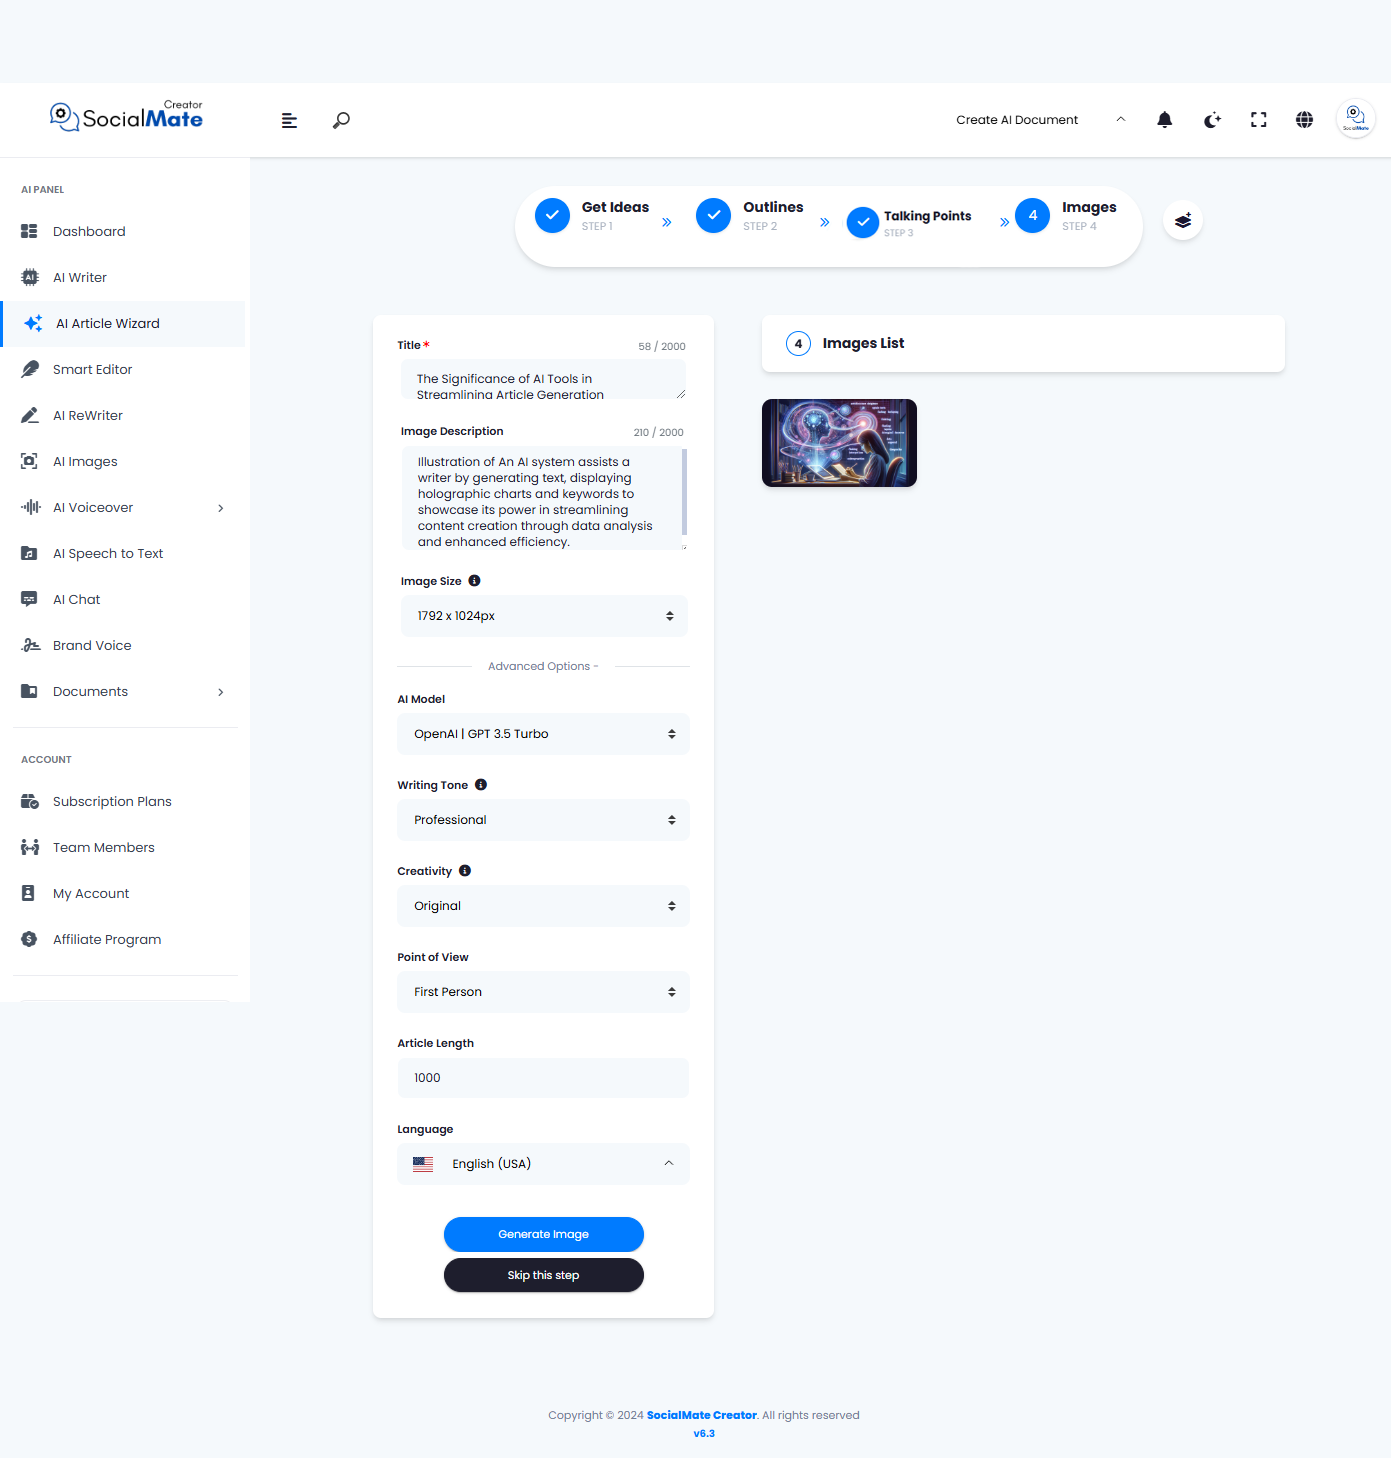
As you can see, the AI has created an image for the article. You can now move on to the next step.
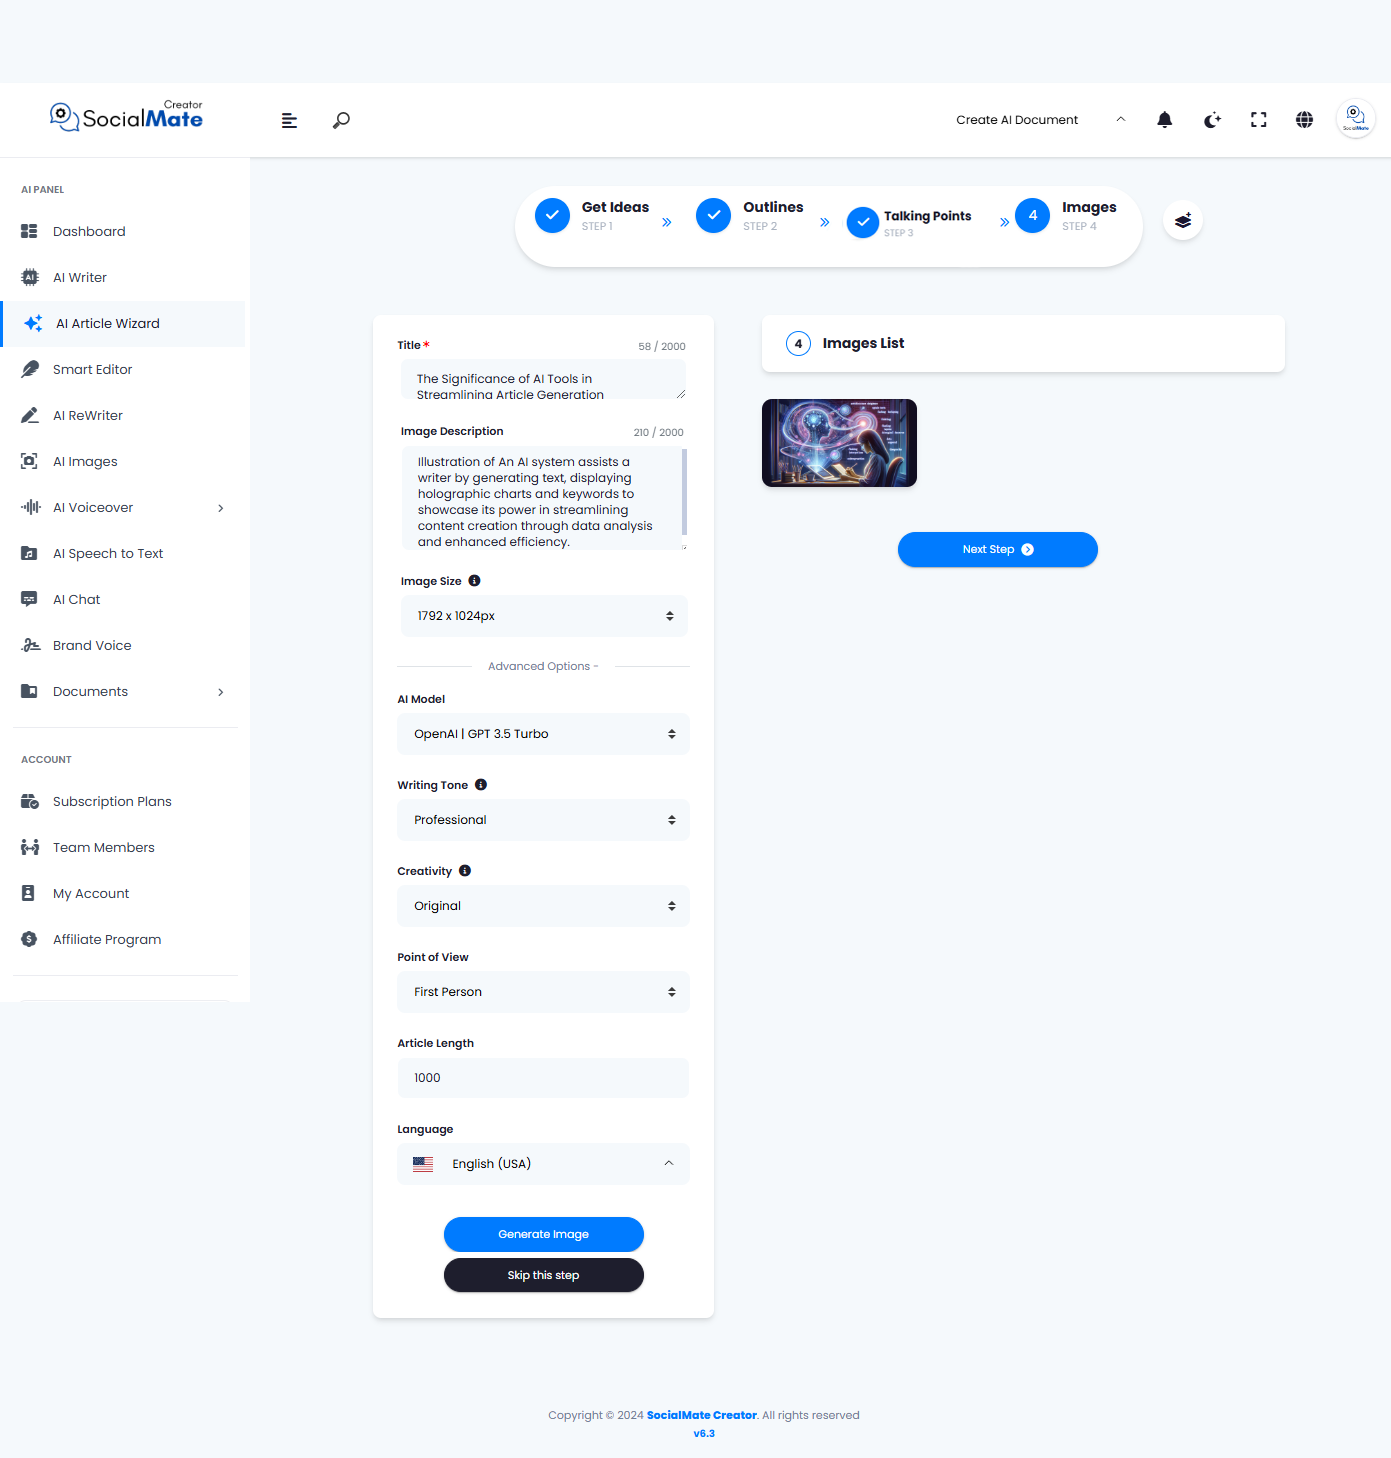
Here is the final article with an image:
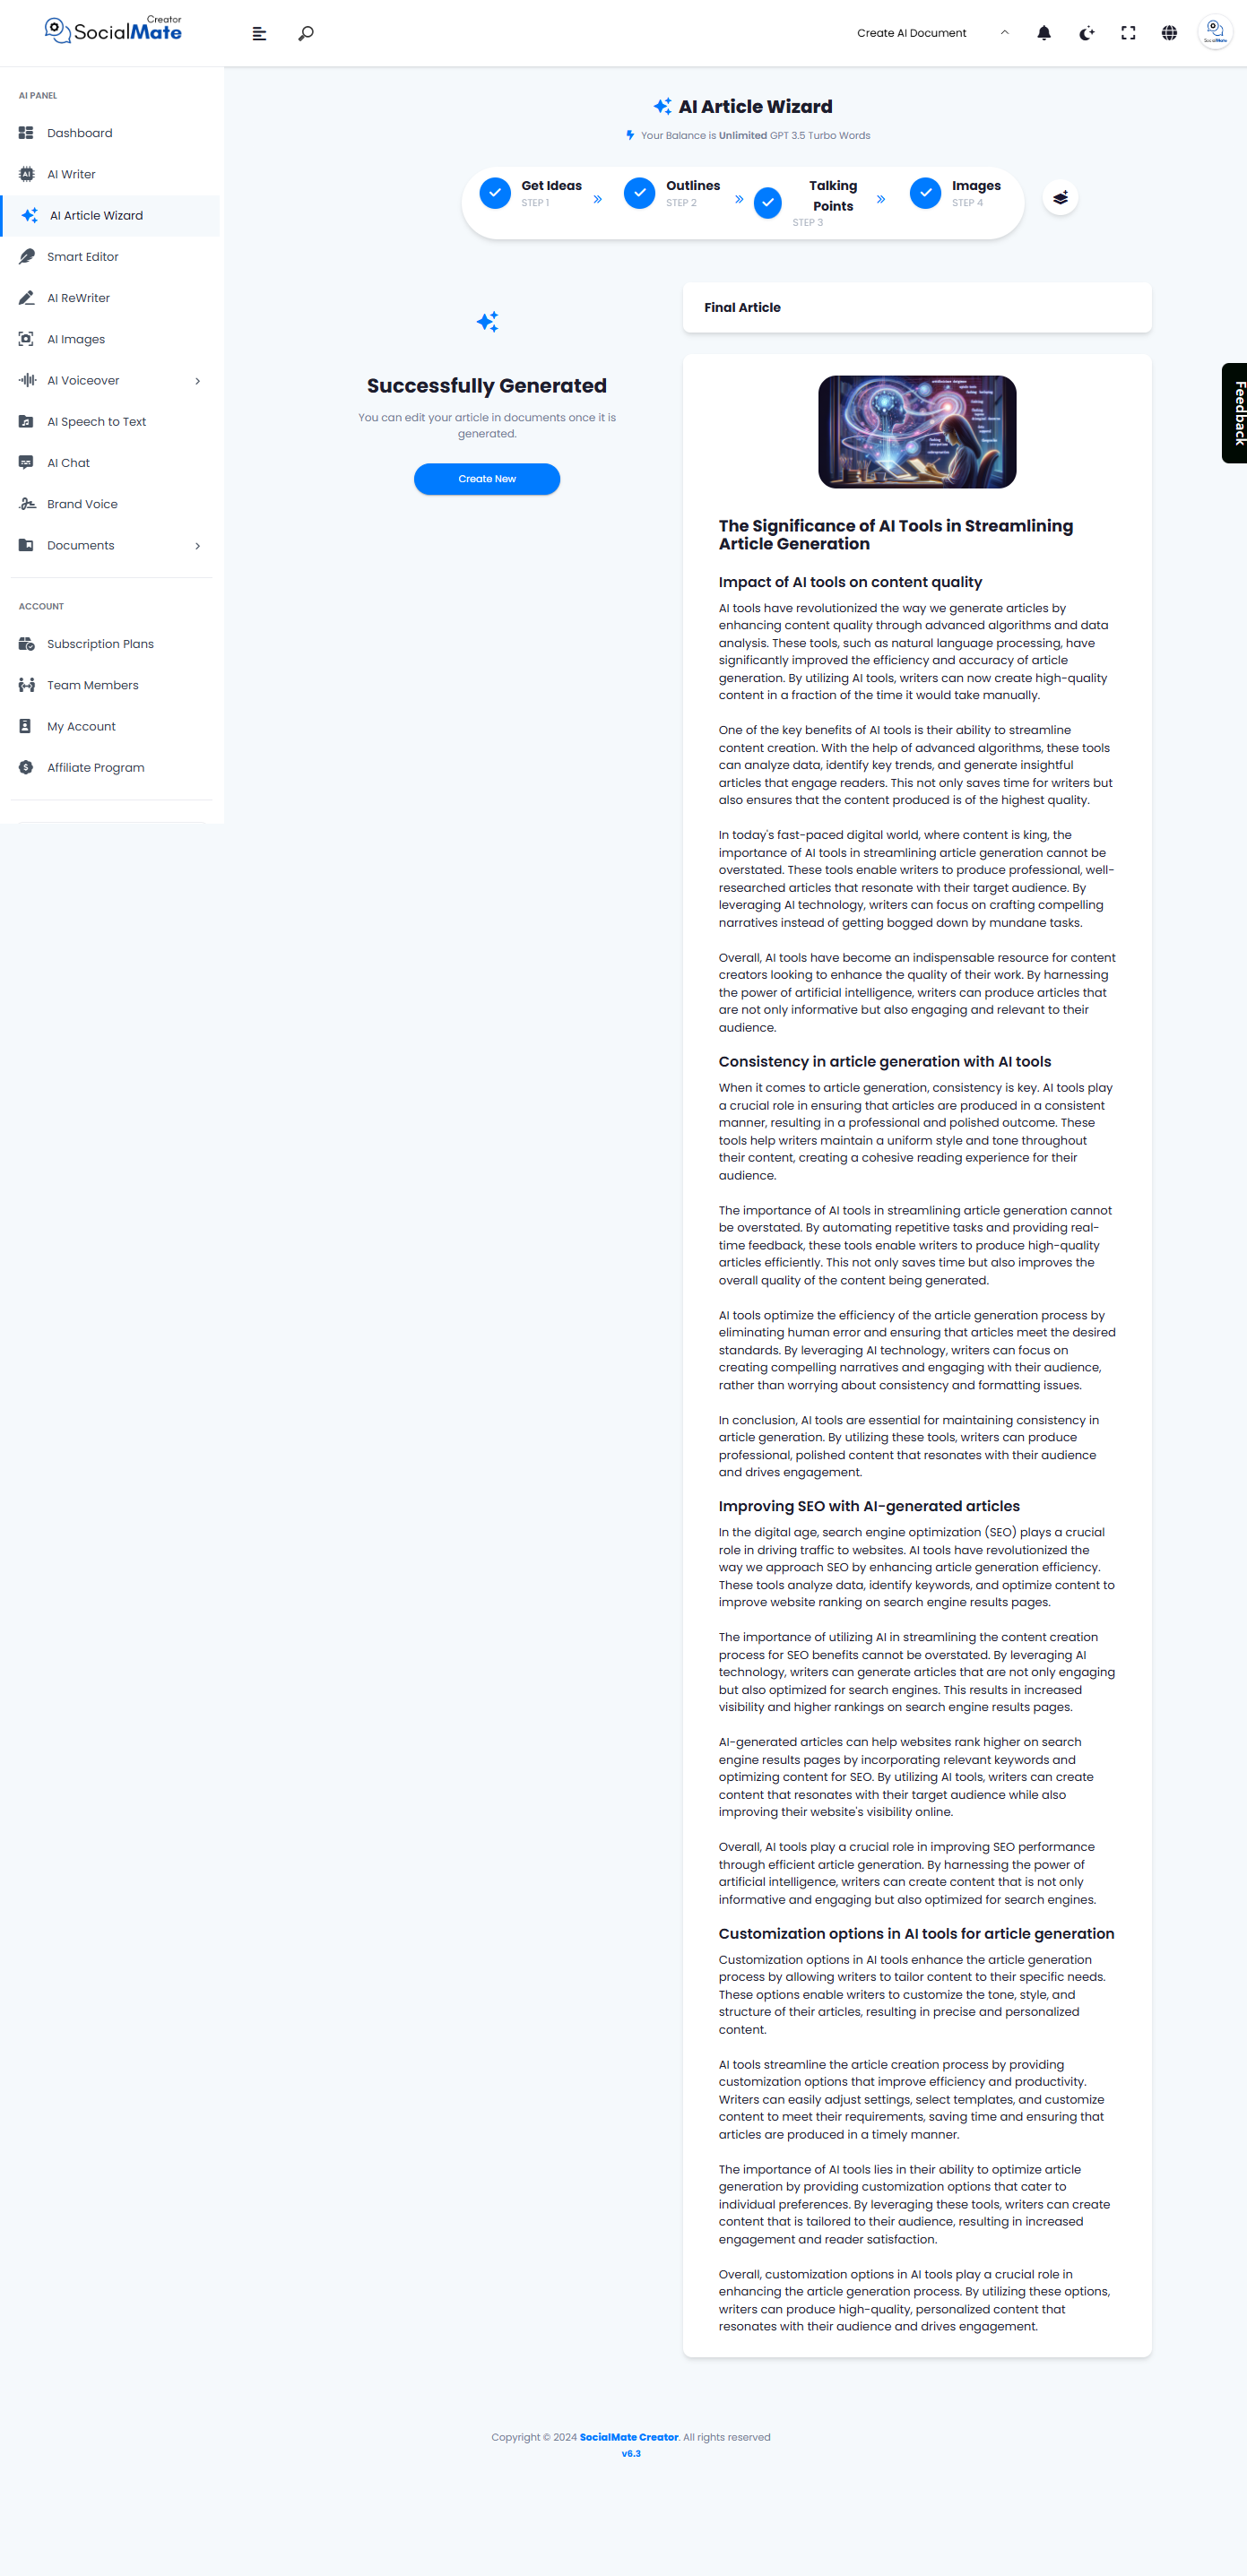
You can copy the article to use on your blog, social media, or website, and you can also download the image.
Finally, the AI Article Wizard streamlines the article creation process through four essential steps. First, it helps you generate ideas, allowing you to explore various topics that resonate with your audience. Next, the wizard provides a structured outline, organizing your thoughts and guiding the flow of the article. The third step introduces talking points, which highlight key concepts and ensure that your message is clear and impactful. Finally, the wizard allows you to enhance your article with images, offering the option to describe visuals that complement your content. Together, these steps create a cohesive framework for producing engaging and informative articles with ease.


