To add the attribute, click on Attributes > Add Attribute > write down Attribute Name > provide Attribute Value > Enable or Disable two radio buttons as you see fit > Save.
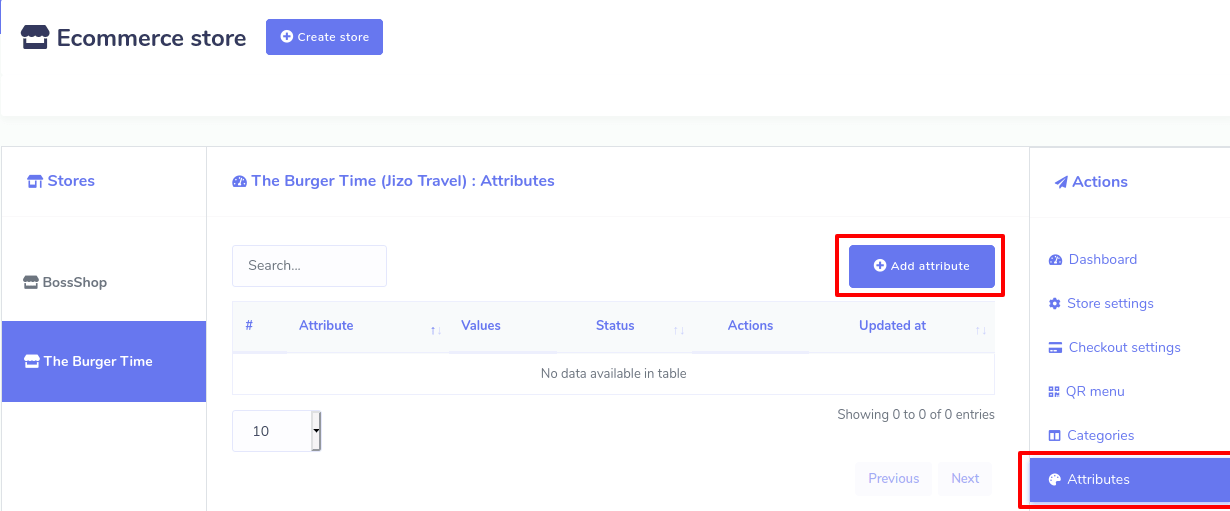
Just as you click on the Attributes option in the Action menu at the left side of the dashboard, a page called ‘Attributes’ will appear with the ‘Add attribute’ button at the top-right of the page.
Now click on the Add attribute button and a pop-up box will appear. In the box, you have to write down the name of the attribute and give attribute values in comma-separated. Then enable or disable three buttons called ‘Multi select’, ‘Optional’, and ‘Active’ as you see fit for the attribute.
By the Active button, you can make the attribute Active or Inactive. The functionalities of the other two buttons are a bit complicated to understand. If you enable the Multi-select button, your clients can select the multiple attribute values of the same food item. If you add an attribute called ‘Pizza toppings’ and add three values like ‘Extra Chilly’, ‘Extra spice’ and ‘Extra cheese’ and turn on a multi-select button, your customers can order a Pizza that has Extra Chilly, Extra spice, and Extra cheese at the same time.
On the other hand, if you disable the Multi-select button, a client can only one attribute value for a specific food item. For example, if you disable ‘Multi-select’ for an attribute called ‘pizza toppings’ with three values called ‘Extra Chilly’, ‘Extra spice’, and ‘Extra cheese’ a client can only order a pizza either with extra chilly, extra spice or extra cheese.

As for the multi-select button, you have to keep in mind that you can’t enable the multi-select button for the attributes like ‘Size’ because a food item can’t be small, medium, and large at the same time– it is not logically possible. But you can enable the multi-select button for the attributes like toppings because toppings can have Extra Chilly, Extra Spice, and Extra Cheese at the same time. Moreover, for attributes like pizza toppings enabling the multi-select button is useful because then customers can order a pizza that has extra Chilly, extra spice, and extra cheese in the toppings at the same time.
On the other hand, if you turn on the Optional button, your clients can avoid selecting attributes for a specific food item. Then the clients can order specific food items that have no additional ingredients. For example, if you enable the Optional button for ‘Pizza toppings’, a client can order a pizza with toppings that has no extra ingredients.
But if you disable the ‘Optional’ button, the clients must choose an attribute. Otherwise, he/she can’t order the food item. Disabling the ‘Optional’ button is required for attributes like size, for a client must select a value for size whether it is small, medium or large. Otherwise, they can’t order a food item.
Then comes the ‘Active’ button. If you turn on the active button, the attribute will appear when you add a food item to the store and otherwise not.
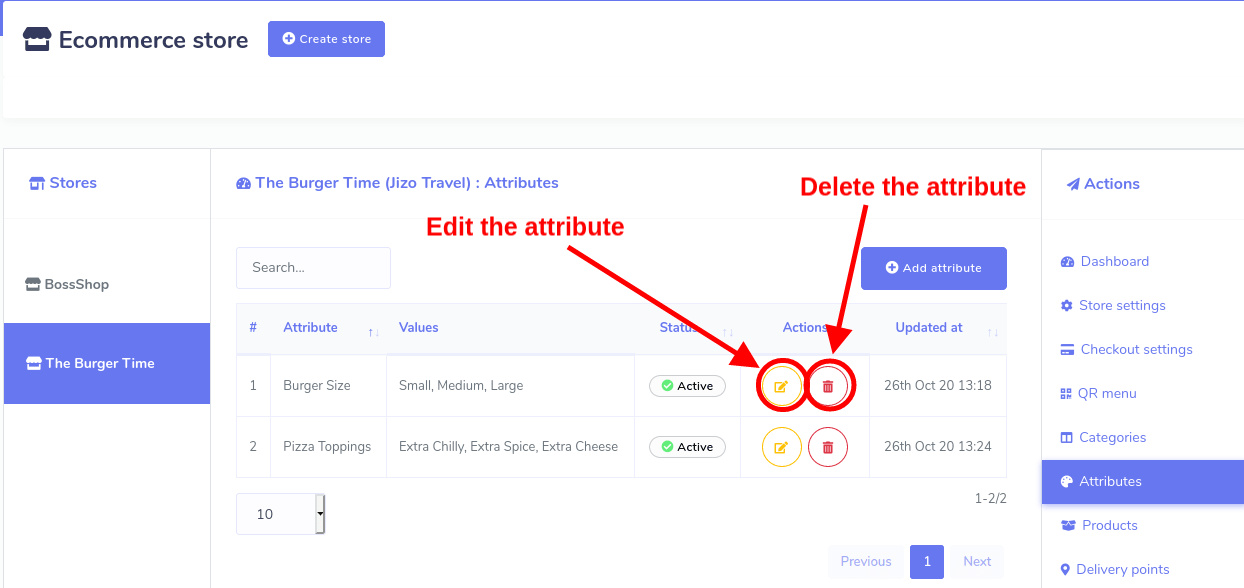
Like the Category option, after you have added one or more attributes, the attributes will appear on the page. Of course, you can add as many attributes as you want. Well, from the page, you can edit and delete any attribute you want and can see the status of the attributes.